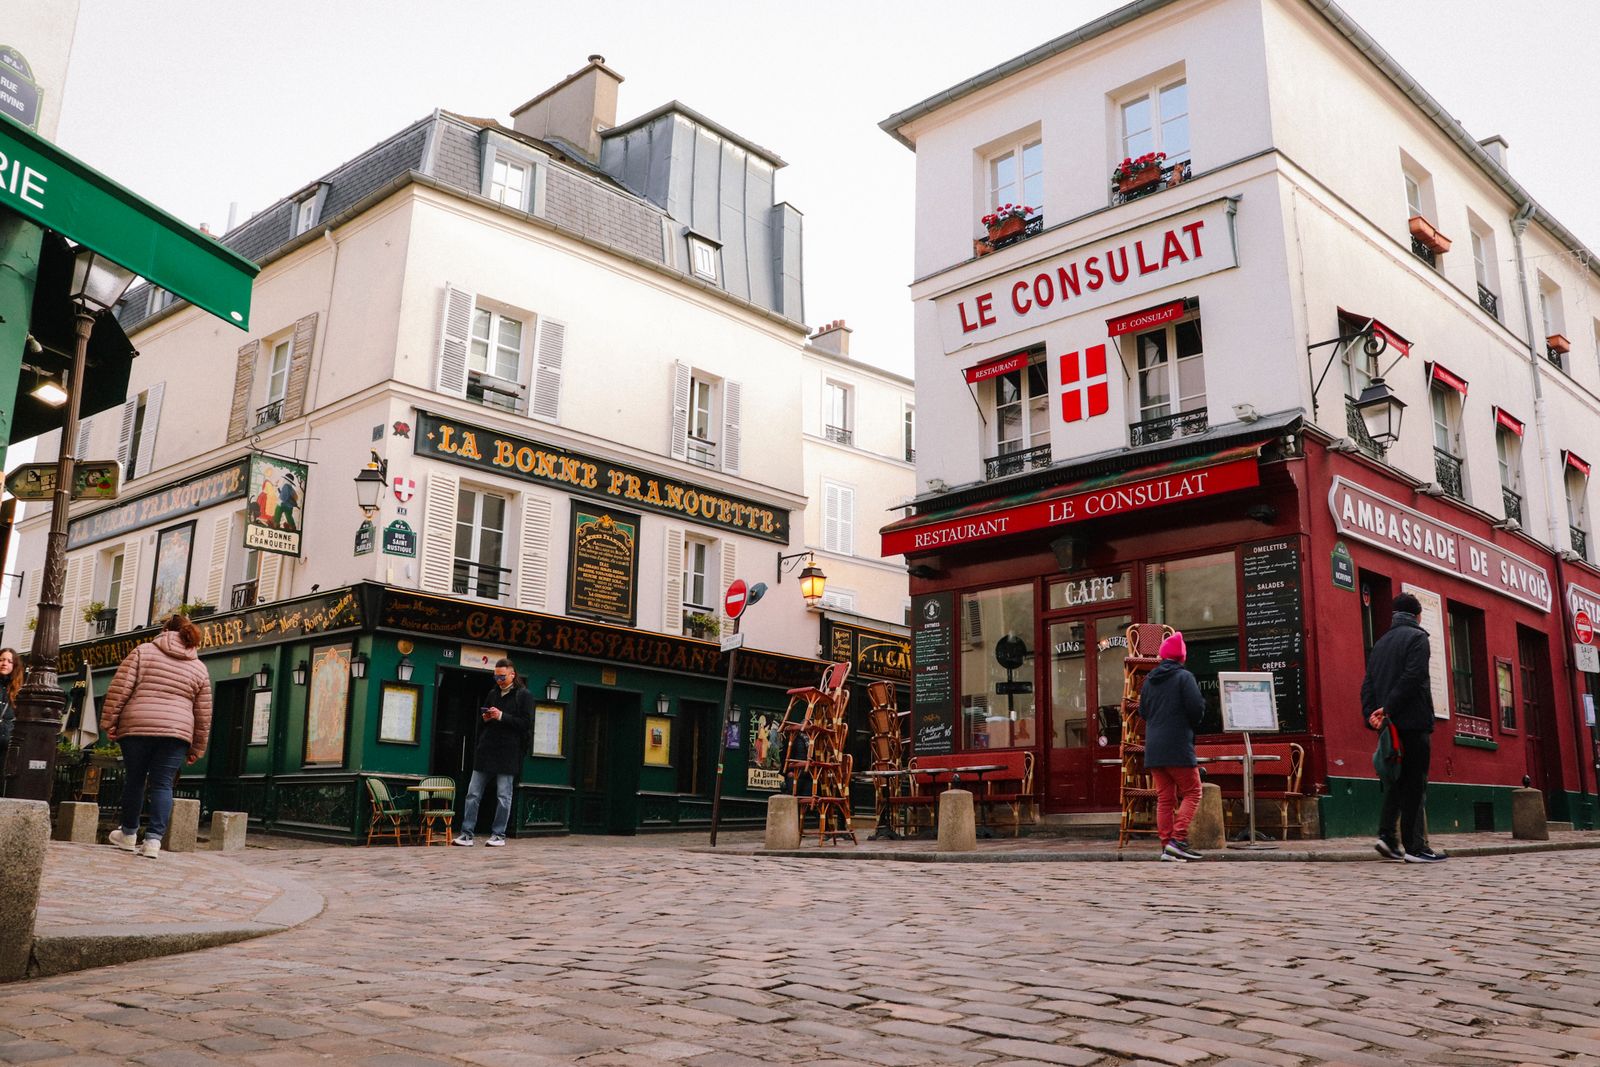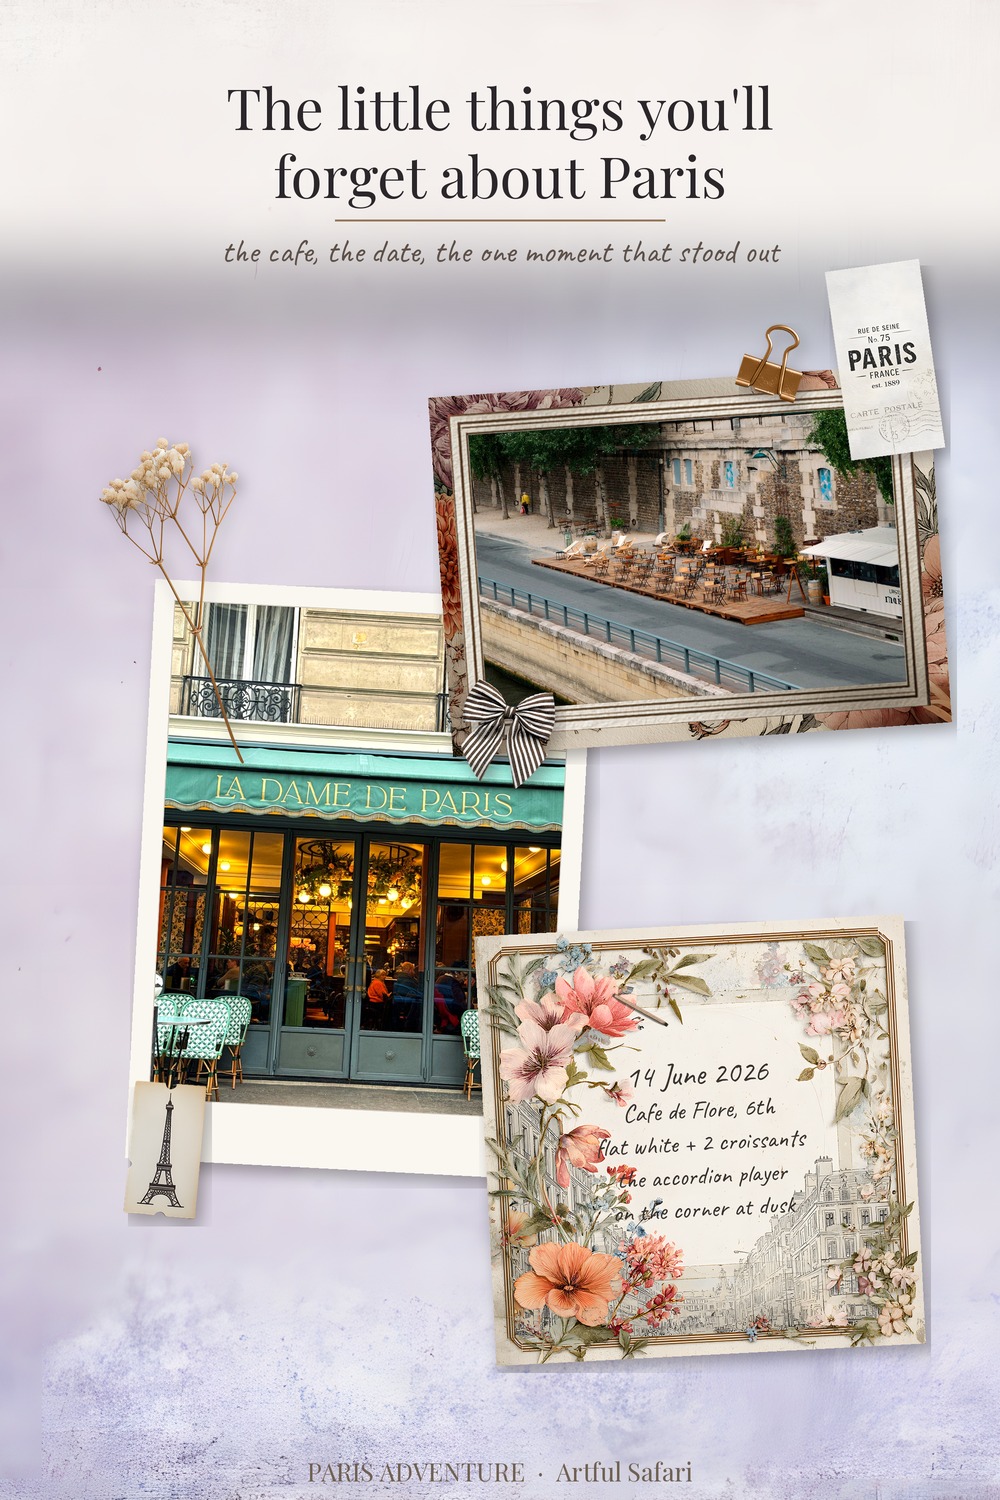
Every trip leaves a paper trail. Boarding passes, museum tickets, a metro map folded the wrong way eleven times. Most of it ends up in a drawer while the photos sit in your camera roll, and the two never meet. A travel junk journal is where they finally do.
If you already keep a junk journal of any kind, you know the appeal: layered paper, handwriting, things that look collected rather than designed. A travel junk journal simply points all of that at one trip. This guide walks through what goes in one and six pages you can build this week, digitally or with a printer.
Table of Contents
What goes into a travel junk journal
The short answer is anything flat that proves you were there. The longer answer is a mix of four ingredients, and the balance between them is what gives a travel junk journal its character.
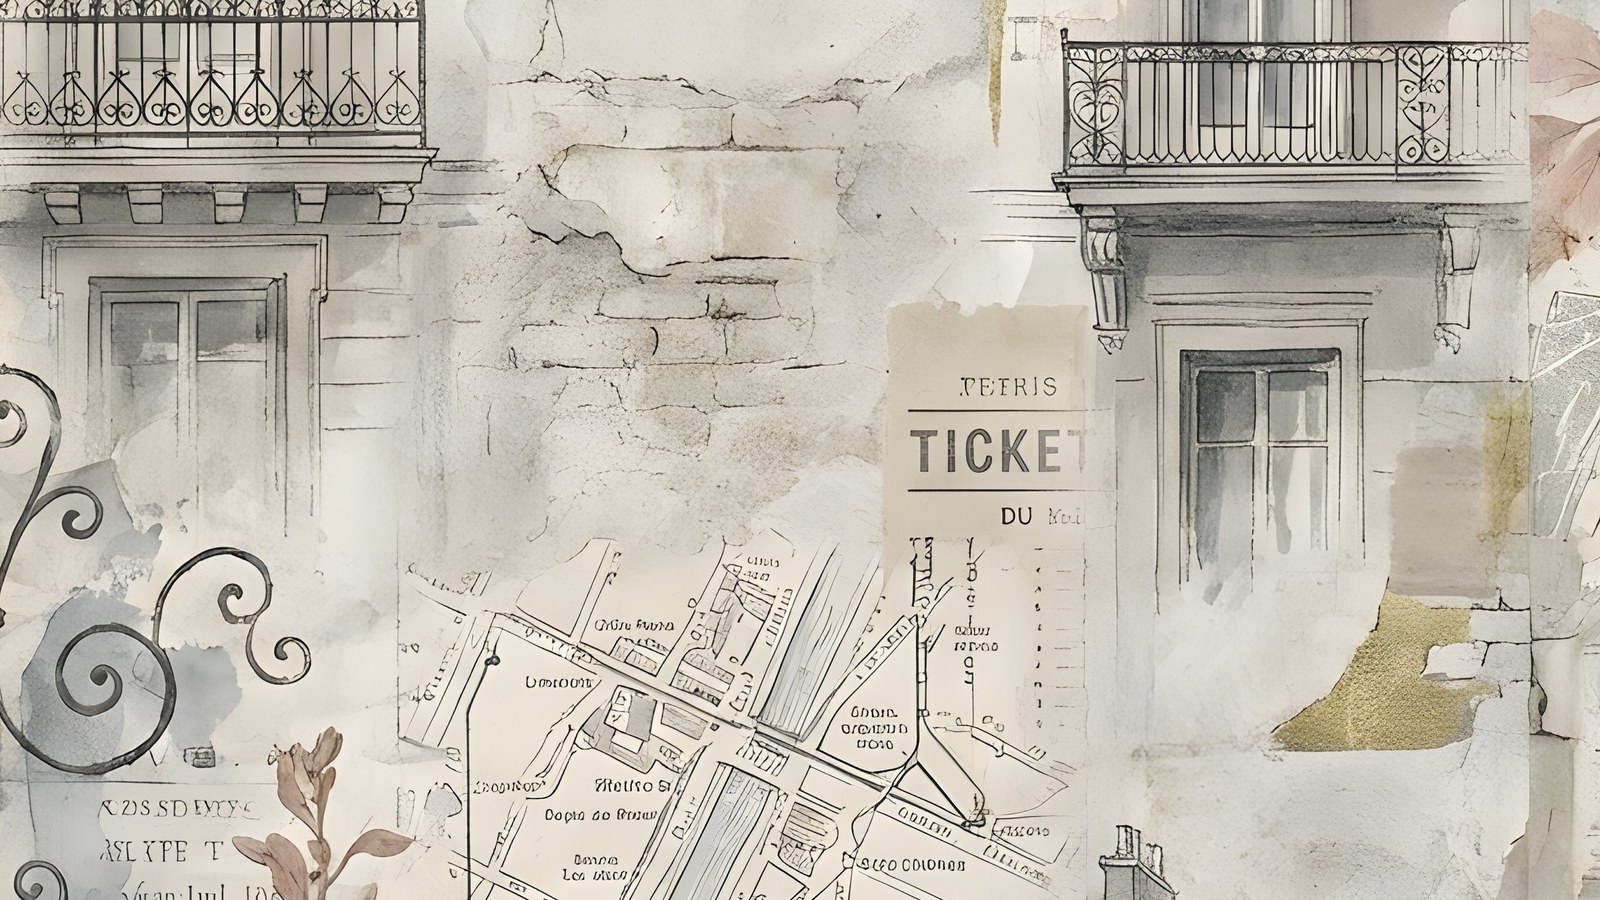
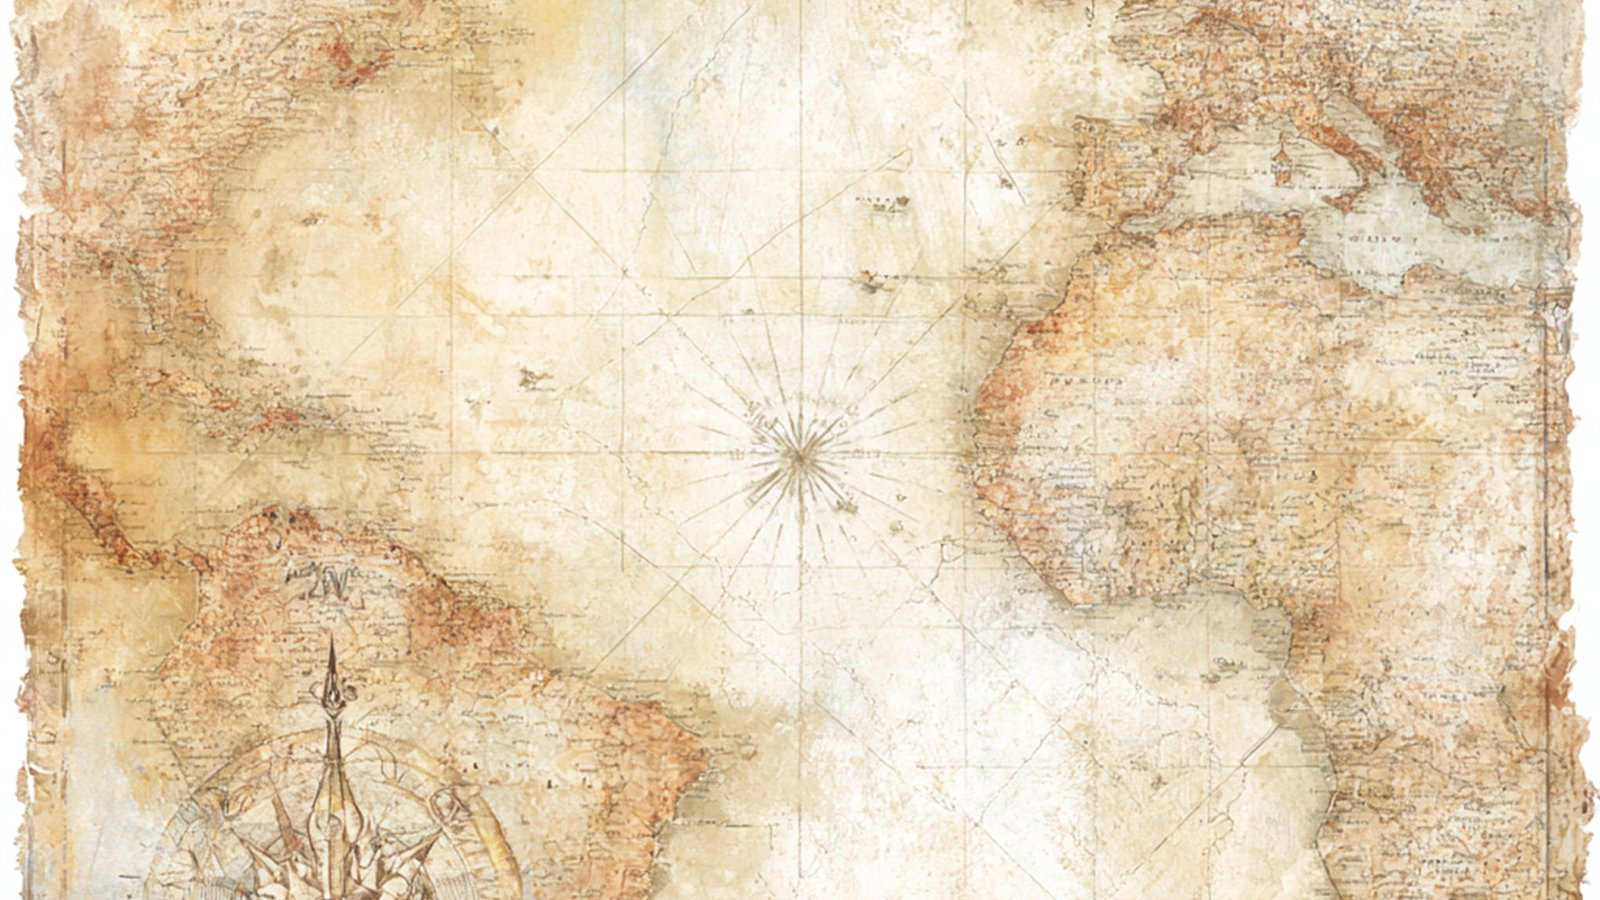
- Maps. City maps, transit maps, old survey maps. They make the best base layers because they are busy without demanding attention.
- Tickets and passes. Train stubs, boarding passes, entry tickets. Small, dated, and instantly evocative.
- Postage. Stamps and postmarks tie a page to a place and an era in a few square centimetres.
- Journal cards. Somewhere to actually write. A page with no words is a collage; a page with three dated lines is a record.
You do not need to have kept any of it. Digital kits exist precisely because most of us threw the real tickets away, and scanned ephemera often looks better on a page than the crumpled original would.
Six travel junk journal pages to try
Each of these works as a single page or half of a spread. None of them needs more than one photo, and two need none at all.
1. The map base page
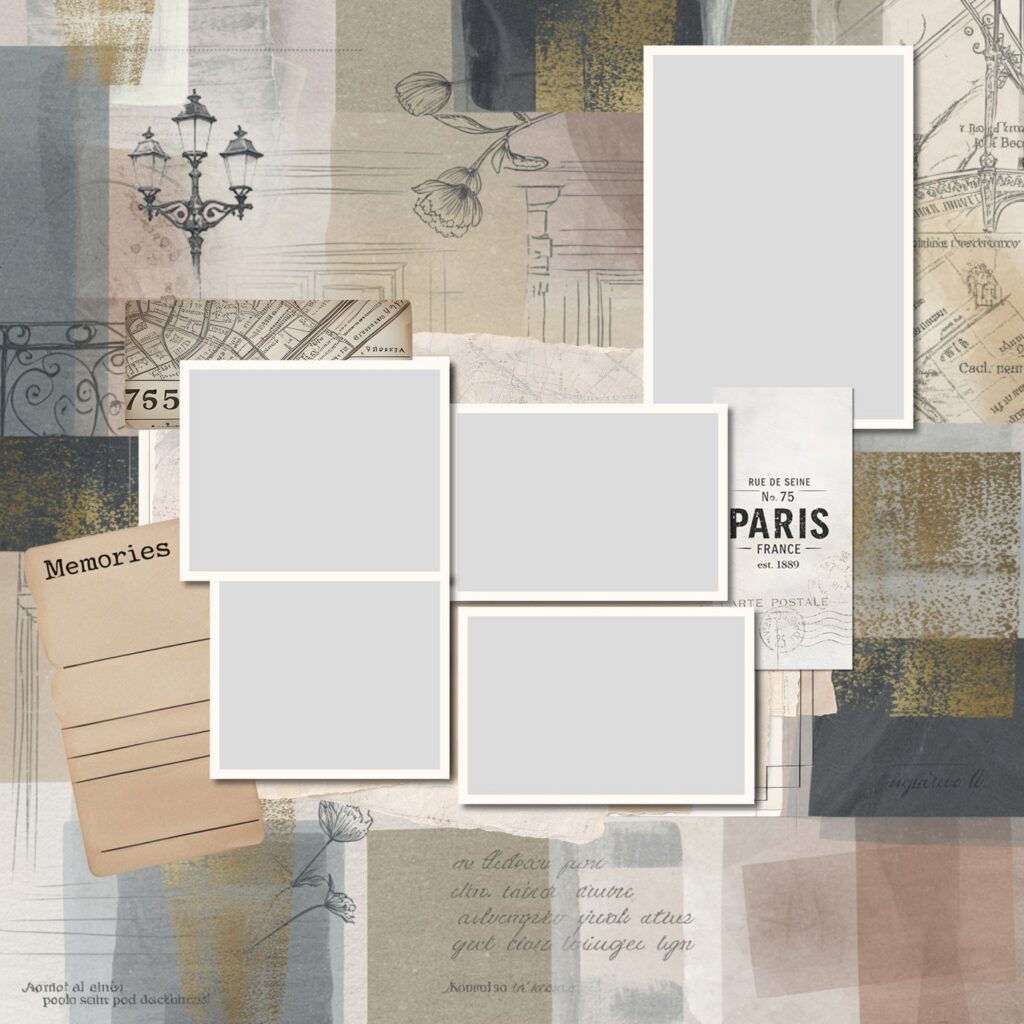
Lay a city map down as the full background, then place one photo dead centre with a plain border. Let the map do all the work. This is the fastest page in any travel junk journal and a good one to start with, because it cannot really go wrong.
2. The ticket cluster
Gather every ticket from one day and fan them out in a loose stack, slightly rotated, corners overlapping. Add one line of handwriting underneath: the date and where you slept that night. No photo needed.
3. The postal corner
Build a small cluster in one corner from stamps, a postmark and a torn paper edge, and leave the rest of the page quiet. Vintage stamps are tiny pieces of graphic design; if you want a rabbit hole, the New York Public Library’s digital collections are full of scanned ephemera you can study for layout ideas.
4. The day-log card
Take one journal card and write the day on it: what you ate, what it cost, what went wrong. Mount it on a torn map scrap. Pages like this are the reason to keep a travel junk journal at all — in five years the failed bus connection will be the story you tell.
5. One photo, one map
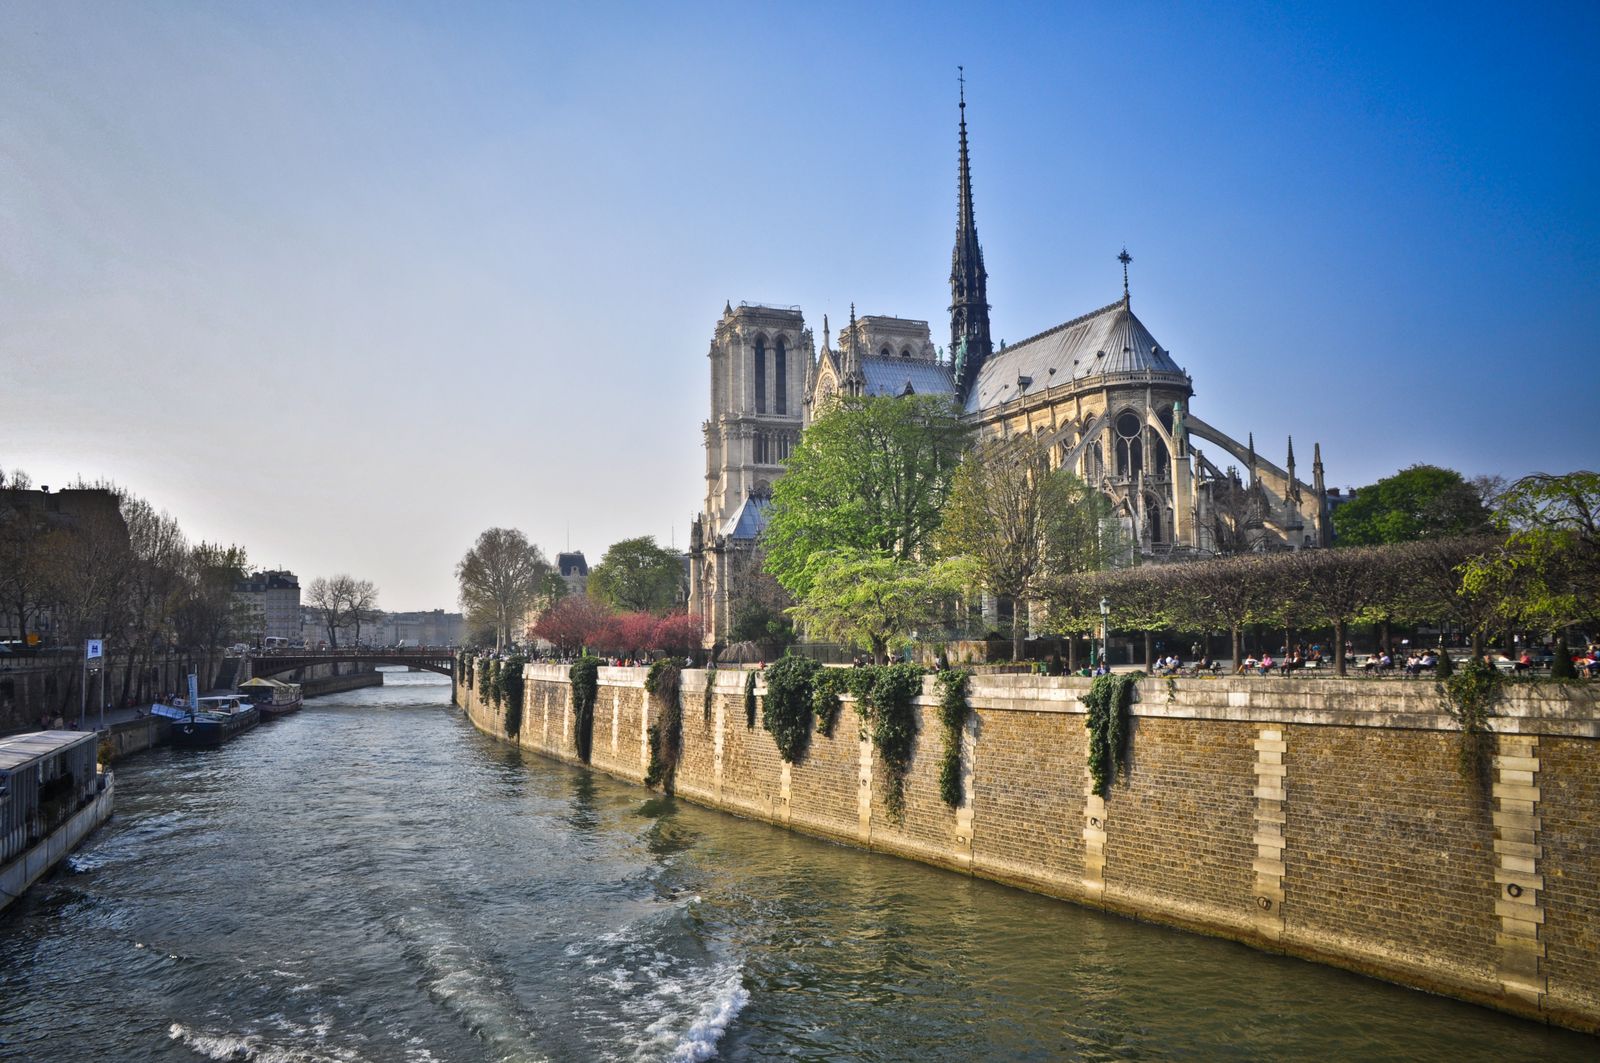
A spread: photo on the left page, the map of exactly where it was taken on the right, with a hand-drawn circle around the spot. If you like this structure, our travel scrapbook ideas post has four more pages built on the same photo-plus-context idea.
6. Arrivals and departures
First page and last page of the trip section. Arrival: boarding pass, time stamp, one line about the weather. Departure: the return pass and one sentence you would want your future self to read. Bookending a travel junk journal this way makes even a chaotic middle feel finished.
Building a travel junk journal digitally
Everything above works on a tablet, and working digitally has one large advantage: you can resize and recolour ephemera to fit the page instead of fitting the page around the ephemera.
In Procreate or Canva, start with a paper or map as the bottom layer, then drag each piece on as its own layer. Keep rotation small, two to five degrees, so the page looks placed rather than scattered. Transparent PNG elements sit over any background without white boxes around them.
Old maps deserve a special mention here. Collections like the David Rumsey Map Collection hold thousands of scanned historical maps, and studying how they use colour is a free education in why map pages look so good in a travel junk journal.
Putting it together: a worked example
For the pages in this post I used the Urban Travel bundle, which is built for exactly this kind of journal: 146 coordinated pieces including city map papers, concrete and brushed-metal textures, tickets, metal photo frames, journal cards and both modern and vintage postage stamps, all at 300 DPI.
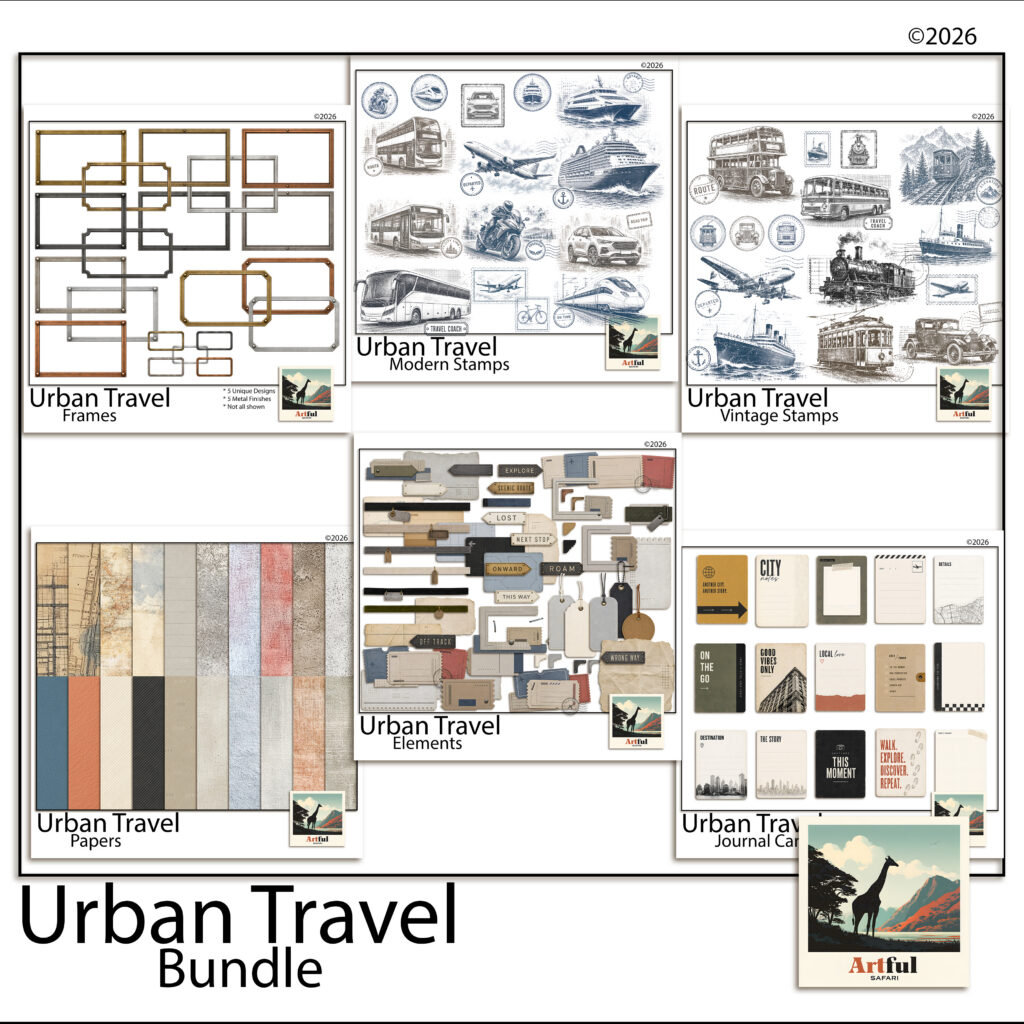
The point of a coordinated set is that the palette decisions are already made. The Urban Travel digital scrapbook bundle keeps every map, ticket and stamp in the same muted city palette, so the six pages above come together in an evening rather than a weekend.
Start with one page
A travel junk journal does not need to cover the whole trip. Pick the day you remember best, build the ticket cluster or the map base page, and see how it feels. One finished page has a way of recruiting the next one.