To make a digital junk journal, you stack papers, ephemera and photos as movable layers inside an app like Procreate, GoodNotes or Canva, then save each finished spread as an image. There is no glue and nothing is permanent, so you can rearrange a page as many times as you like.
The six steps below take you from a blank canvas to a saved spread you can be proud of.
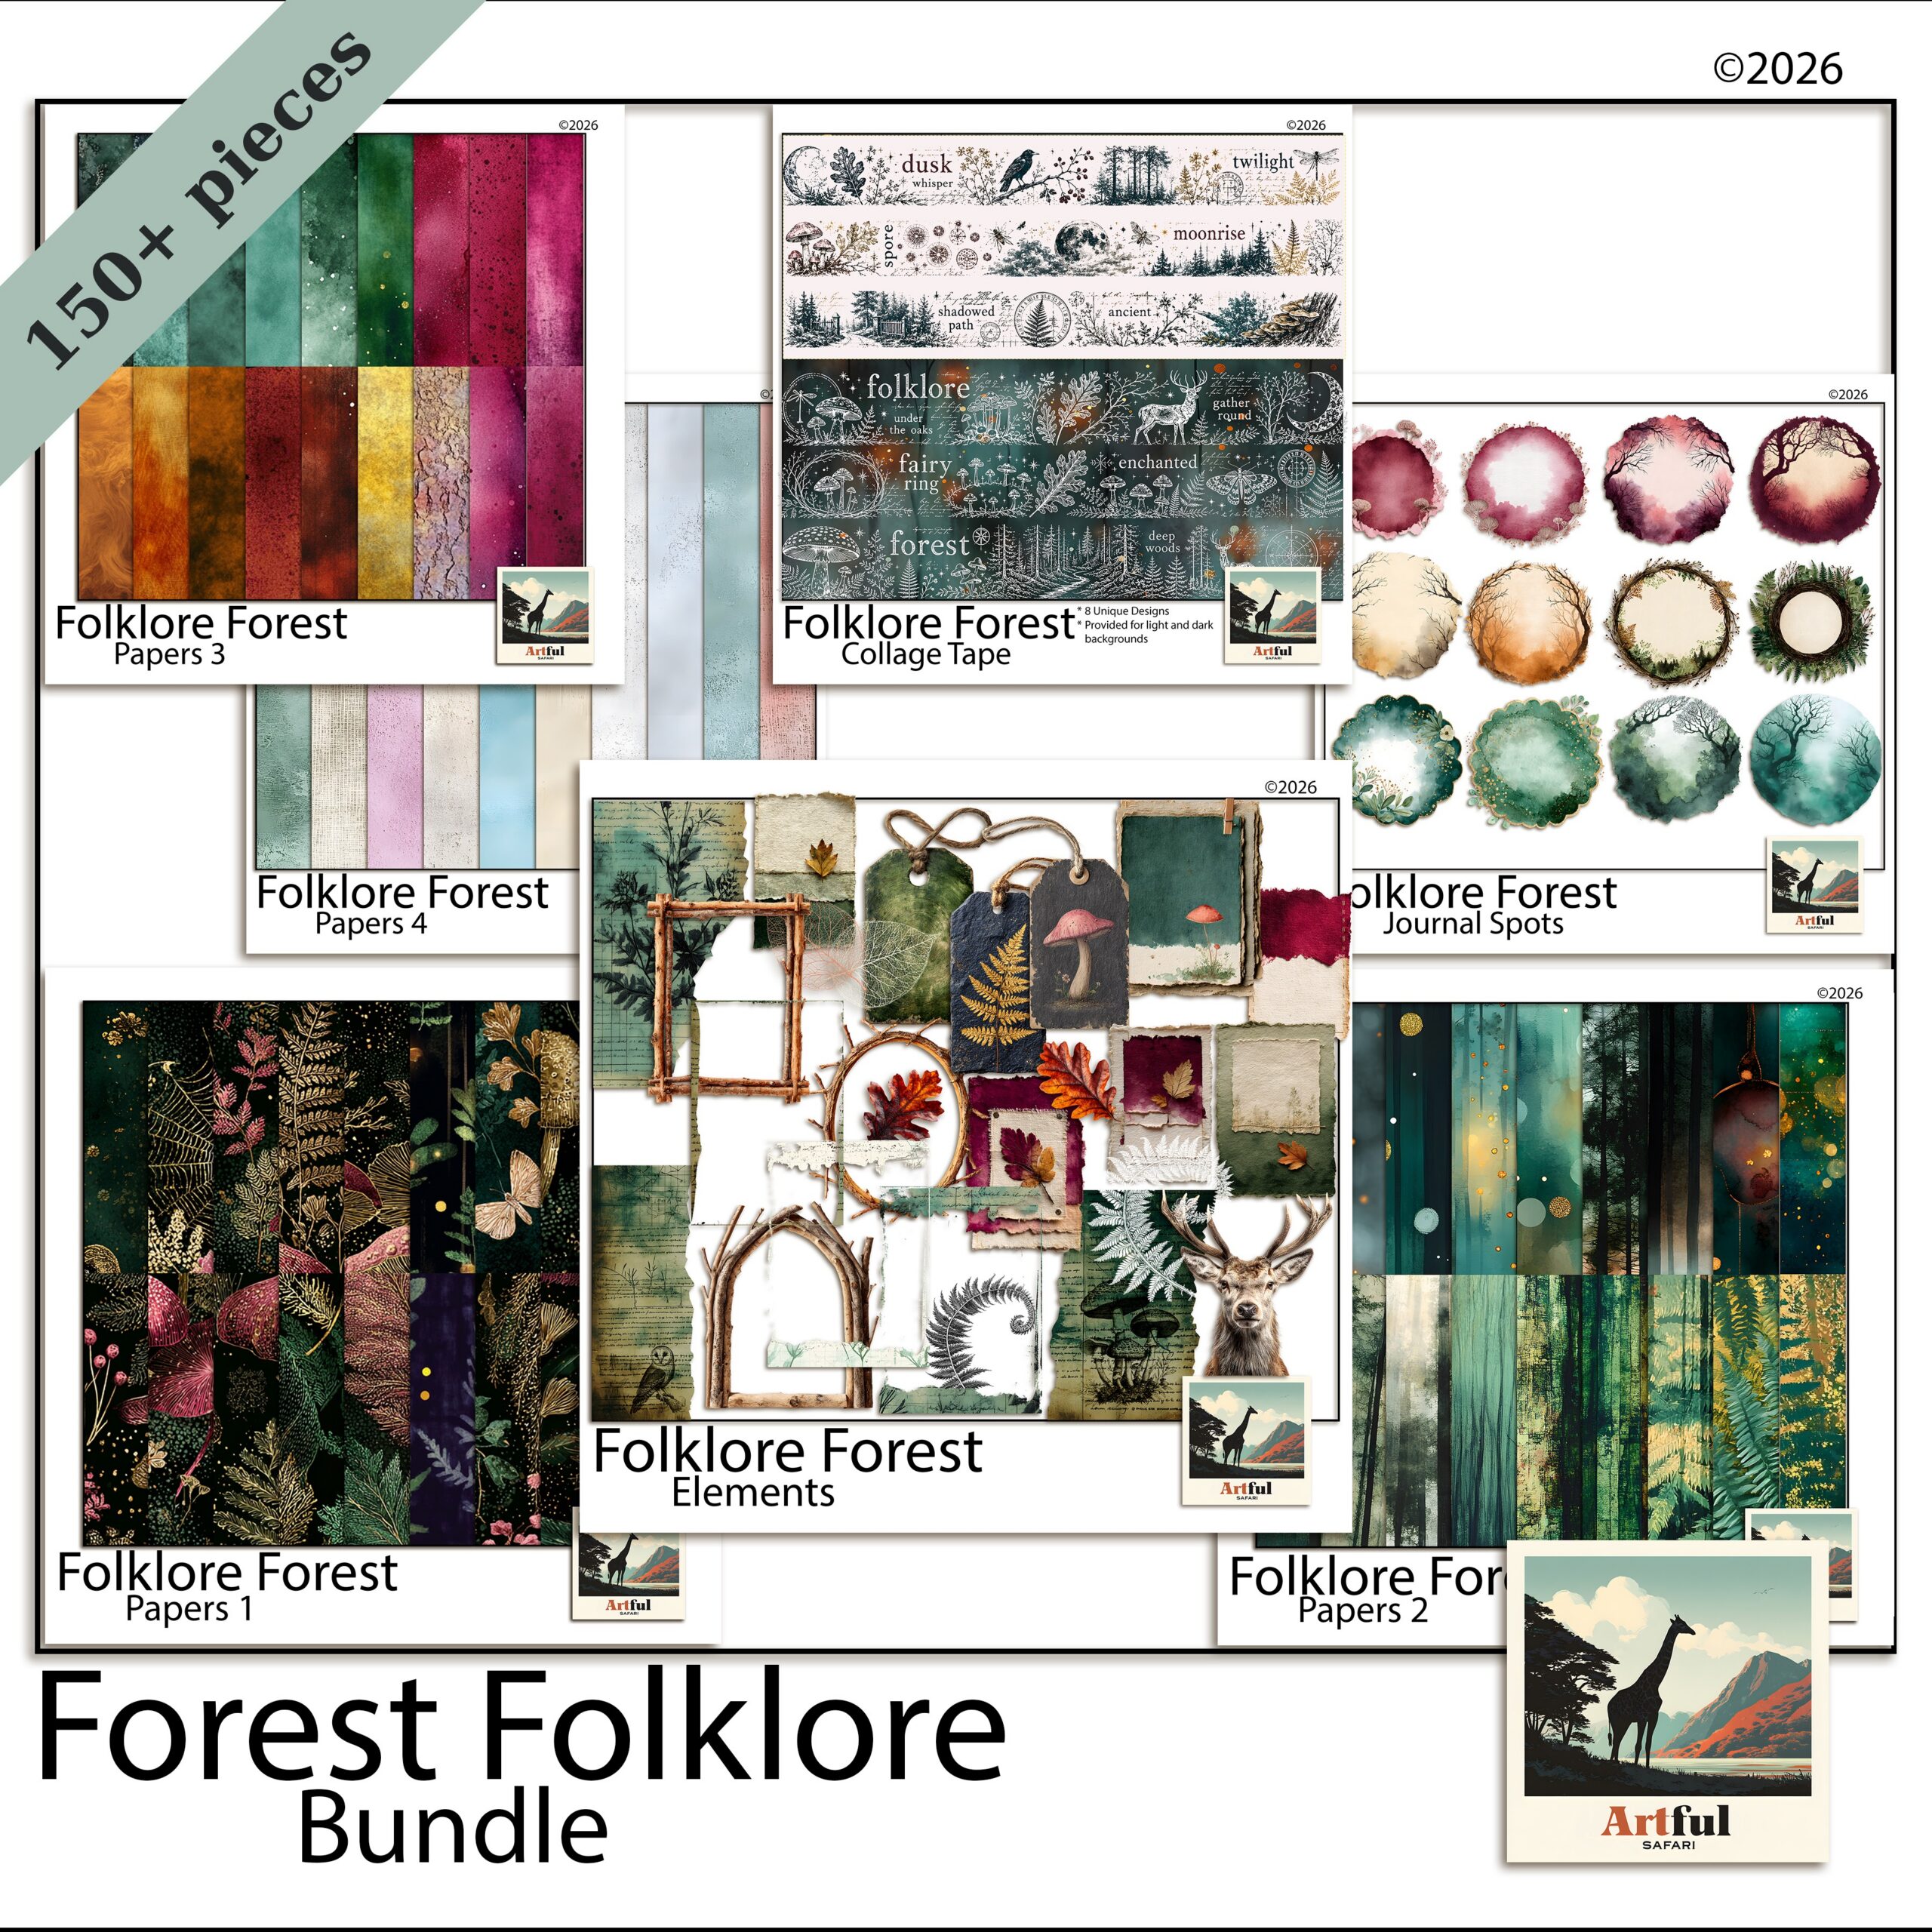
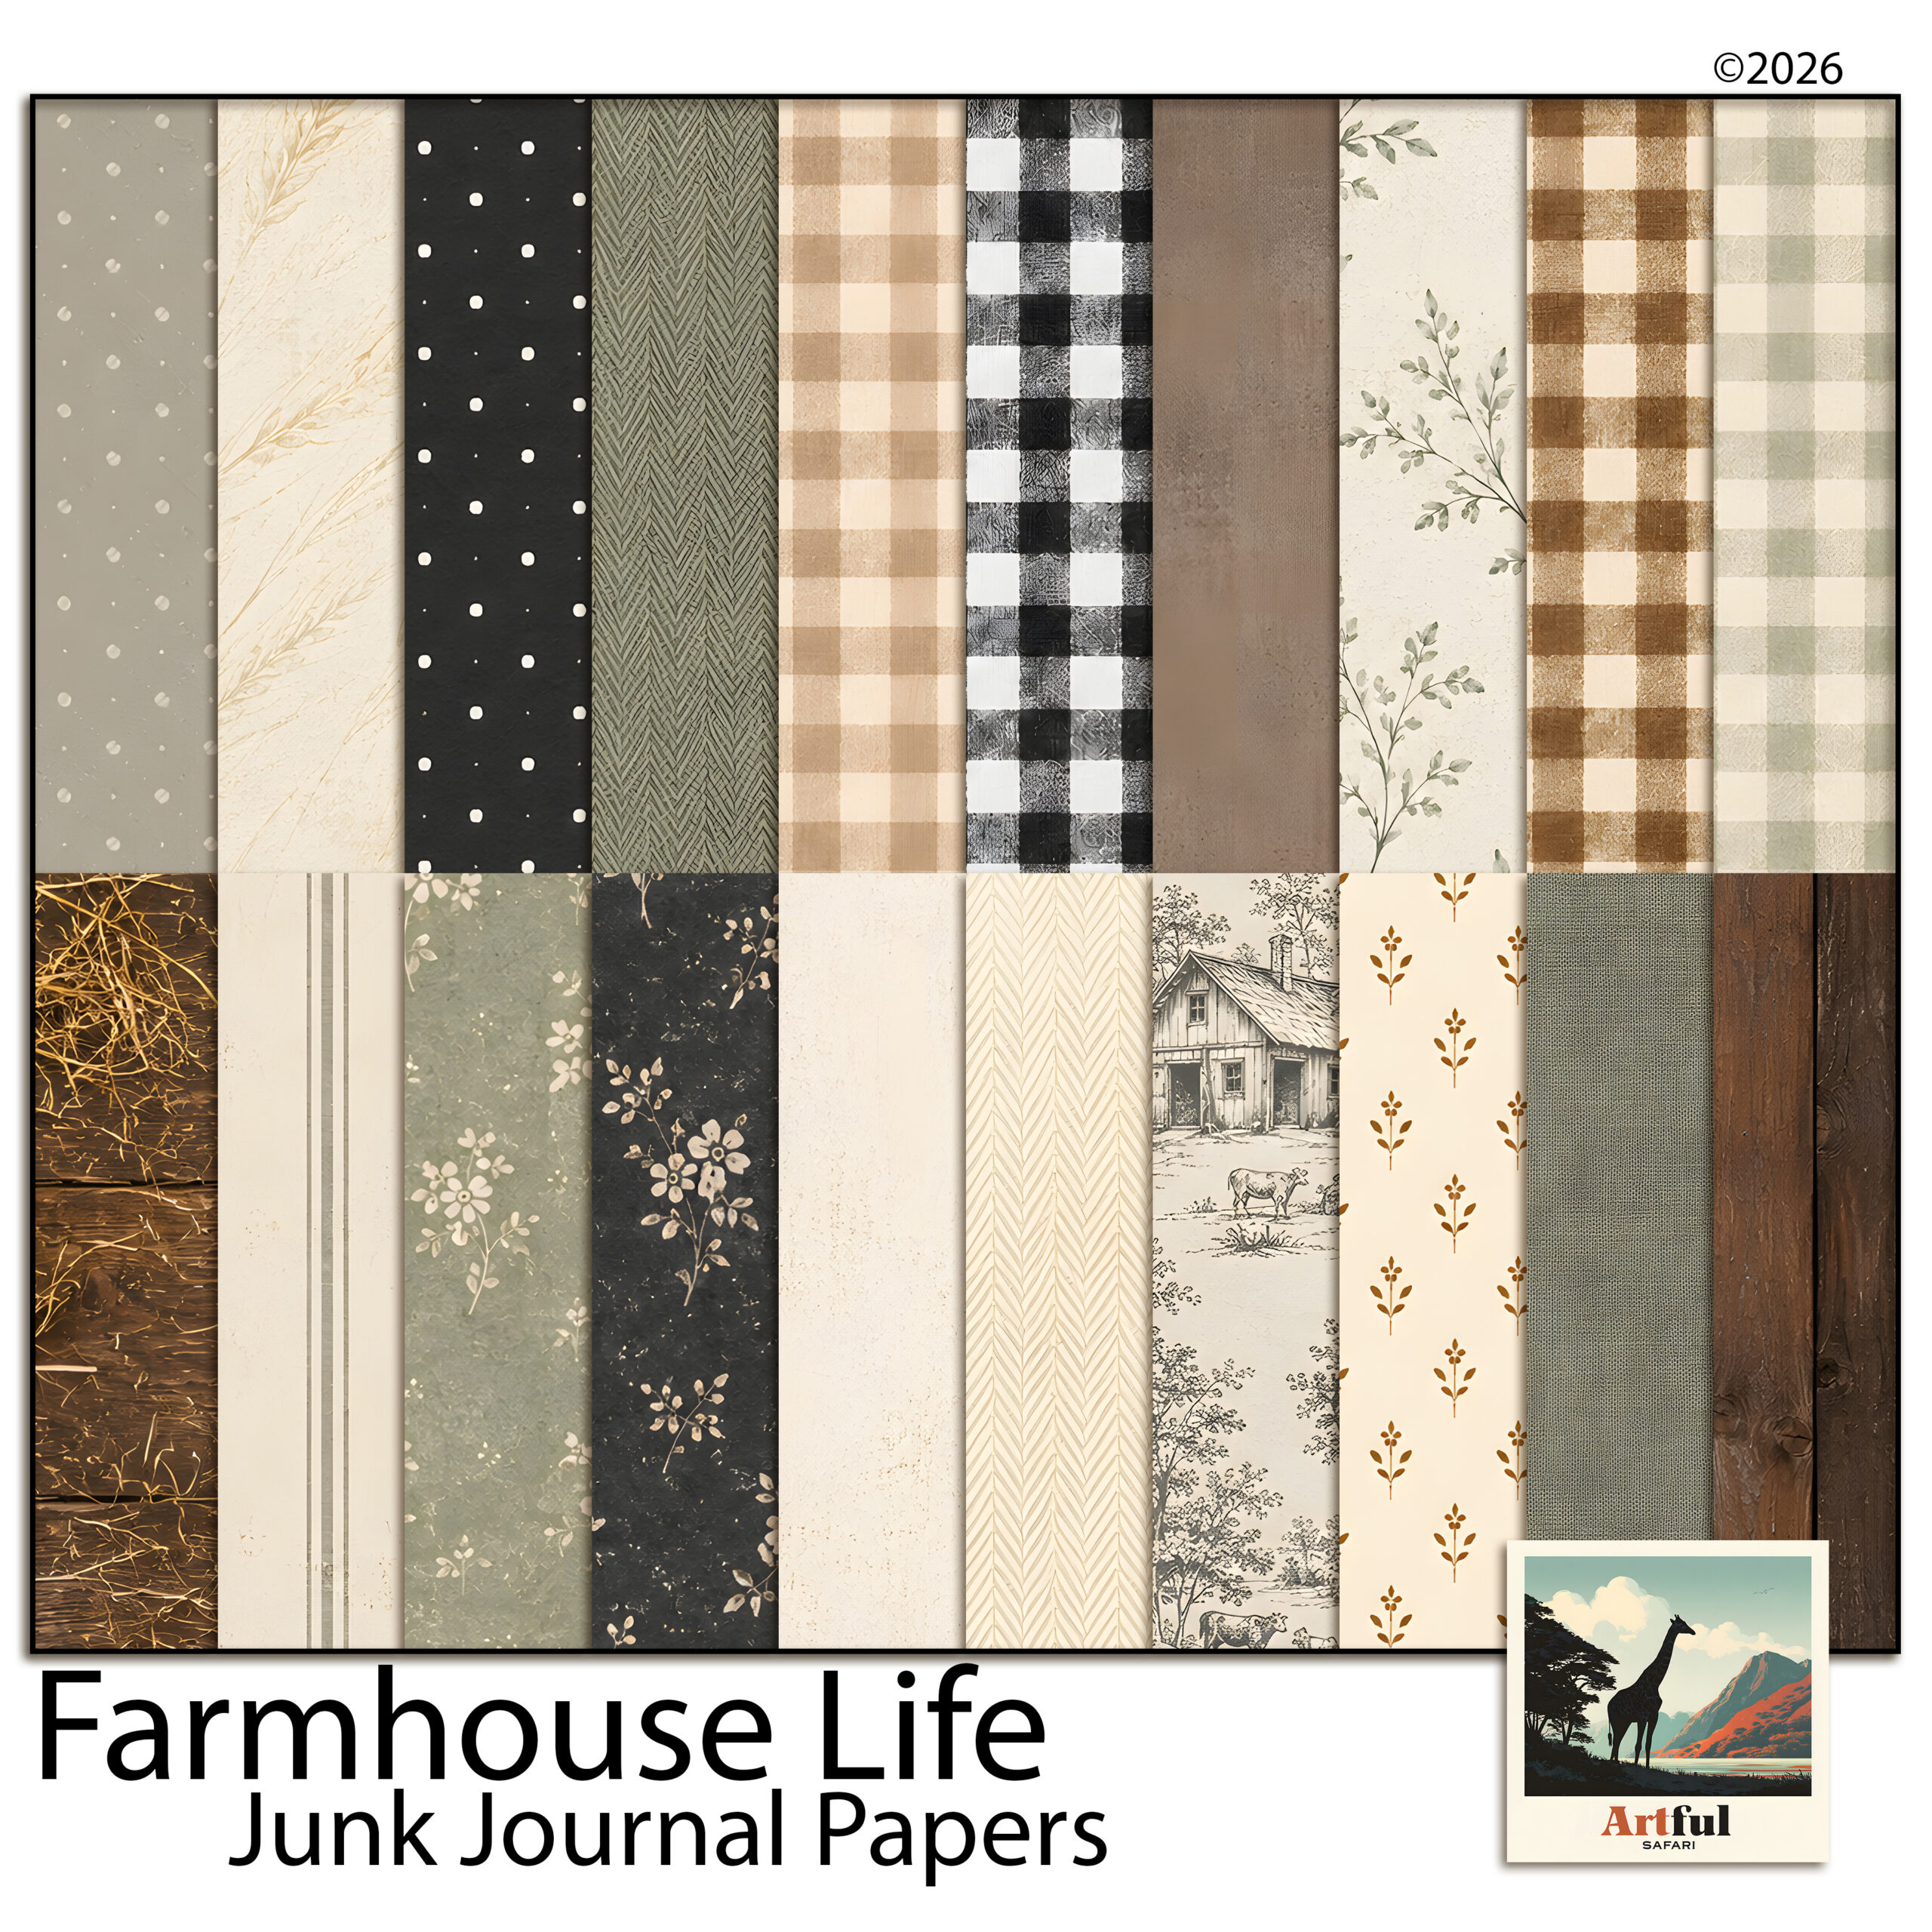
If you need papers and ephemera to start with, our junk journal kits come as high-resolution image files you can use digitally or print.
Table of Contents
What is a digital junk journal, and what do you need?
A junk journal is a scrappy, collage-style book full of layered papers, bits of ephemera, photos and handwritten notes. The “junk” part is the charm. It looks busy and lived-in, not tidy.
A digital one works the same way, except every layer is a file instead of a glued-down scrap. You stack everything inside an app, so nothing is permanent and nothing can be ruined. Delete a layer, slide it three pixels left, change your mind twice. The page does not care.
The pull of going digital is exactly this: no mess, no drying time, no running out of a paper you love. You can reuse the same lace clipping on ten different pages and it never wears out. And because it all lives in files, you can keep a junk journal on a tablet in your bag and add to it on a train, in a cafe, wherever the mood strikes.
To start you need three things: an app you are comfortable in, a stylus (or just your finger), and a kit of papers and ephemera. That last one matters more than people expect. A matched kit saves you an hour of hunting for textures that sit well together. Buy a themed bundle and the papers, frames and little bits already share a palette, so your first page looks intentional instead of cobbled together.
How to make a digital junk journal in 6 steps
Here is the whole process from blank canvas to a saved spread. None of it takes special skill. Step one is the only decision that sticks, so I will spend the most time there.
Step 1: Pick an app and set a canvas
Open your app and make a new file at roughly 3600 x 3600 px, which is a 12 x 12 inch page at 300 DPI. That is the standard scrapbook size and most kits are built for it. If you prefer a book-page feel, a portrait 8.5 x 11 works too.
Keep the file in the app’s own format while you build (a Procreate file, a GoodNotes notebook, a Canva design). You only flatten to an image at the very end.
Step 2: Drop in a base paper
Import one paper and stretch it to fill the whole canvas. This is your background. Pick something with quiet texture, not a loud pattern, because everything else sits on top of it and a busy base fights the layers.
Aged, linen and kraft textures are the safe choice for junk-journal pages. They read as old paper and they let the brighter pieces pop.
Step 3: Layer a second paper for depth
Add a smaller paper on a new layer, sitting at an angle, covering maybe two-thirds of the page. Torn or deckled edges sell the look. If your kit includes torn-edge papers, use them here. If not, a soft shadow under the edge fakes the same effect.
This is the move that separates a flat page from a junk-journal page: two or three papers that overlap, not one paper sitting alone.
Step 4: Add ephemera, a frame and a photo
Now the fun part. Drop in ephemera: tags, tickets, stamps, botanical clippings, lace, whatever your kit gives you. Tuck them under and over the papers so they look slotted in rather than placed on top.
Add a frame, then put a photo behind it (a clipping mask does this cleanly in most apps). One photo per spread is plenty for a junk journal. The papers and ephemera are the point.
Step 5: Write the journaling
Add a text layer or handwrite with your stylus. A date, a line about what happened, a quote. Junk journals lean personal and a little messy, so handwriting suits them better than a neat font. Keep it short. White space is rare on these pages, so a couple of lines is enough.
Step 6: Flatten, save and back up
Duplicate the file first so you keep an editable copy, then flatten the duplicate and export it as a PNG or JPG. Save the editable version too. Back both up to cloud storage or an external drive. The whole appeal of working digitally is that nothing is lost, so do not let it live on one device.
One spread done. The good news is that steps two to five get faster every time, because you start to know which papers and pieces play nicely together. By page three you will be building spreads in ten minutes.
Do you have to print a digital junk journal?
No, and this trips people up. A digital junk journal is meant to be read on screen. You flip through it on a tablet, share a spread to social, or keep it as a private memory book. Nothing has to leave the device.
You can print one if you want a physical book to hold, and the textured papers do print beautifully. But that is an optional extra, not a requirement. Plenty of makers keep the whole thing digital and never touch a printer. Treat printing as a choice you make later, not a step you owe the project.
Which app should you use for a digital junk journal?
Any of these will build a good page. The right one is the app you already own and already know. Here is how the popular three compare for this kind of work.
| App | Best for | Layers & masks | Cost |
|---|---|---|---|
| Procreate | Full control, painterly edges, brushes | Strong layers, clipping masks, blend modes | One-off iPad purchase |
| GoodNotes | A book you flip through and write in | Stickers and images, lighter layering | Low one-off / subscription |
| Canva | Quick spreads on any device, browser or app | Layers and transparency, no real masks | Free tier works; Pro adds more |
If you want pages that look hand-finished, Procreate gives you the most room. If you want something you read like a diary, GoodNotes feels closer to a real notebook. Canva is the fastest start if you have never done this before.
Common mistakes that make a digital page look flat
The pages that do not work usually share the same few problems. Easy to fix once you spot them.
- No overlap. One paper, one photo, lots of empty space. Junk journals want layers touching and tucking under each other.
- No shadows. Flat pieces look pasted on. A faint drop shadow under papers and ephemera gives the page real depth.
- Mismatched colours. Five kits, twelve palettes, nothing agrees. A single themed bundle solves this in one go.
- Too tidy. Perfectly straight, evenly spaced pieces read as a poster, not a journal. Tilt things a few degrees.
New to the whole idea? Start with What Is a Junk Journal? for the plain-English version before you build your first spread.
Key takeaways
- A digital junk journal is the same layered, collage look as a paper one, built as files you can move and undo.
- Work at 12 x 12 inches and 300 DPI, keep the editable file, and only flatten to PNG or JPG at the end.
- Overlap two or three papers, tuck in ephemera, add soft shadows. Layers and depth are what make the page.
- A matched themed bundle saves you from clashing colours and missing pieces.
Frequently asked questions
Do I need to print a digital junk journal?
No. A digital junk journal lives on your device and is read on screen, so there is no printing involved. You only print if you want a physical copy, and that is a separate choice.
What size should a digital junk journal page be?
A 12 x 12 inch page at 300 DPI (about 3600 x 3600 px) is the standard and most kits are built for it. A portrait 8.5 x 11 also works if you want a book-page feel.
Can I make a digital junk journal in Canva?
Yes. Canva handles uploaded papers, layering and transparency, so it suits beginners well. It does not have true clipping masks, so dropping photos into frames is a little less precise than in Procreate.
What is the difference between a junk journal and a scrapbook?
A junk journal is busier and more collage-led, built from layered papers and ephemera with the photo as a small part. A scrapbook usually puts the photos first with cleaner layouts around them.