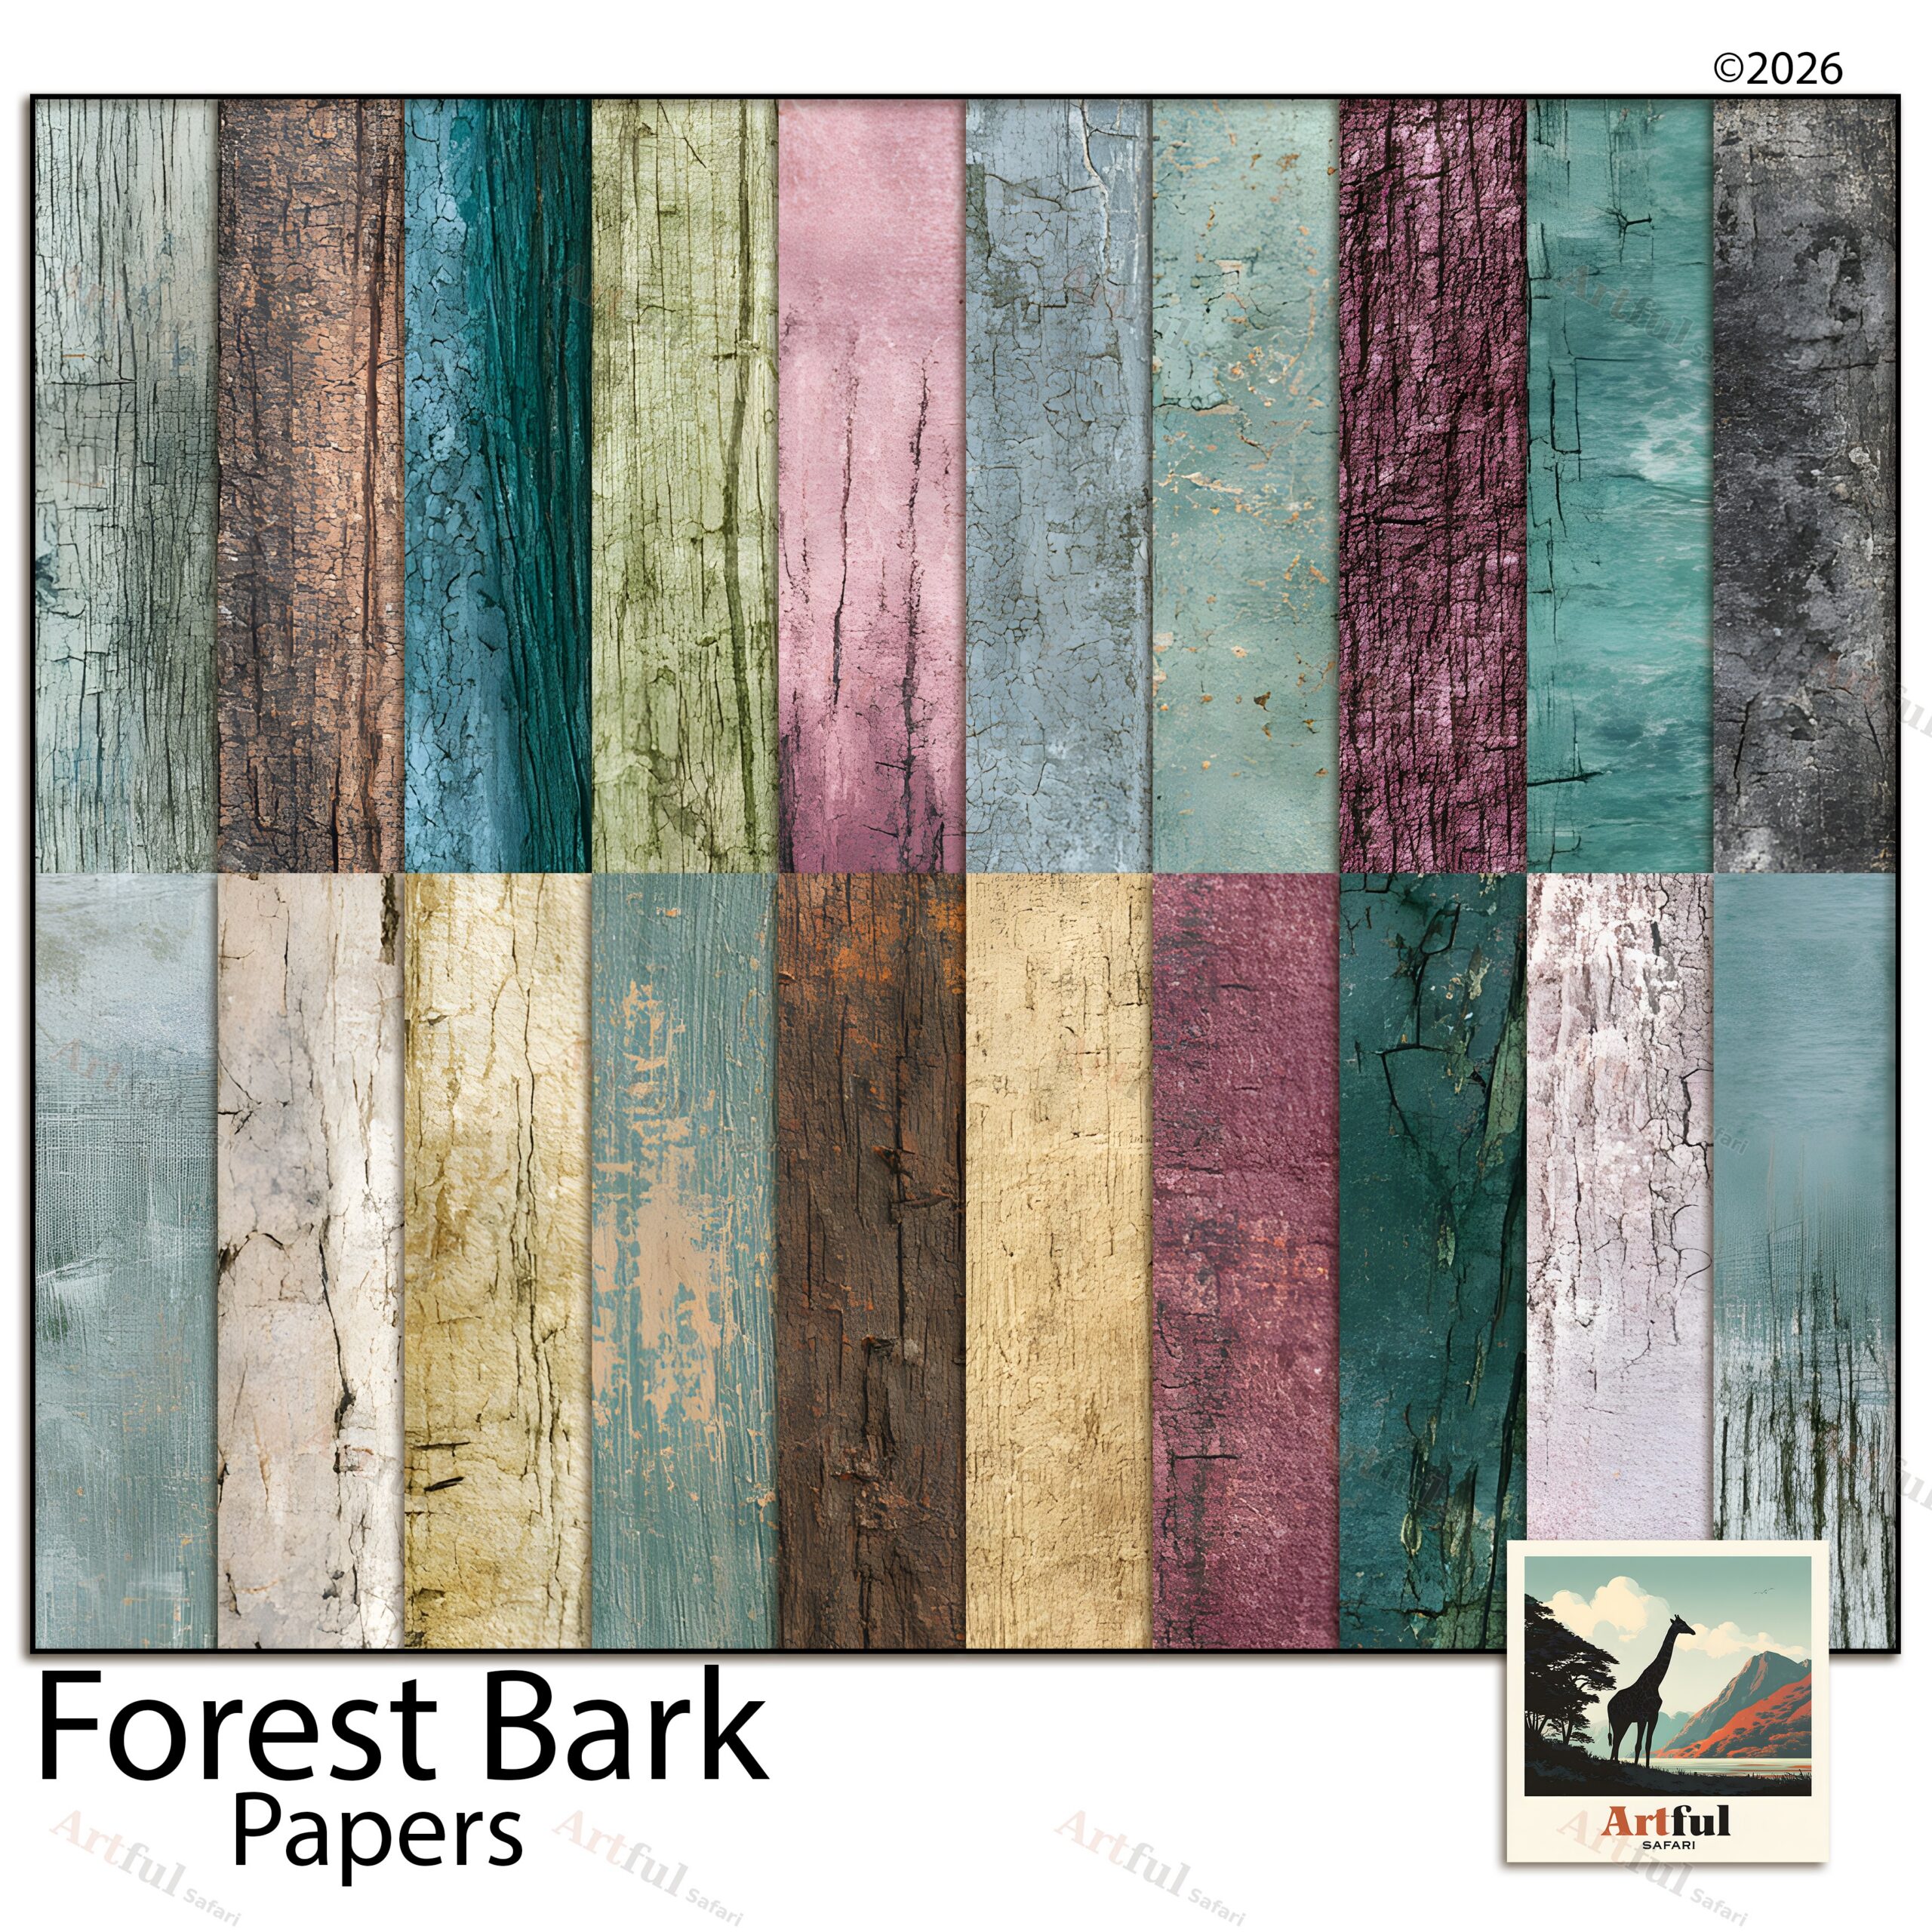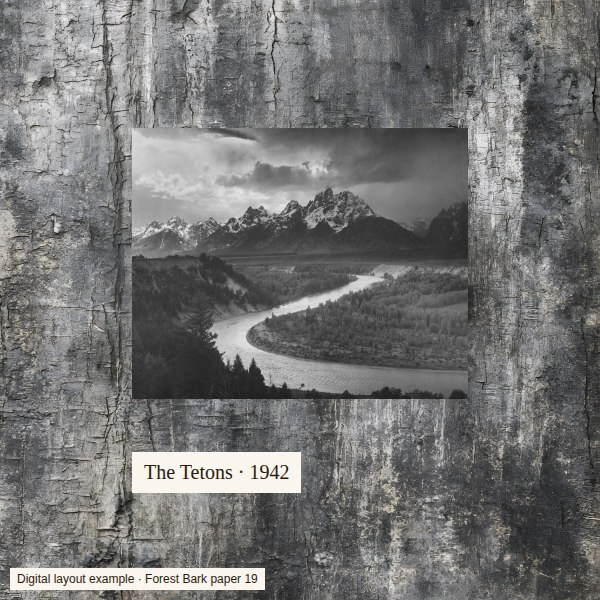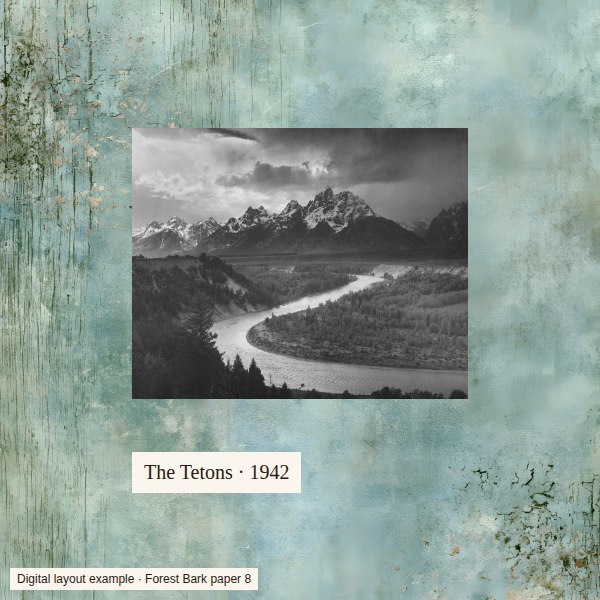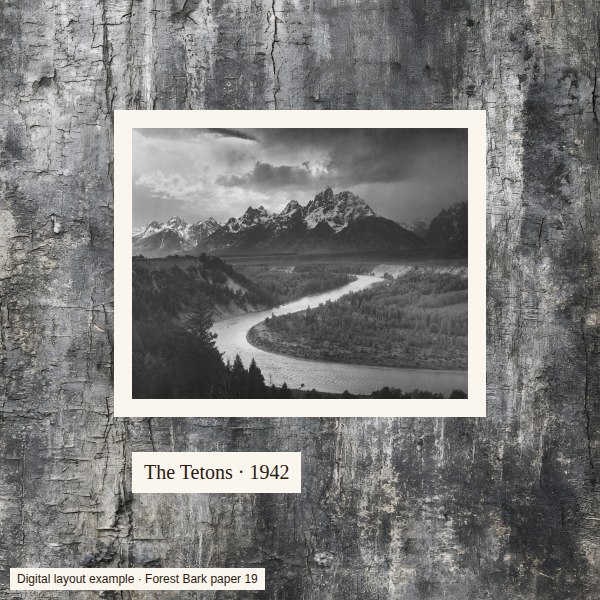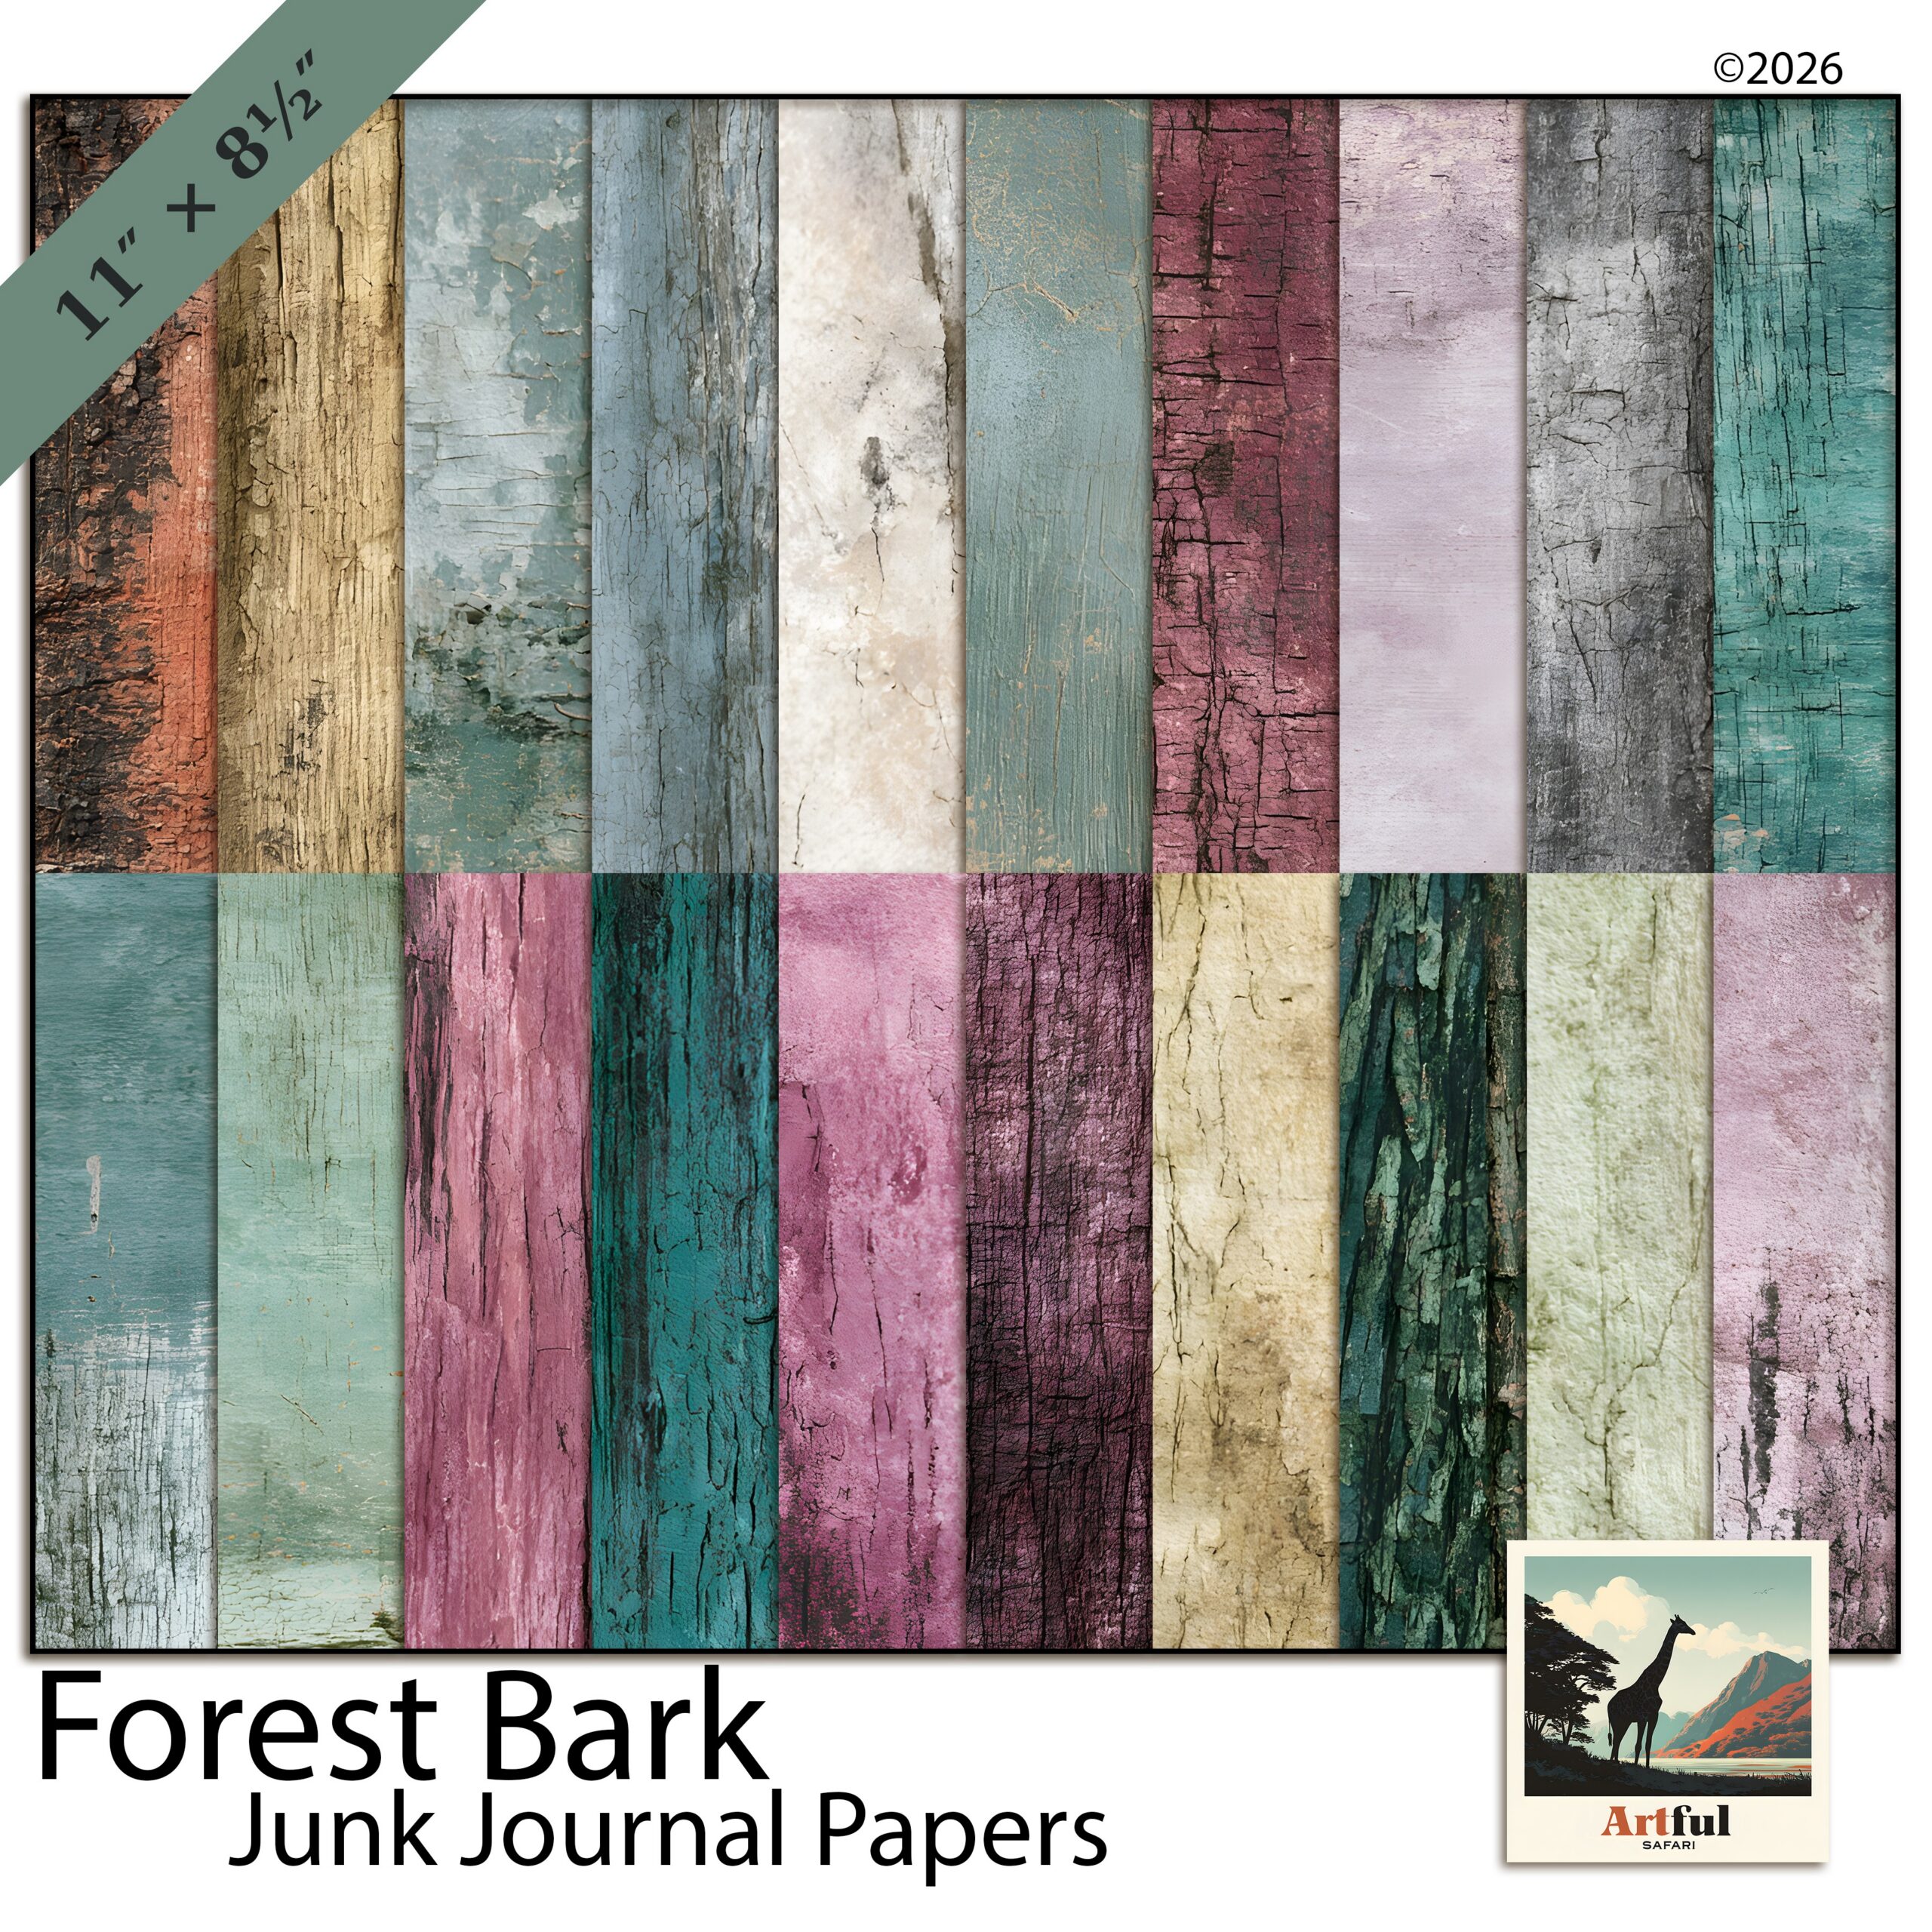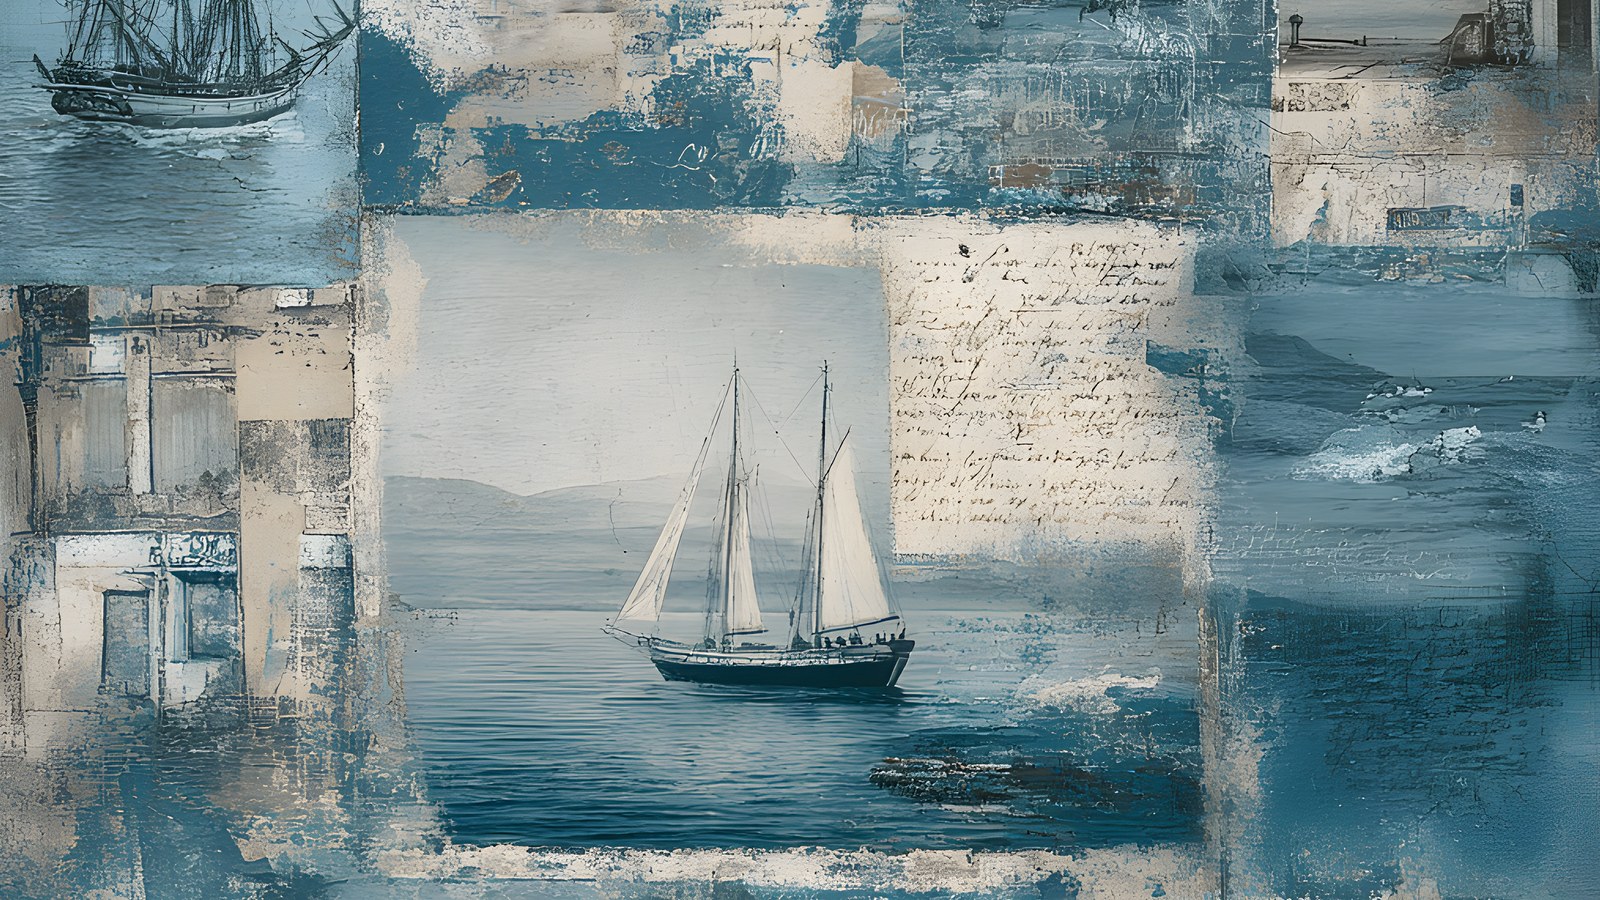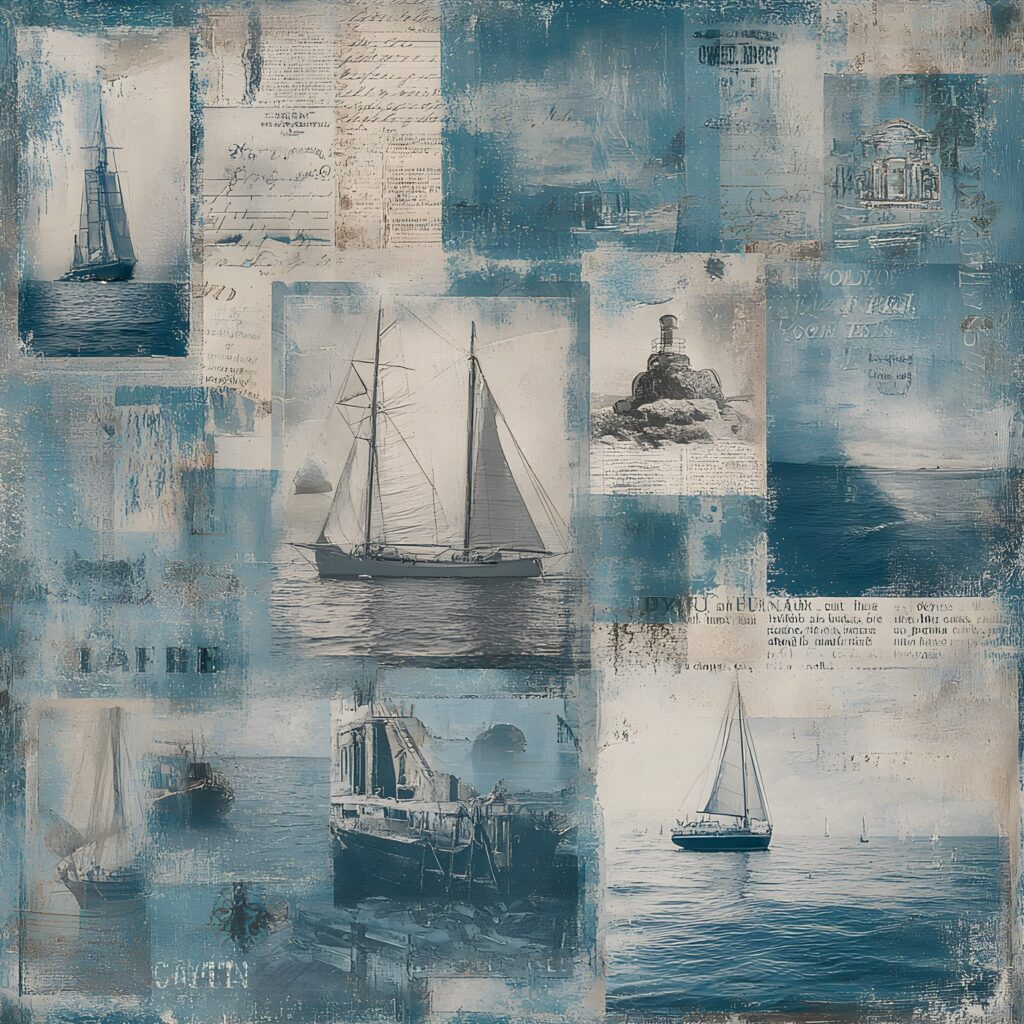
A digital scrapbook or junk journal paper is an image file, not a sheet of paper. You download it, open it like a photo, and then either place it in an app as the background of a page or print it at home. Ours come as JPG files at 300 DPI, and the matching elements come as transparent PNGs.
That is most of the answer. The rest of this guide covers what is actually in the download, how to open the files on a computer, iPad or phone, and what to do when something looks wrong.
What is digital scrapbook paper?
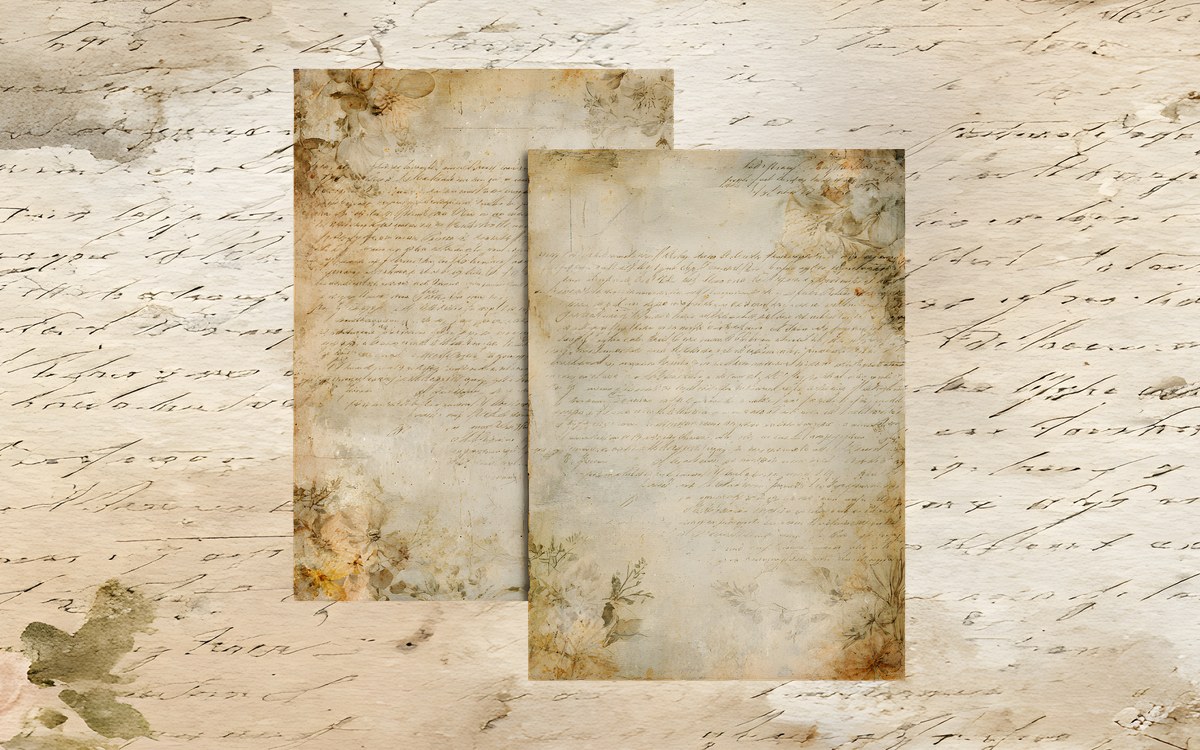
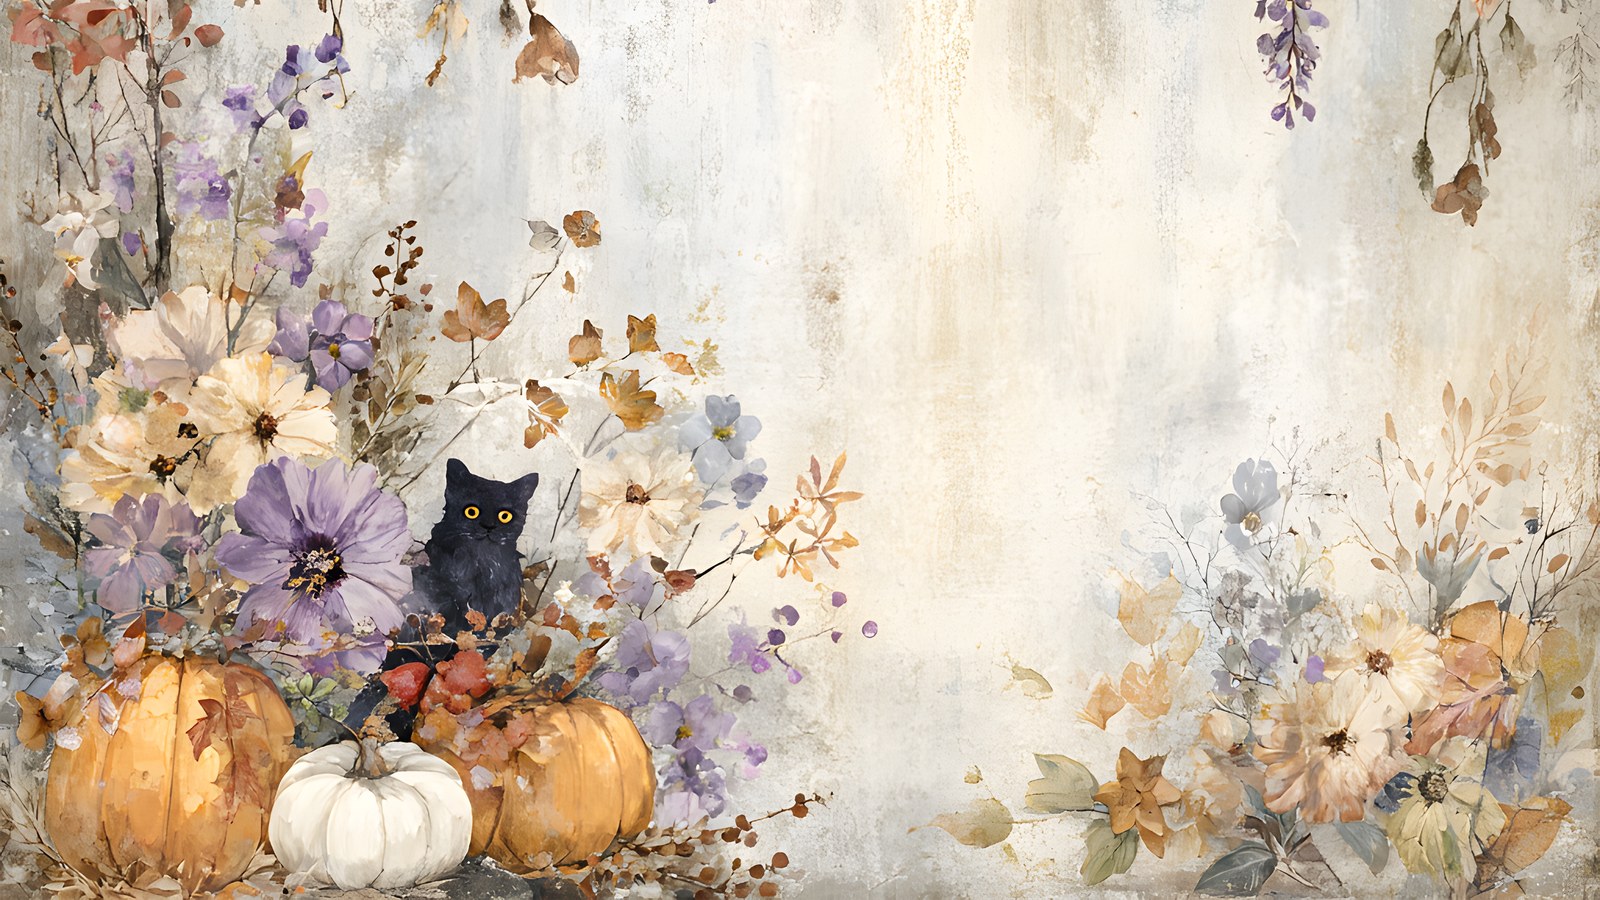
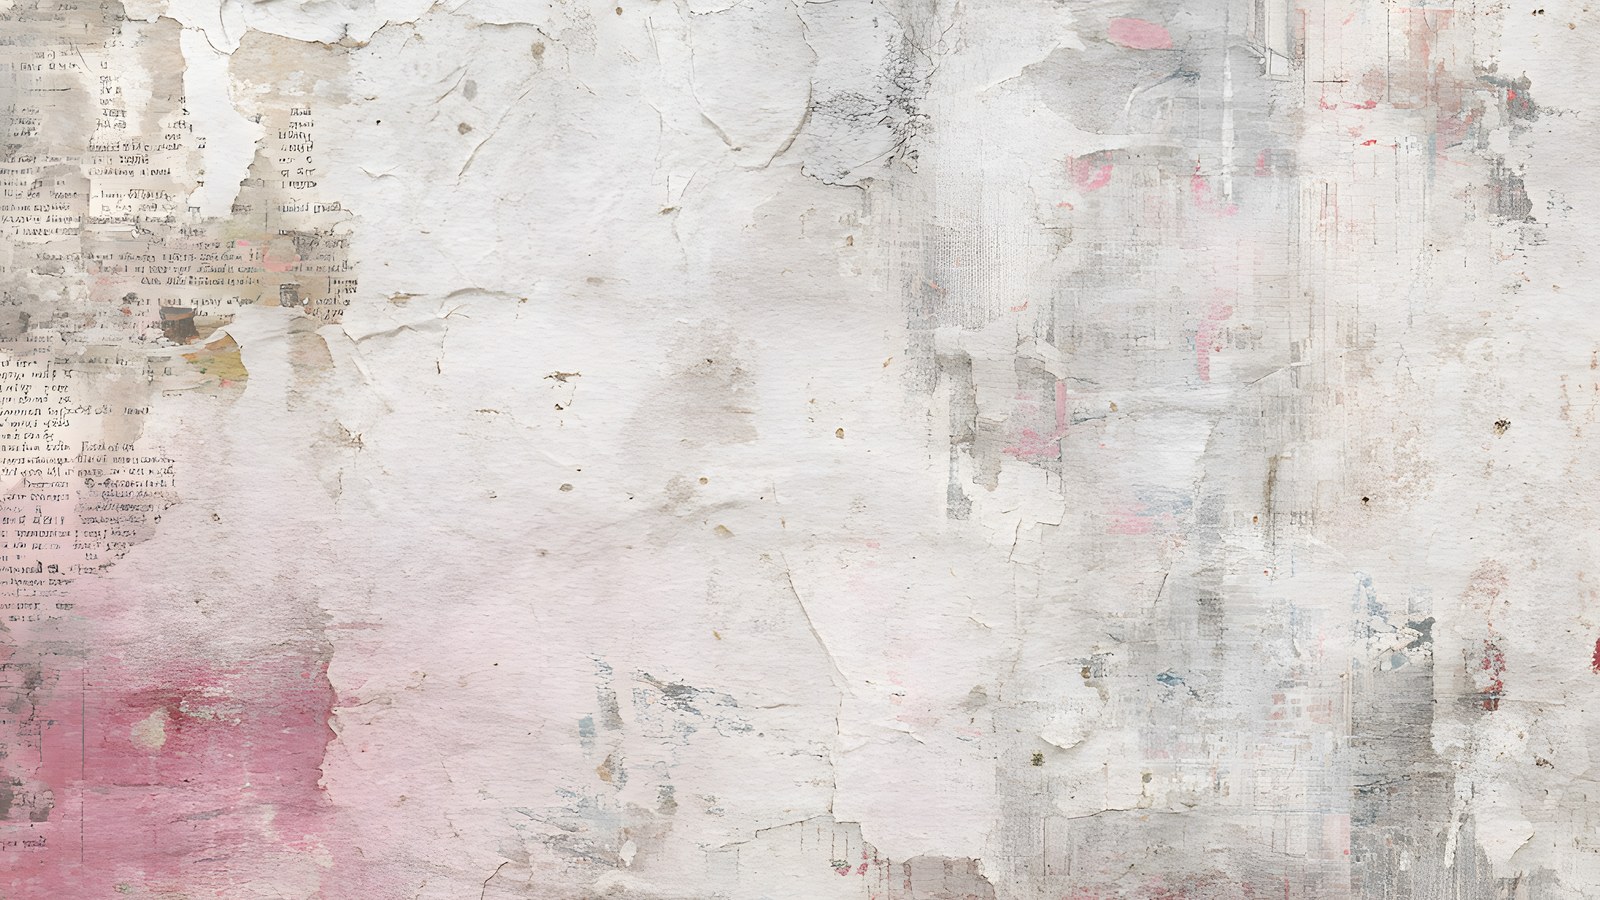
It is a high-resolution picture of a paper design: a texture, a pattern or a painted background. Because it is a file, you can use the same paper as many times as you like, on screen or in print.
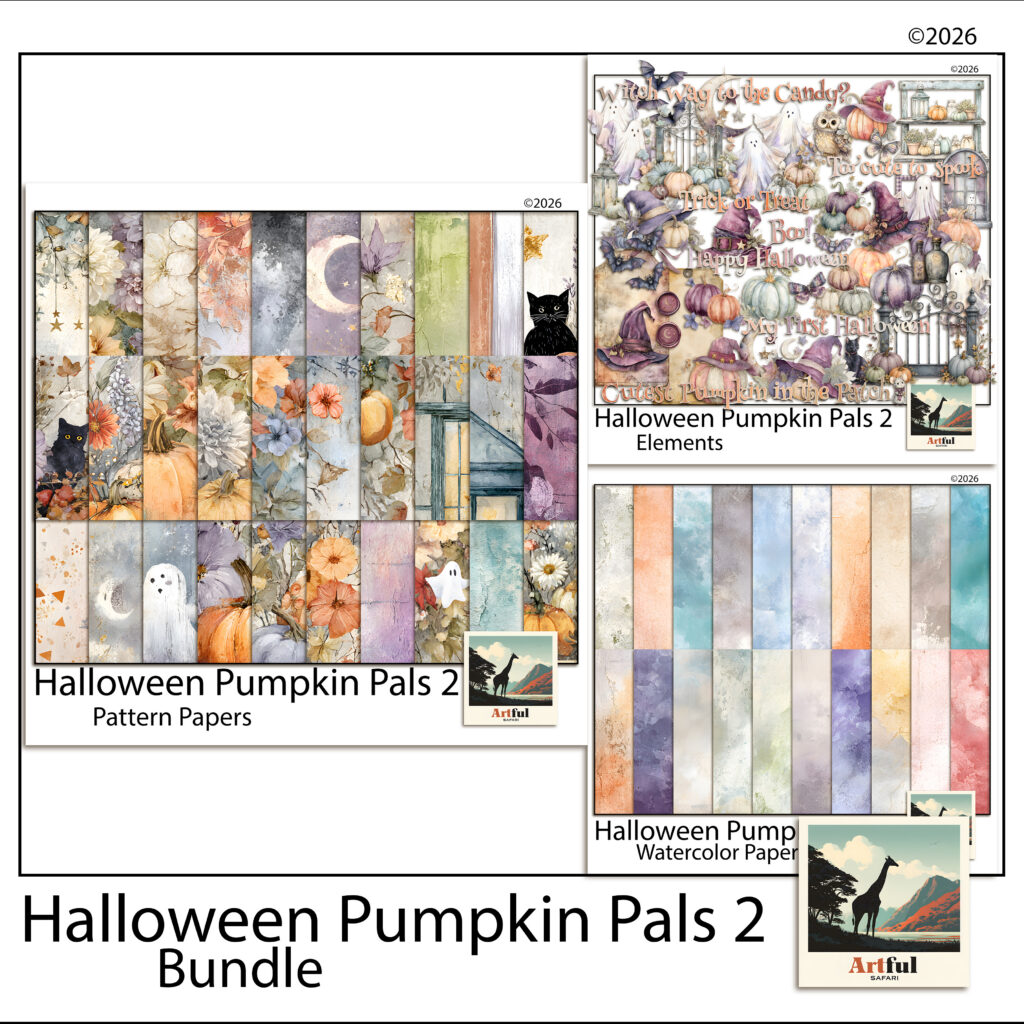
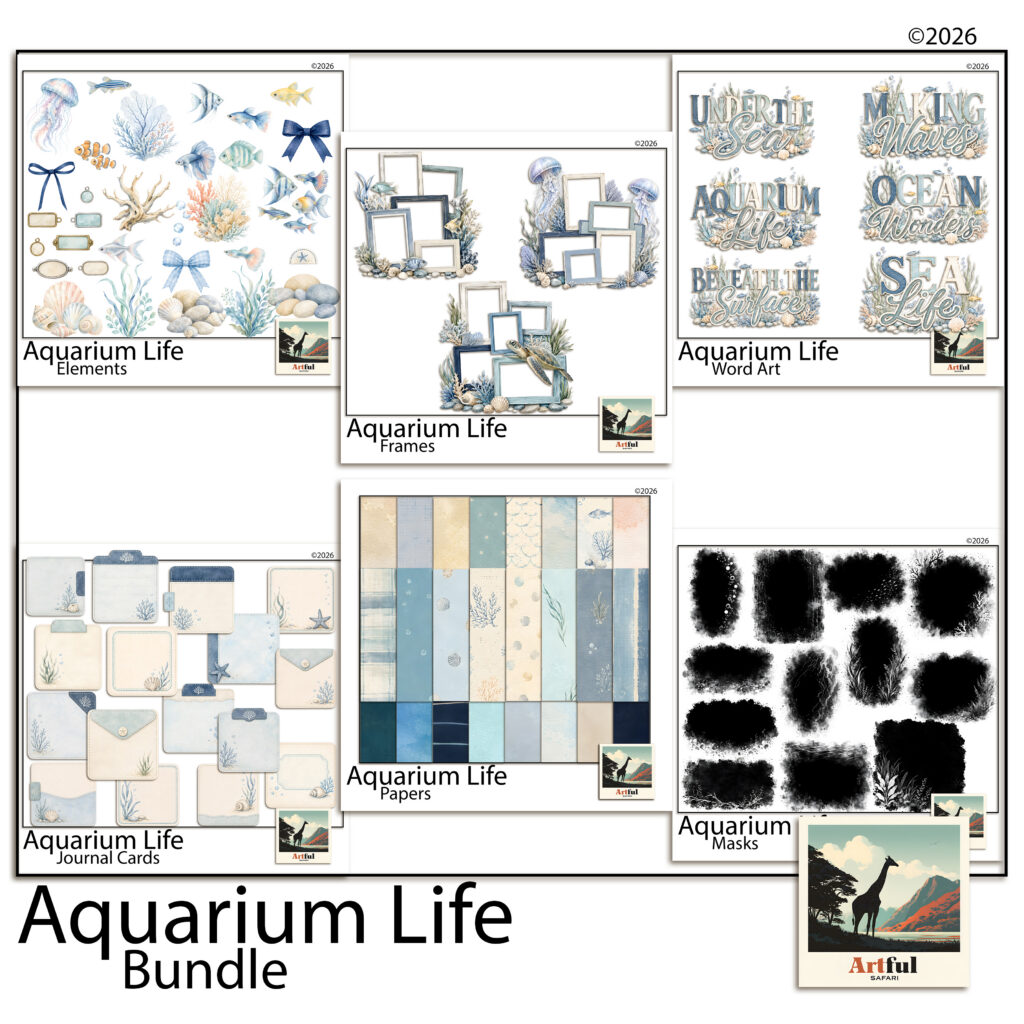
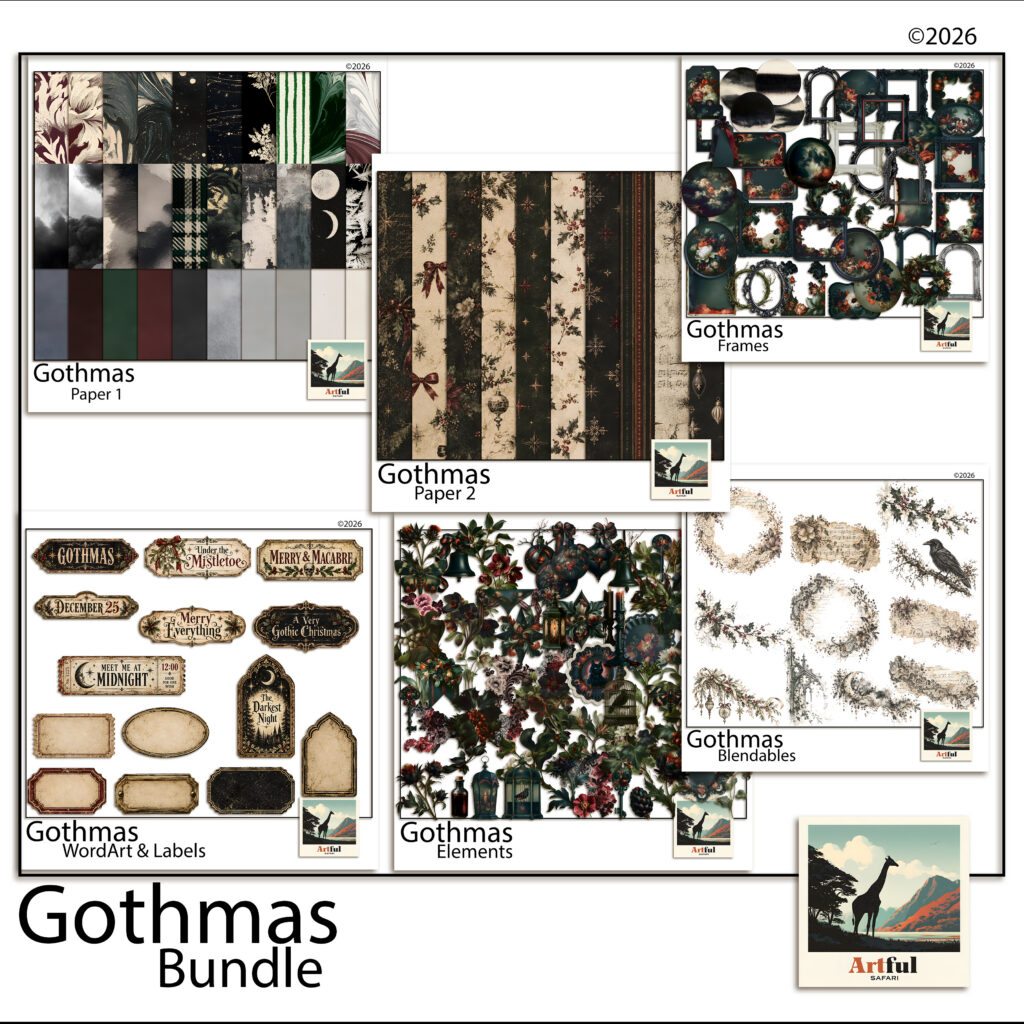
In an Artful Safari kit the files split into two types:
- Papers are JPG files. They are solid rectangles with no transparency, because a background does not need any.
- Elements, frames and alphabets are transparent PNG files. The see-through areas let you lay a frame or a leaf over a paper without a white box around it.
What size are the papers?
Two sizes, depending on the kit:
- Digital scrapbook papers are 12 x 12 inches. At 300 DPI that is 3600 x 3600 pixels.
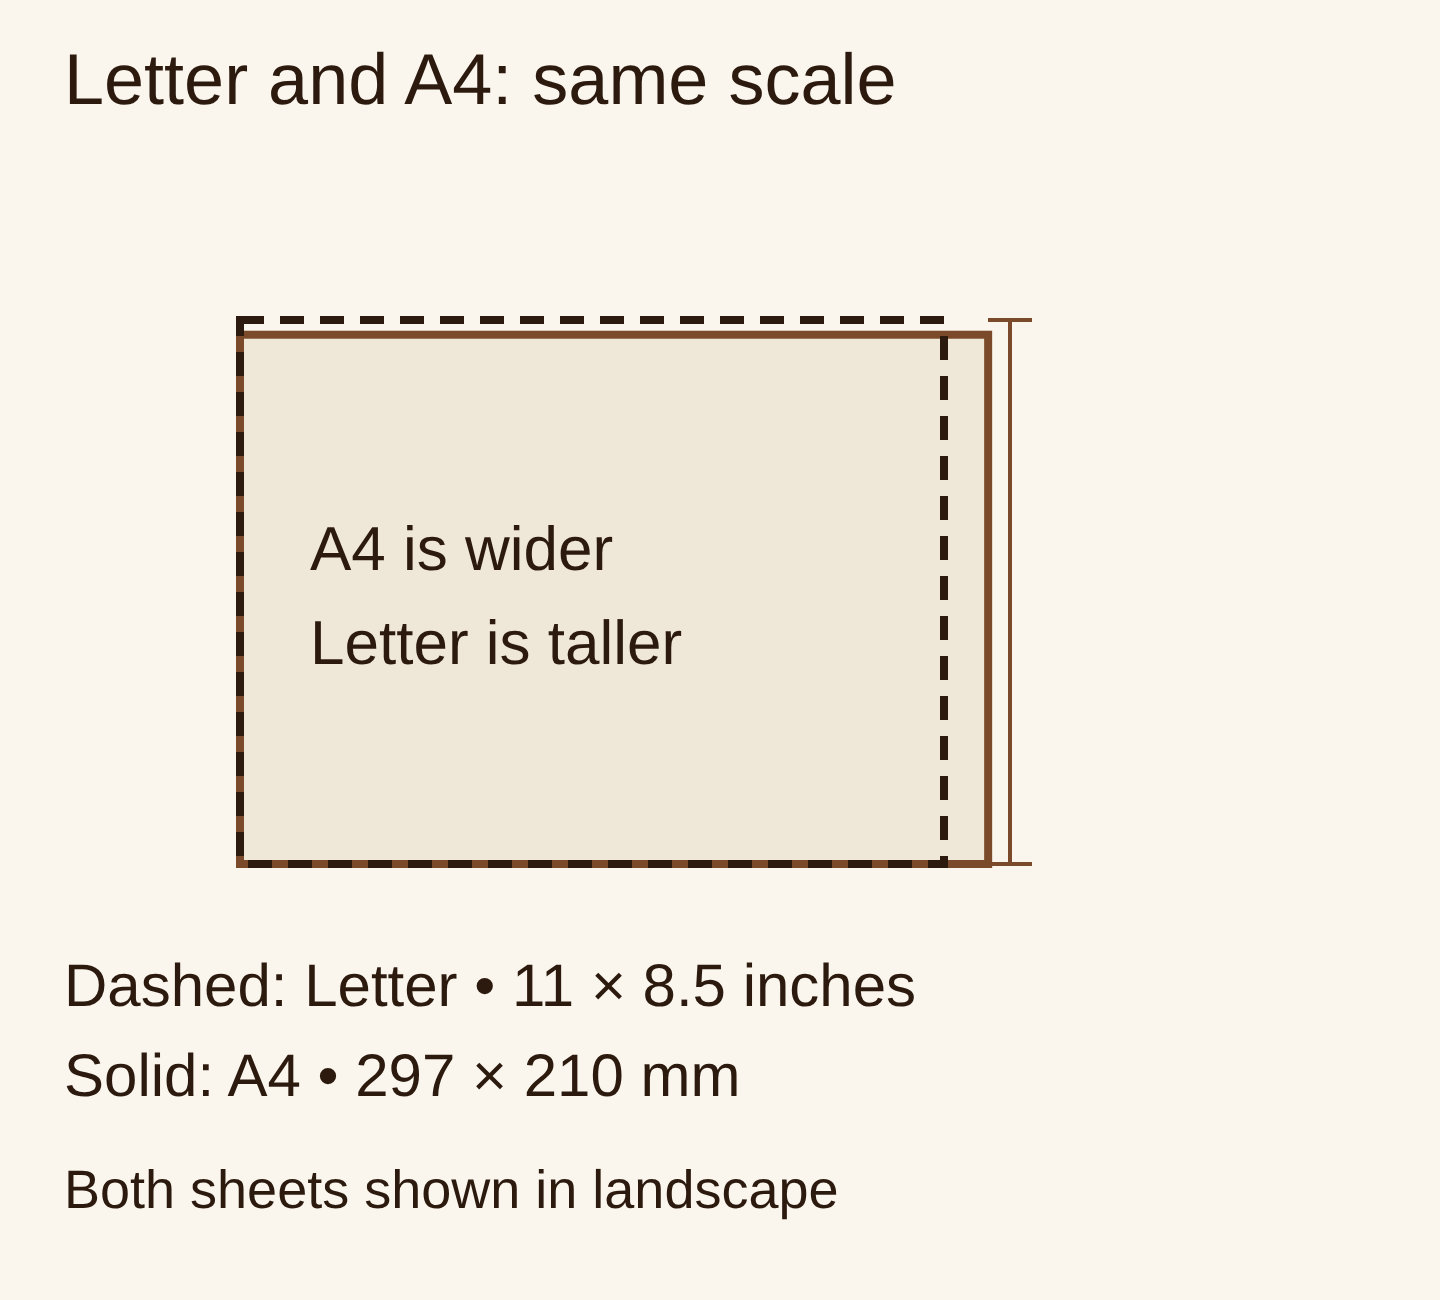
- Junk journal papers are 11 x 8.5 inches, which is US Letter. At 300 DPI that is 3300 x 2550 pixels.
Elements vary in size, because a torn strip and a full frame are not the same shape. Everything is 300 DPI, which is the usual resolution for printing at full size without blur.

How the download works
Nothing is posted to you. You pay on the site, and your download links are on the order confirmation page and in your email straight away. On some listings the file you get first is a short PDF with the link inside it: open the PDF, click the link, and the papers are there. Each product page says which.
Save the files somewhere you will find them again, such as a folder named after the kit. If your computer shows them as a single compressed folder, unzip (extract) it first. Apps can’t see images that are still inside a compressed folder.
How to open JPG scrapbook paper files
A JPG is the same format your phone uses for photos, so you don’t need special software to look at one.
- Windows: double-click the file. It opens in the Photos app. To use it on a page, open it from inside the app you design in instead.
- Mac: double-click to open it in Preview.
- iPad or iPhone: save the files to the Files app first, then import them into Procreate or GoodNotes the same way you would add any other image.
Opening a paper only lets you look at it. To make a page, you bring it into a design app or print it.
Using the papers in an app
The files work in Procreate, Photoshop, Canva and GoodNotes, and in anything else that opens JPG and PNG. The method is the same everywhere:
- Start with one paper as the background layer.
- Add your photo on top, keeping the centre clear for it.
- Add a frame around the photo and one or two PNG elements. Repeat two or three motifs across a spread instead of using everything at once.
For app-specific steps, see making your first page in Canva, layering papers in Procreate and how to make a digital junk journal.
Printing the papers for a paper journal
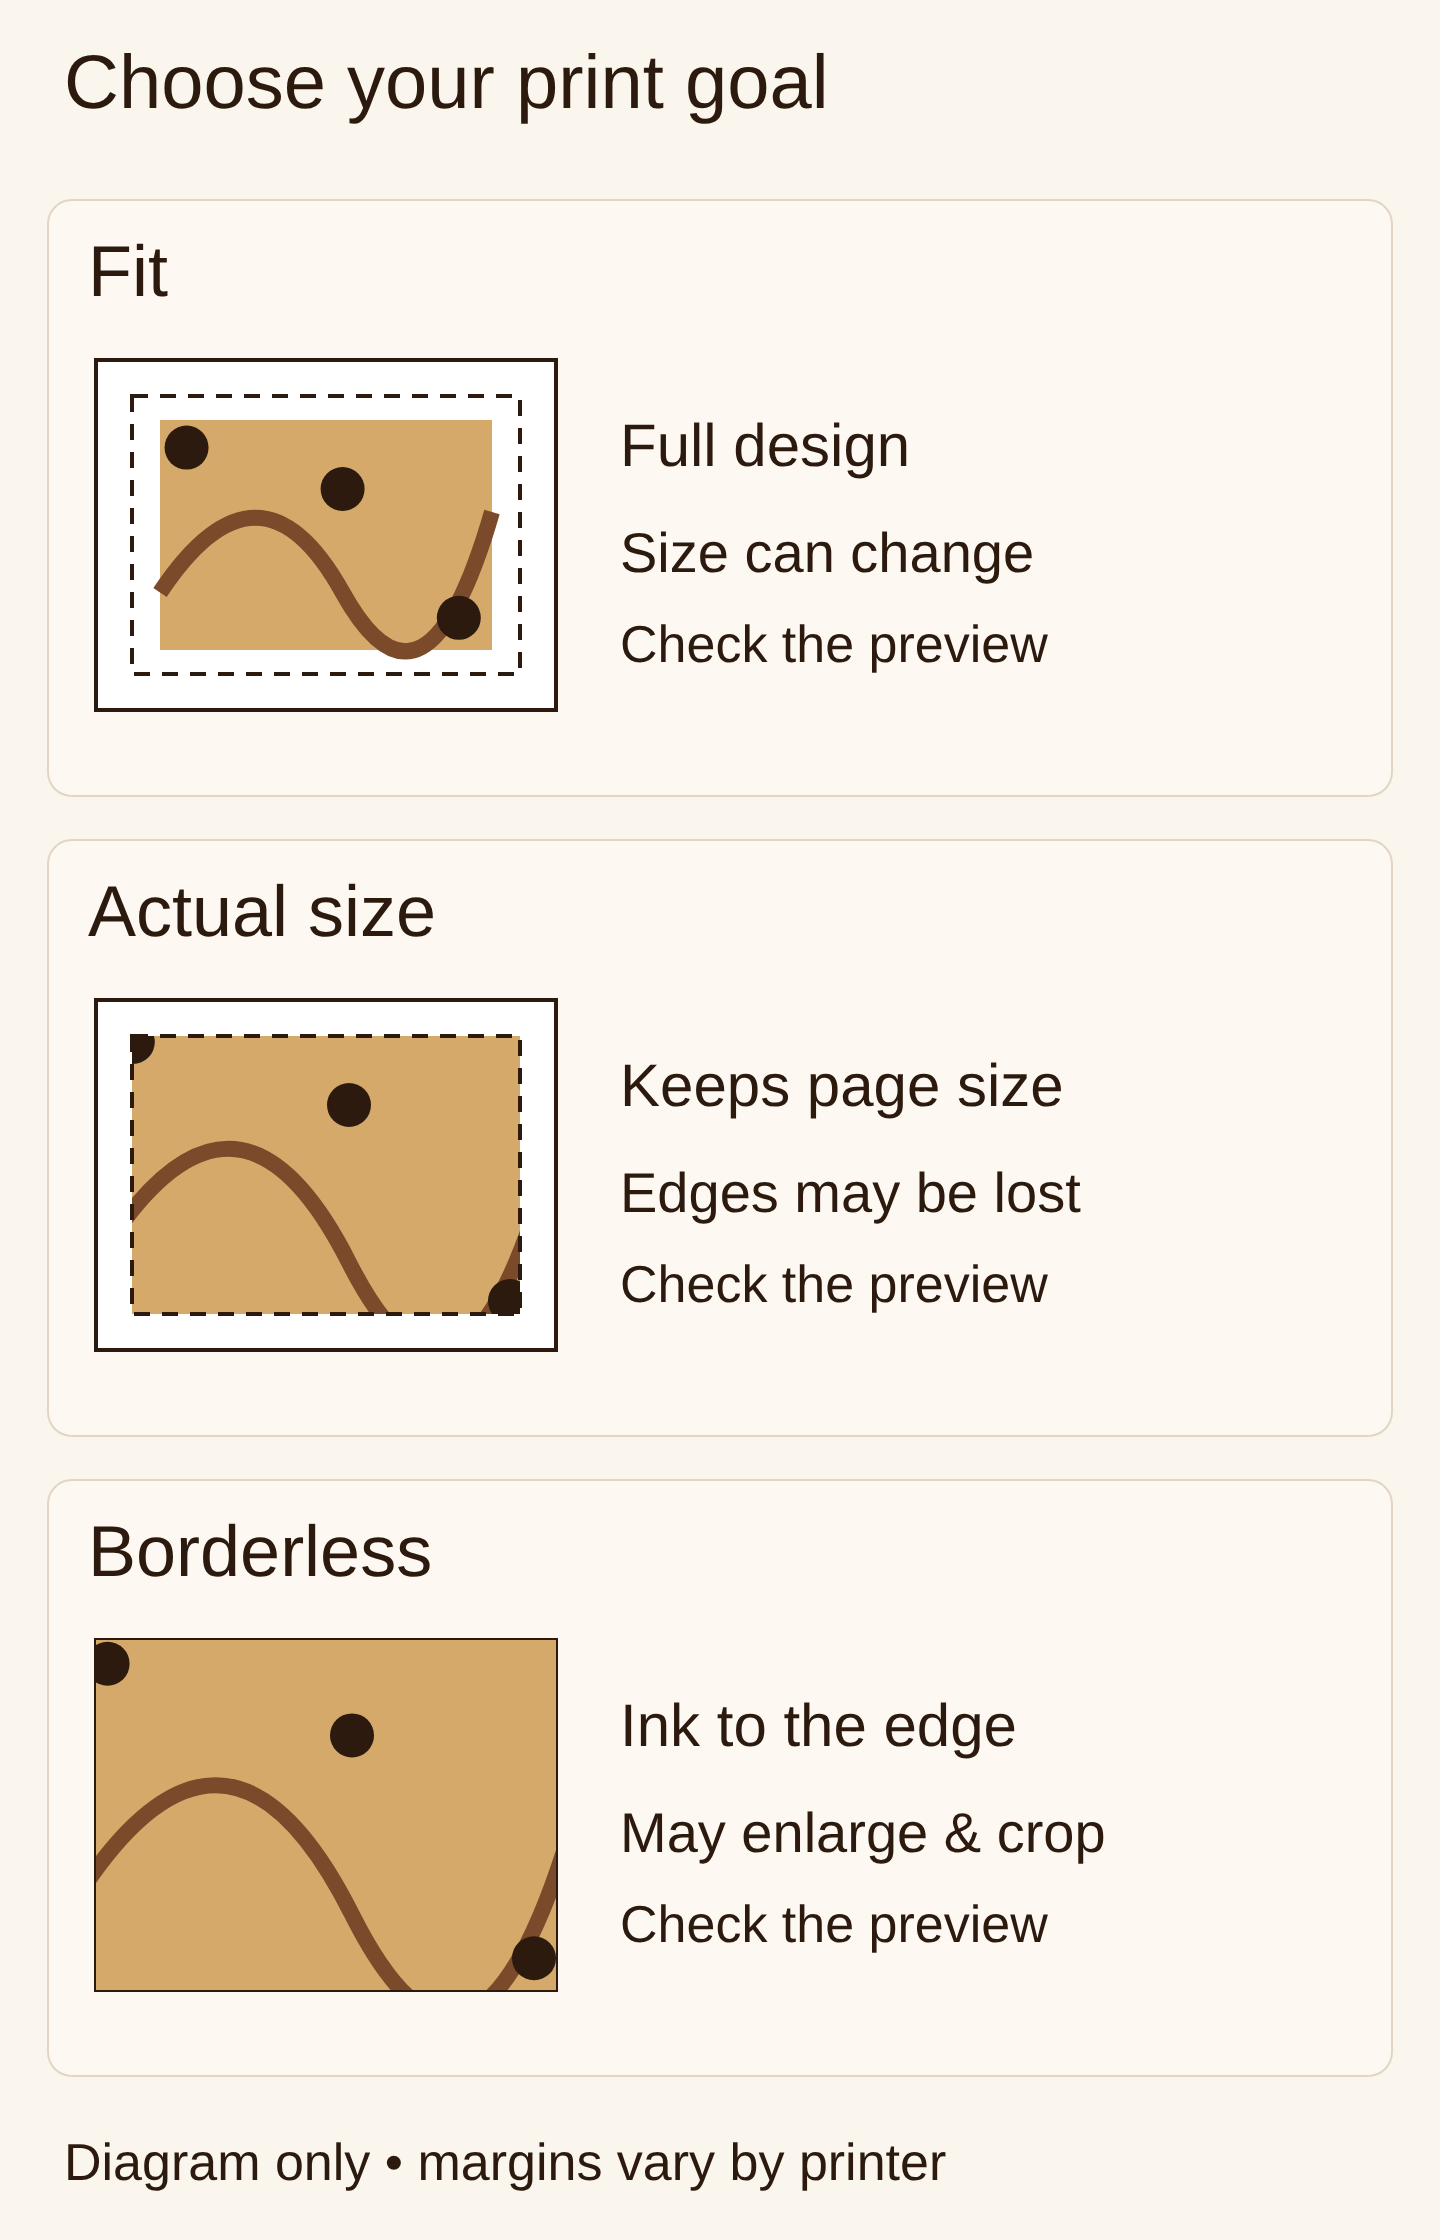
You don’t have to print anything, but the junk journal papers are sized to print edge to edge on US Letter. Print at 100% scale with “fit to page” turned off, on a matte paper. The full settings, including paper weight and A4 sizing, are in how to print junk journal papers at home. If a page comes out the wrong size, see printing junk journal papers at the size you need.
When something looks wrong
- A PNG element has a white or chequered box around it. A checkerboard in a preview just means “transparent”. It disappears once the element is placed on a paper. A solid white box usually means the app flattened the image on import. Try importing it as an image or photo, not as a background.
- The paper looks blurry. Check that you opened the downloaded file and not a preview thumbnail. A 12 x 12 paper should read 3600 x 3600 pixels in the file info.
- The app can’t find the files. They are probably still in your Downloads folder or still compressed. Extract them and move them into a folder the app can reach, such as Files on an iPad.
Where to start
If you want papers and elements that already match, the Folklore Forest Botanical Junk Journal Bundle has coordinated papers as JPG and elements, frames and letters as transparent PNG, all in one palette. The rest of the collection is in Folklore Forest. The same woodland is also a solo game: the Folklore Forest solo journaling game is played with an ordinary deck of playing cards and a journal you already own. For other themes, browse the digital papers and junk journal collections.
Common questions
Can I use the papers commercially?
Yes, for small-business use. You can sell finished products made with the art, such as cards, prints and stickers. You can’t resell or share the files themselves.
Do I need Photoshop?
No. Canva, Procreate and GoodNotes all work, and so does any app that opens JPG and PNG.
Can I use the same paper more than once?
Yes. It is a file, so it doesn’t get used up. Use it on as many of your own pages as you like.