To layer digital scrapbook papers in Procreate, you import each paper onto its own layer in the Layers panel, then reorder, resize and blend them with opacity and blend modes. Clipping masks drop photos into frames, and Alpha Lock keeps texture inside a shape.
The six steps below take a blank 12 x 12 canvas to a finished, layered page.
Any of our digital scrapbook papers can be imported into Procreate the same way.
Table of Contents
How do you layer digital scrapbook papers in Procreate?
Layering is just stacking each digital scrapbook paper on its own layer in the Layers panel, then deciding what sits where and how the edges blend. Procreate does the heavy lifting. Once you understand the Layers panel, blend modes and clipping masks, a multi-paper page takes minutes.
Procreate is a popular choice for this because it gives you precise control over every layer, real blend modes, and clipping masks, all on a one-off purchase with no subscription. If you have an iPad and an Apple Pencil, it is hard to beat for scrapbook pages.
The walkthrough below assumes you have digital scrapbook papers already saved to your iPad (in Files or your Photos). If you have those, you are ready. The whole sequence is six steps, and the first few become muscle memory quickly.
Step 1: Set up the canvas
Open Procreate, tap the plus, and choose Create Custom Size. Set it to 3600 x 3600 px at 300 DPI for a standard 12 x 12 inch page. Procreate caps the number of layers based on canvas size and your iPad, so a 300 DPI 12 x 12 is a sweet spot: big enough to look sharp, small enough to keep plenty of layers.
If you go bigger than this, Procreate gives you fewer layers, which bites on a busy collage page. If you go smaller, the page looks soft when you zoom. So unless you have a reason to change it, stay at 12 x 12 and 300 DPI.
Name the canvas something you will recognise later. Future you will thank present you.
Step 2: Import your first digital scrapbook paper as the base
Tap the wrench (Actions) > Add > Insert a file (or Insert a photo). Pick your background paper. It comes in on its own layer. Pinch to fit it to the canvas, then tap the arrow to confirm.
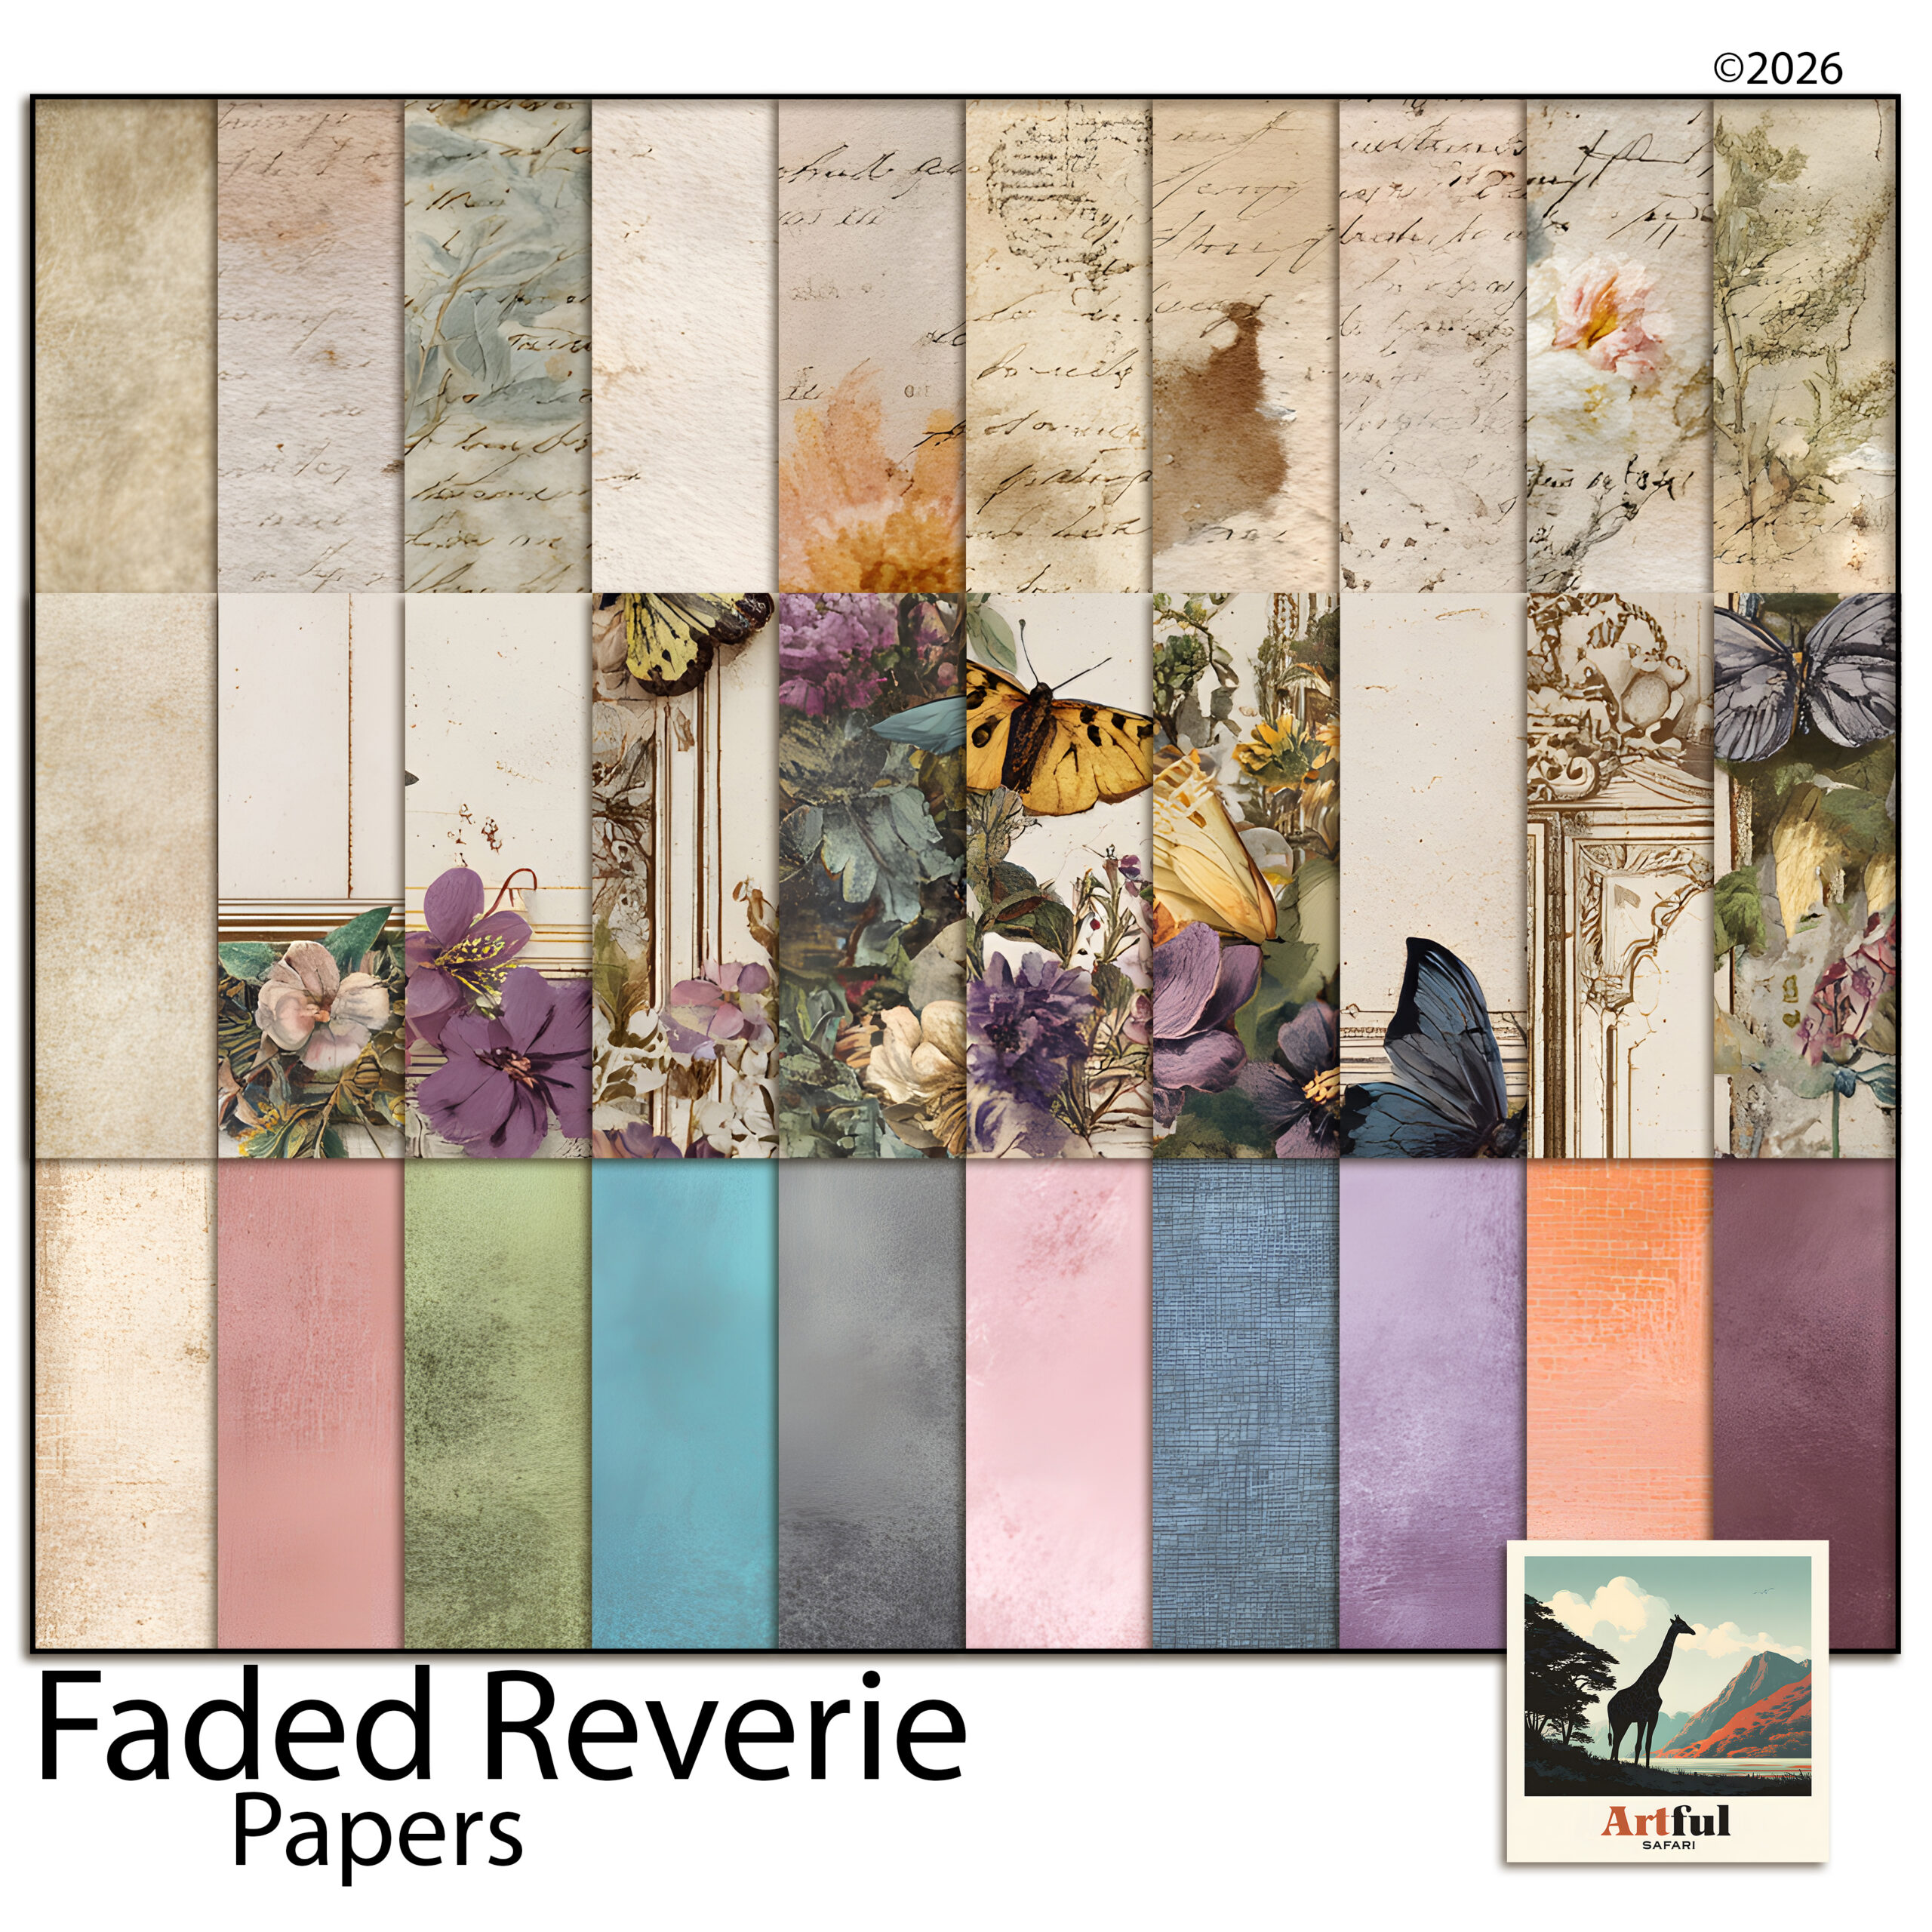
Choose a quiet, textured digital scrapbook paper for the base. A loud pattern here makes everything above it hard to read. A faded linen or a soft olive texture works well as the bottom of the stack.
Step 3: Add more digital scrapbook papers, each on its own layer
Repeat the insert step for every digital scrapbook paper you want. Each lands on a new layer above the last. Open the Layers panel (the two-squares icon, top right) and you will see them stacked. The top layer in the panel is the top layer on your page.
A habit worth starting now: rename your layers as you go. Tap a layer, choose Rename, and call it “base paper” or “blue tile” or “photo”. On a simple page you can get away without it, but the moment a spread has a dozen layers, named ones save you from poking at the wrong thing.
- Insert the paper.
- Resize and position it (drag, pinch, rotate).
- Drag the layer up or down in the panel to change the order.
This is the core of layering digital scrapbook papers in Procreate: one paper per layer, reordered by dragging. Keep the layers panel open while you work so you always know what you are touching.
Step 4: Blend the layers with opacity and blend modes
Two controls do most of the magic. Tap the N beside a layer to open them.
- Opacity fades a layer so the texture underneath shows through. Great for letting a base grain peek through a top paper.
- Blend mode changes how a layer mixes with the one below. Multiply deepens and is good for shadows and overlays. Overlay and Soft Light add texture and contrast. Linear Burn ages a paper nicely.
Here is a quick reference for the modes I reach for most on paper pages.
| Blend mode | What it does | Use it for |
|---|---|---|
| Normal | No mixing, full layer | A solid top paper or a frame |
| Multiply | Darkens, keeps shadows | Drop shadows, grungy overlays, stamps |
| Overlay | Boosts contrast and texture | Adding grain to a flat paper |
| Soft Light | Subtle contrast lift | A light texture wash over the base |
| Linear Burn | Deep darkening | Ageing and tea-stained looks |
Step 5: Drop a photo into a paper or frame with a clipping mask
Clipping masks are how you get a photo to sit neatly inside a frame or a torn paper shape. Put the photo on a layer directly above the shape, tap the photo layer, and choose Clipping Mask. The photo now only shows where the shape underneath exists. Move or scale the photo and it stays inside the boundary.
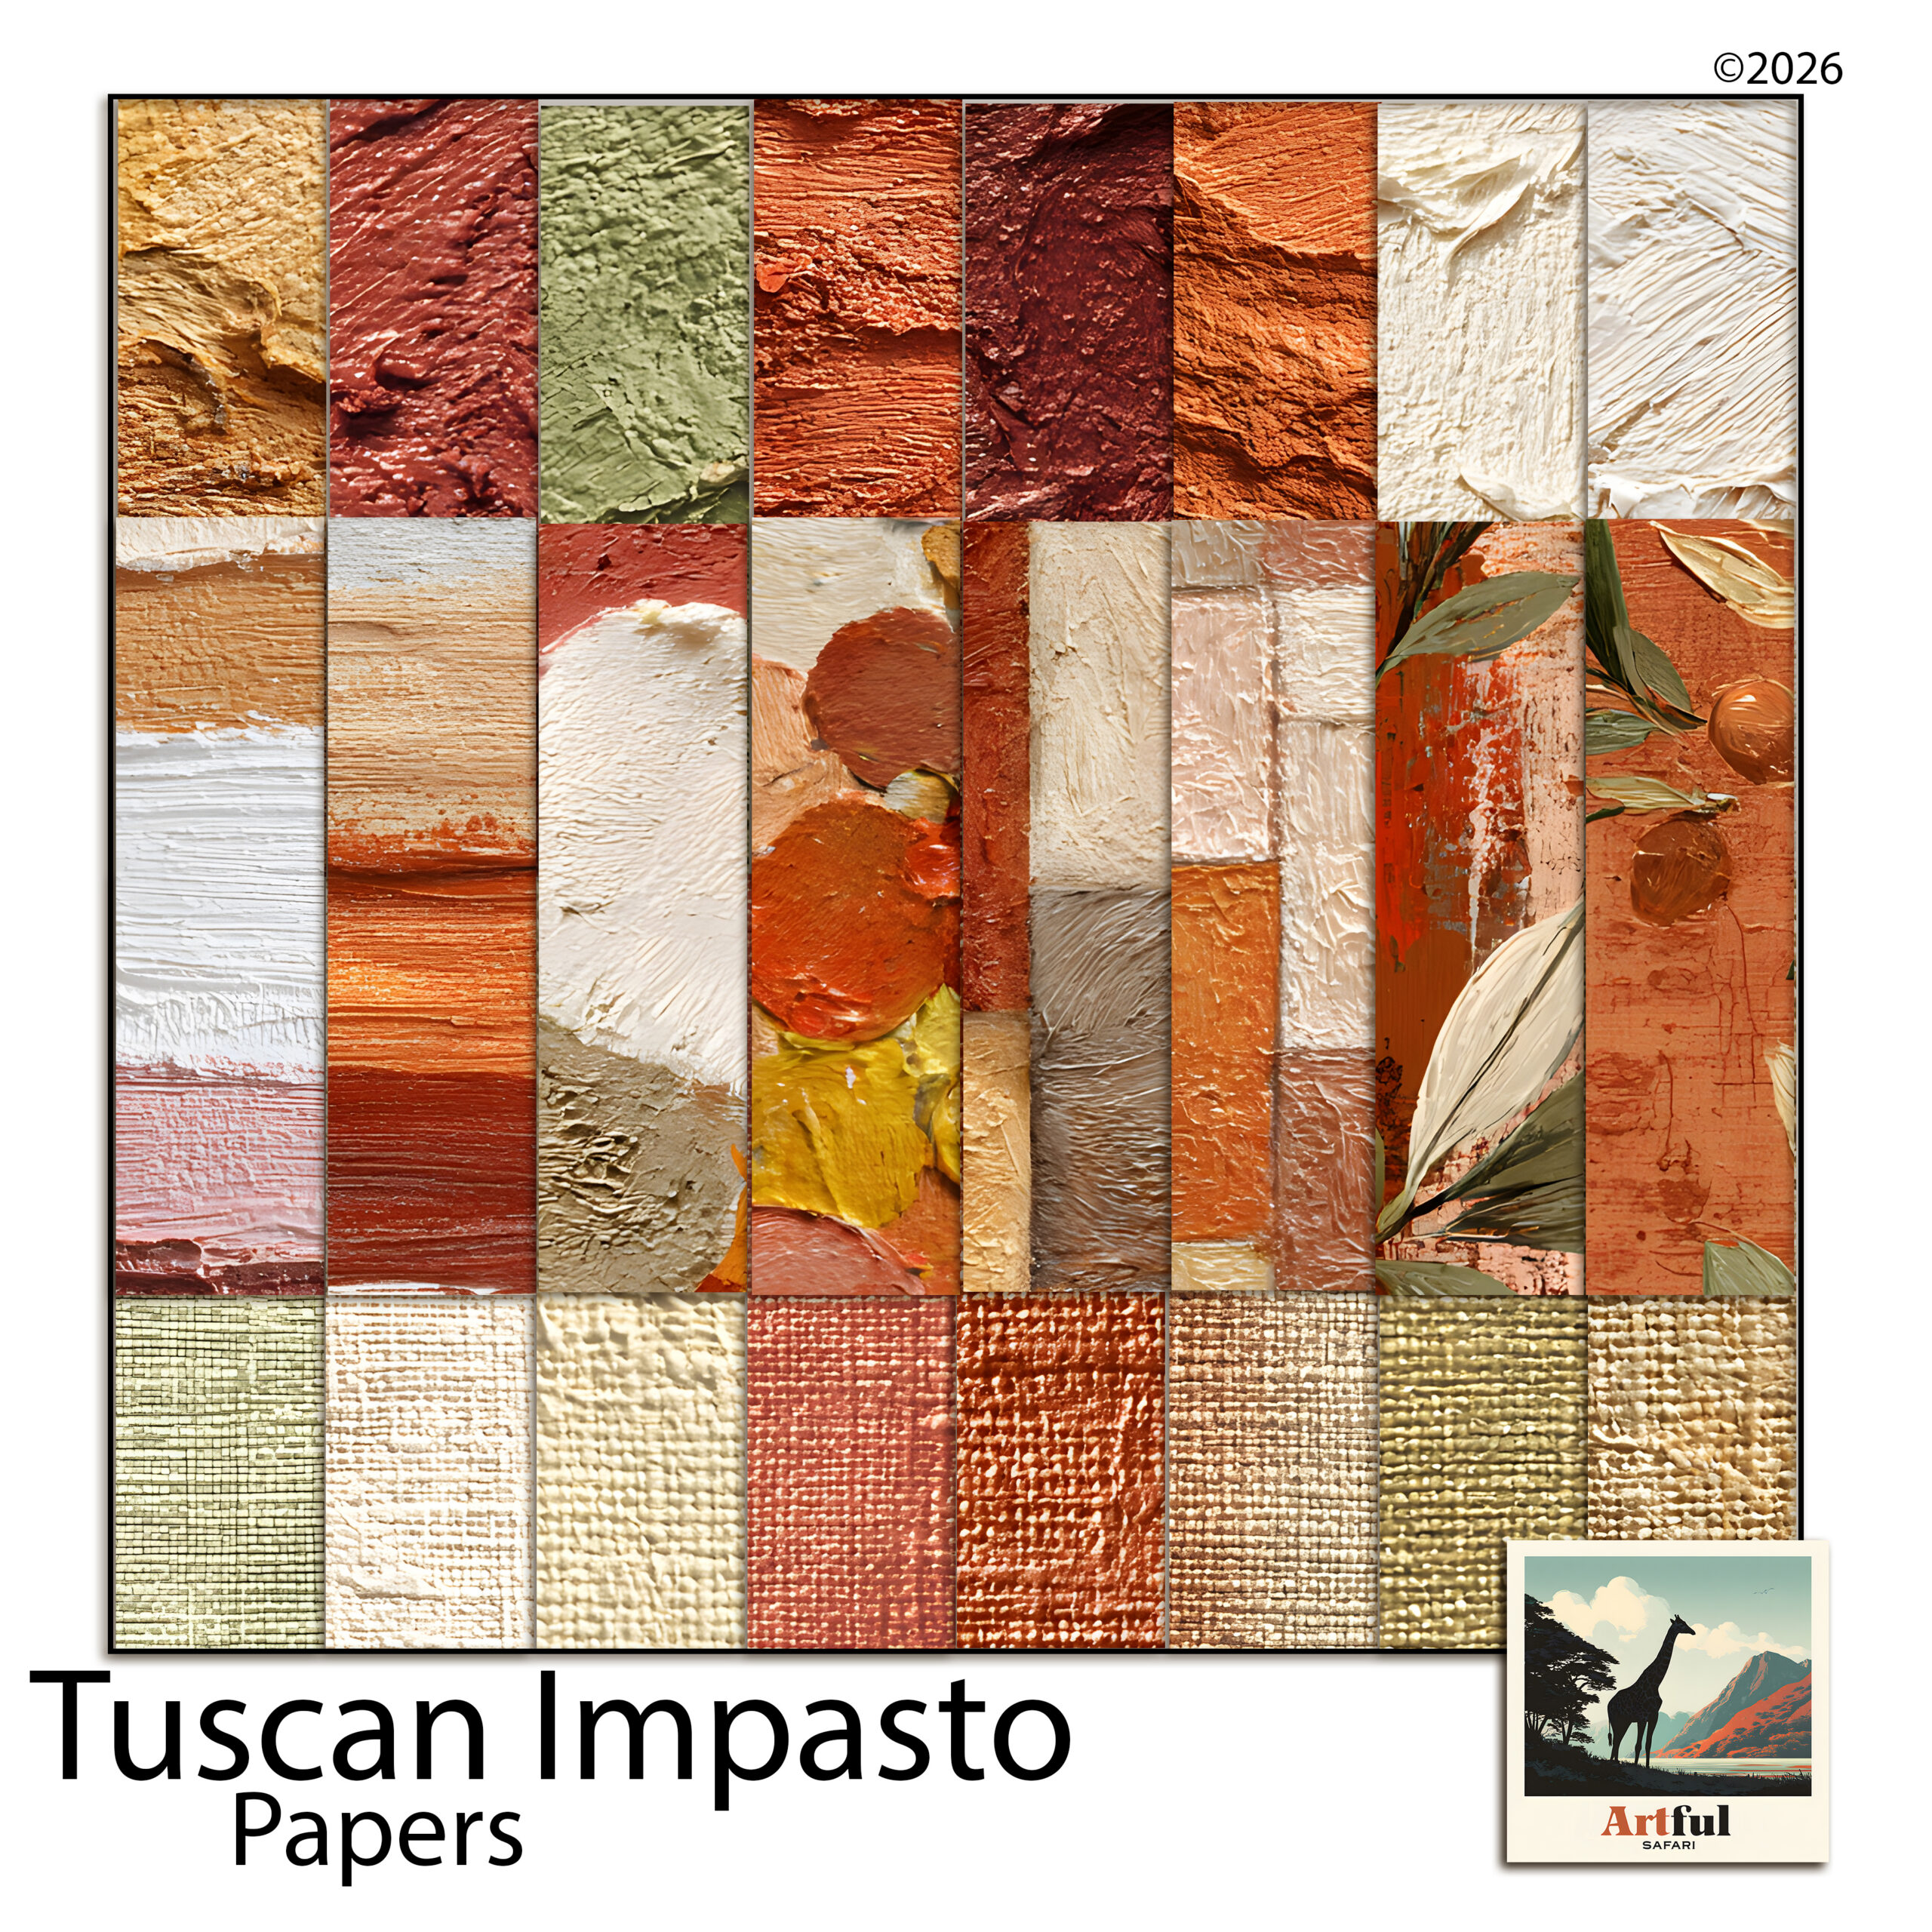
This is also how you fill text or a cut-out shape with a patterned paper. Make the shape, drop the paper above it as a clipping mask, and the pattern pours into the shape with the edges already clean. It feels like a trick the first time and then you use it on every page.
Clipping masks deserve their own walkthrough, so for the full version across Procreate, Photoshop and Canva see How to Use Clipping Masks in Digital Scrapbooking.
Step 6: Add depth and export
Two finishing touches lift a flat page:
- Shadows. Add a new layer under a paper, set it to Multiply, and brush a soft grey along one edge. Now the paper looks lifted off the page.
- Alpha Lock. Tap a layer and turn on Alpha Lock to paint texture or colour only inside that paper’s shape, without spilling over the edges.
When the page is done, go Actions > Share. Export a PNG or JPG for the finished image, and a Procreate file if you want to keep every layer editable. Save both, and back them up to a cloud drive or external disk. PNG keeps the most quality, while a JPG makes a smaller file that is perfectly fine for sharing online.
A quick word on which digital scrapbook papers layer best. Soft, low-contrast sheets are the friendliest, because you can stack three or four without the page turning into a fight. Busy, high-contrast papers want to be the only patterned thing on the spread, so use one of those as a feature and keep the rest quiet.
Common layering mistakes in Procreate
- Editing the wrong layer. Always glance at the Layers panel and confirm the right one is highlighted before you draw or move.
- Too many normal-mode papers. Everything at full opacity looks like stacked cards. Vary opacity and blend modes so layers talk to each other.
- Forgetting the editable file. Flatten a copy, never your only file, or you lose the ability to tweak later.
- Clashing palettes. Papers from one matched set layer far more easily than a grab-bag from five kits.
Key takeaways
- Work at 3600 x 3600 px / 300 DPI and put one paper per layer, reordered by dragging in the Layers panel.
- Opacity and blend modes (Multiply, Overlay, Soft Light) are what make layers blend instead of stack.
- Use a clipping mask to drop photos into frames and torn shapes; use Alpha Lock to paint inside a paper.
- Export a flat PNG or JPG plus a layered Procreate file, and back both up.
Frequently asked questions
What canvas size should I use for digital scrapbook papers in Procreate?
Use 3600 x 3600 px at 300 DPI for a standard 12 x 12 inch page. Most digital scrapbook papers are made at that size, and it stays sharp when you zoom in while leaving Procreate plenty of room for layers.
How do I change which paper sits on top in Procreate?
Open the Layers panel and drag a layer up or down. The top layer in the panel is the top layer on your page, so reordering is just dragging.
Which blend mode is best for layering papers?
Multiply is the workhorse for shadows and grungy overlays, while Overlay and Soft Light add texture and contrast. Tap the N beside a layer to reach the blend modes and opacity slider.
How do I put a photo inside a frame in Procreate?
Place the photo on a layer directly above the frame or shape, tap the photo layer, and choose Clipping Mask. The photo then only shows where the shape underneath exists.