Clipping masks let you drop a photo or paper into a shape and have it show only inside that shape, so a snapshot fills a frame or a heart cleanly with nothing spilling over the edges.
Once you’ve used one, you won’t build a page without them. Here’s how it works, plus step-by-step instructions for Procreate, Photoshop, Canva and PicMonkey.
Table of Contents
What does a clipping mask actually do?
It uses one layer as a stencil for another. The bottom layer is the shape, a circle, a heart, a torn paper edge, and the layer above it, your photo or paper, shows only where the shape exists. Everything outside the shape hides, but nothing is deleted.
That last part matters. Your photo is still whole underneath. You can slide it around inside the shape, scale it up, or swap it for another, and the mask stays put. It’s the cleanest way to fit a photo into a frame without cropping it for real.
Why scrapbookers reach for them
On a real page you’d cut a photo to fit a frame, and once it’s cut, it’s cut. A mask gives you that fitted look while keeping every option open. Three reasons they earn a place in your workflow:
- Photos sit inside frames, hearts and torn shapes with clean edges
- You can reposition or swap the photo at any point, nothing is destroyed
- The same shape works on page after page, so your album holds together
How to use clipping masks in Procreate
In Procreate the option lives in the layer menu.
- Add your mask shape as its own layer (a circle, a torn shape, whatever you’re clipping into).
- Add your photo on a new layer directly above the shape.
- Tap the photo layer and choose Clipping Mask.
- The photo now shows only inside the shape. Tap and drag to reposition it, or pinch to resize.
Order is everything: the shape must sit below the photo, or the clip grabs the wrong layer. If your photo vanishes, your shape layer is probably empty or hidden, so check it has actual colour in it.
A quick extra: you can clip a paper or a texture to a shape the same way, not only photos. Want a wood-grain heart or a floral circle? Put the shape down, lay the paper above it, clip, done. Once it clicks, you’ll use it for titles and elements as much as photos.
How to use clipping masks in Photoshop
Photoshop builds the same way round, and Adobe’s own guide covers the keyboard shortcuts if you want them.
- Place your shape or frame on its own layer.
- Drop your photo on the layer directly above it.
- Right-click the photo layer and choose Create Clipping Mask (or press Alt/Option and click between the two layers).
- Use the Move tool to slide the photo around inside the shape until it sits right.
If you’re layering papers as well as masking photos, the Digital Scrapbook Papers in Procreate guide pairs well with this one.
How to drop a photo into a masked frame in Canva or PicMonkey
Canva and PicMonkey don’t use the words clipping mask, but the photo-into-frame trick is built in and even simpler.
- In Canva, search Frames in the Elements panel and add one to your page.
- Drag your photo on top of the frame and let go. Canva drops it inside automatically.
- Double-click to reposition or zoom the photo within the frame.
- In PicMonkey, the same idea lives under image masks: add the mask, then clip your photo to it.
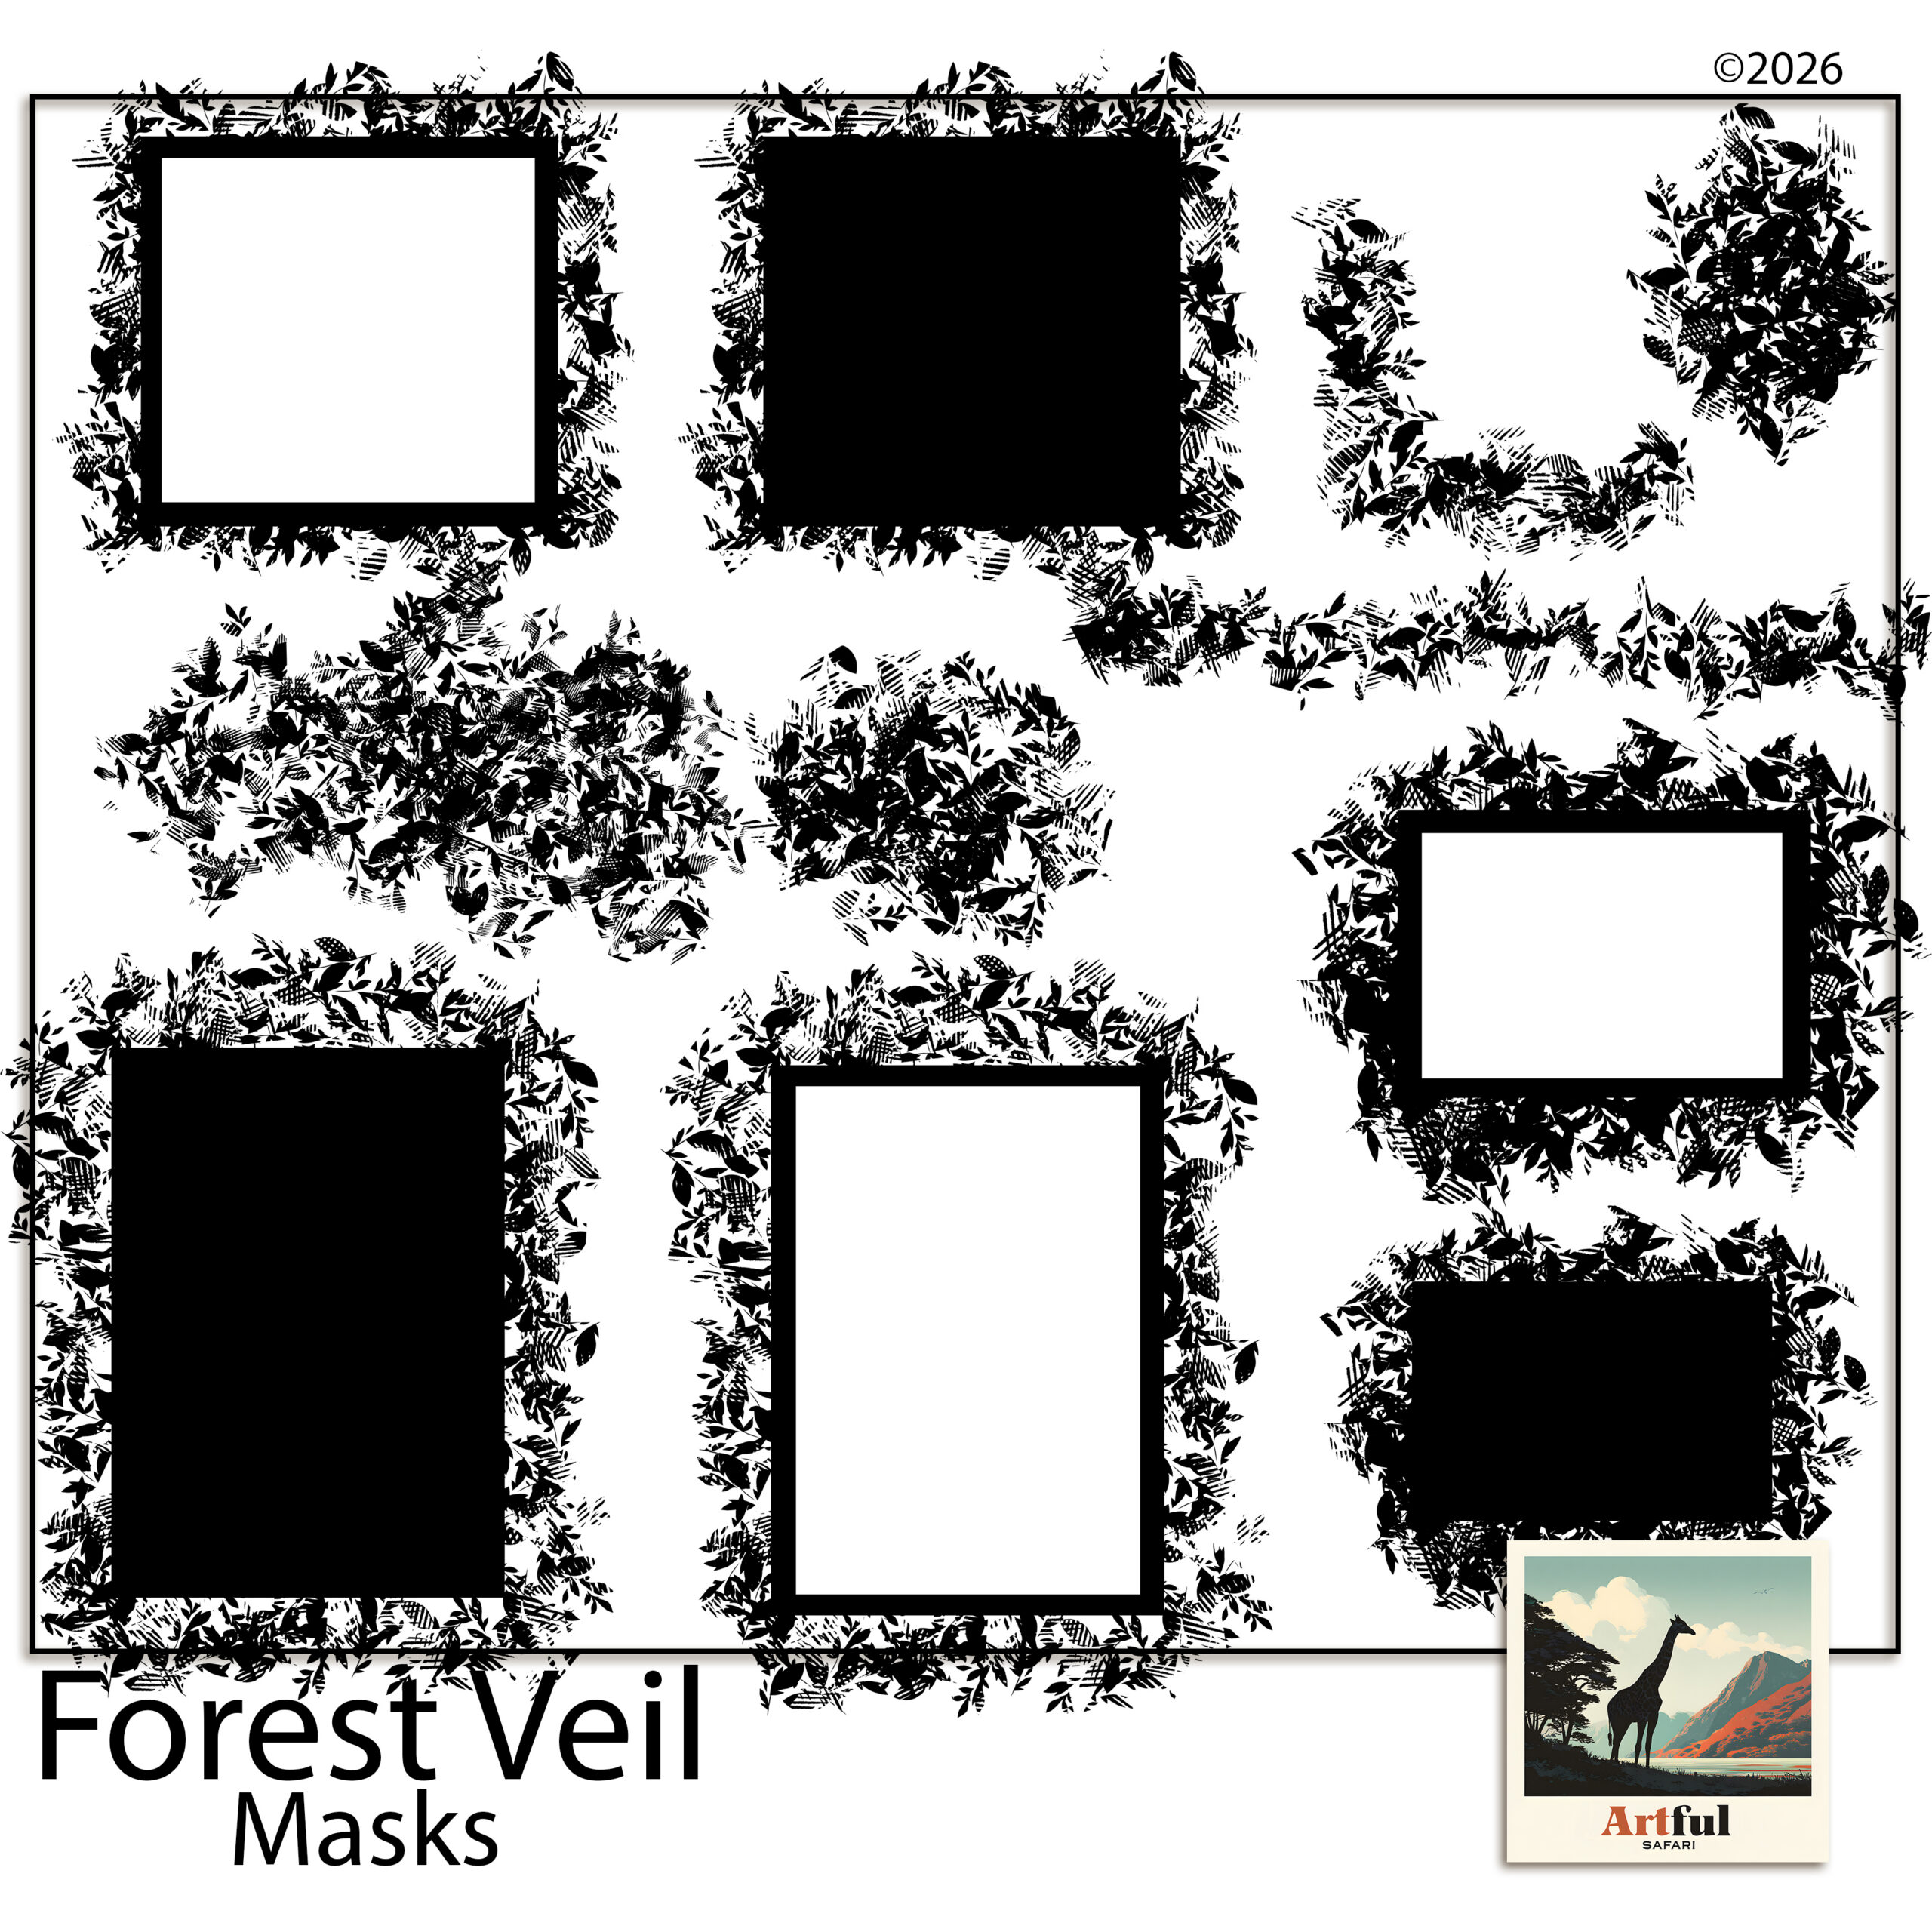
For organic, torn-edge looks rather than tidy geometric frames, mask sets like the Forest Veil Digital Scrapbook Masks give you shapes a built-in frame can’t.
How the four apps line up
Same result, slightly different words in each app. This is the cheat sheet I keep in my head.
| App | What it’s called | How you apply it |
|---|---|---|
| Procreate | Clipping Mask | Tap the photo layer, choose Clipping Mask |
| Photoshop | Clipping mask | Right-click the layer, Create Clipping Mask |
| Canva | Frames | Drag the photo onto a frame element |
| PicMonkey | Image mask | Add the mask, then clip your photo to it |
What are the most common mistakes?
Almost every clipping problem traces back to one of these. Here’s how each one looks and the fix.
| What you see | The cause | The fix |
|---|---|---|
| Photo fills the whole page, ignores the shape | Layers in the wrong order | Move the shape below the photo |
| Nothing shows at all | Shape layer is hidden or empty | Make the shape visible and filled |
| Photo looks stretched | Resized by one corner, not proportionally | Hold to keep proportions while scaling |
| Can’t move the photo inside the shape | Clipped the wrong layer | Undo, select the photo layer, re-clip |
Ready-made clipping masks save you drawing shapes from scratch, so you spend the time placing photos instead of building stencils.
Can you soften or blend the mask edge?
Yes, and a soft edge is what separates a photo that’s stamped onto the page from one that sits in it. The trick is to soften the shape layer, not the photo.
- Feathered edge: blur the shape layer slightly before clipping, so the photo fades out at the rim instead of stopping hard.
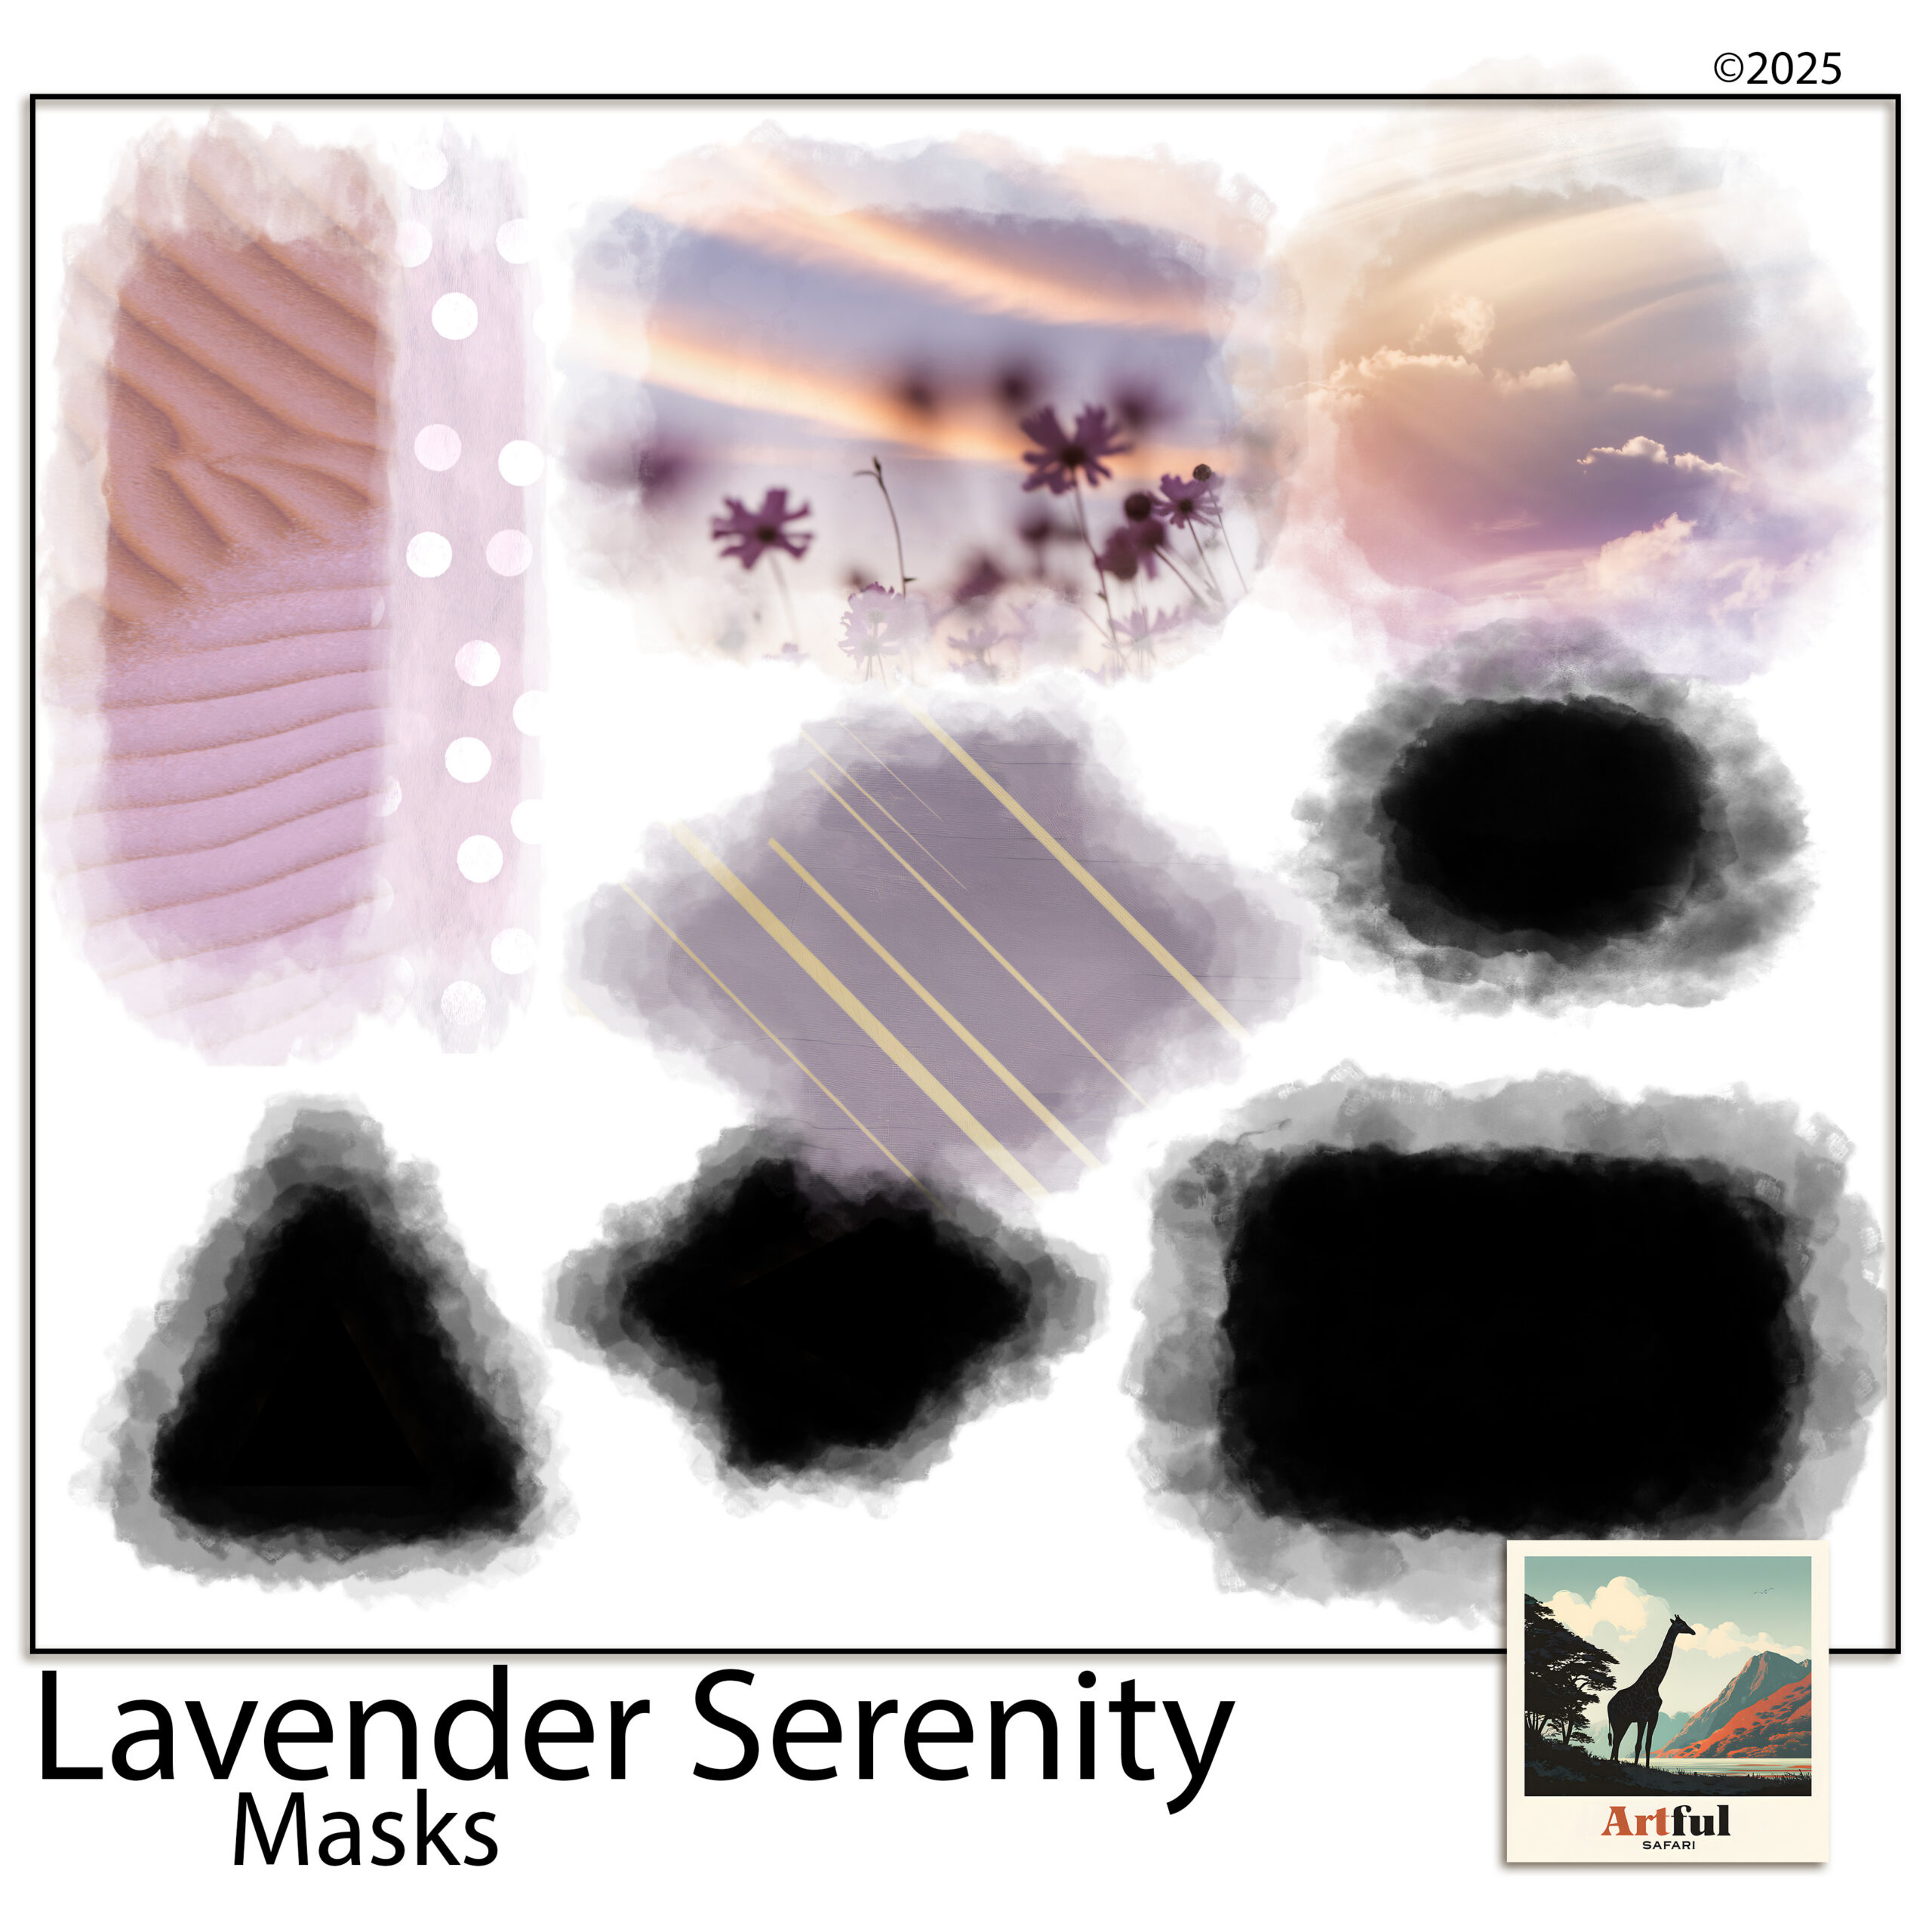
- Torn-paper look: use a mask shape that already has a rough, organic edge, like a deckle or brush-stroke shape, and the photo inherits it.
- Faded blend into the page: lower the photo layer’s opacity a touch, or set the shape to fade on one side, so the photo melts into the background paper.
This is exactly what organic mask sets are built for. A soft, irregular shape does in one tap what would take careful erasing by hand, and it keeps every edit reversible because the photo underneath is never touched.
One habit that prevents most headaches
Name your layers. Once a page has a shape, a photo, a paper and a title all stacked up, it’s easy to clip the wrong one. A two-second label, photo, mask, base, means you always know which layer you’re grabbing, and the clip lands where you meant it to.
When should you use a clipping mask instead of cropping?
Reach for a clipping mask any time you might change your mind, which is most of the time. Cropping throws away the parts of the photo outside the frame, so if you later want the shot a little wider or shifted left, you’re stuck. A mask keeps the whole photo and just hides the overflow.
The other case is shape. A plain rectangular crop is fine for a tidy grid, but the moment you want a photo inside a circle, a heart or a torn edge, a mask is the only way to get a clean result. Use a straight crop for speed on simple grids, and a mask for anything shaped or anything you might revisit.
Key takeaways
- A clipping mask shows your photo only inside a shape, without deleting anything.
- In Procreate and Photoshop, the shape goes below the photo, then clip the photo to it.
- Canva and PicMonkey use frames and image masks for the same drag-and-drop result.
- Most mistakes are layer order; put the shape underneath and the clip behaves.
Frequently asked questions
What is a clipping mask in digital scrapbooking?
It uses one layer as a stencil for another. The shape layer sits below your photo, and the photo shows only where the shape exists. Nothing is deleted, so you can reposition or swap the photo any time.
Why does my photo cover the whole page instead of the shape?
Your layers are in the wrong order. The shape has to sit directly below the photo for the clip to work. Move the shape underneath and re-apply the clip.
Does Canva have clipping masks?
Canva calls them frames. Search Frames in the Elements panel, add one, then drag your photo onto it and it drops inside automatically. Double-click to reposition or zoom the photo within the frame.
Can I reuse the same mask shape on different pages?
Yes. A mask shape is reusable, so one set works across as many pages and photos as you like. Ready-made mask kits save you drawing the shapes yourself.