The three digital scrapbook file formats you’ll meet are PNG, JPG and PDF: PNG holds transparent clipart, frames and overlays; JPG carries full-colour papers in a smaller file; and PDF packs pages or a guide into one tidy document.
Knowing the file formats tells you, at a glance, what each file in a kit is for and how to use it.
Table of Contents
What are the main digital scrapbook file formats?
Most kits use three file formats, and each one has a job. The fastest way to read a kit is to know what the extension on each file is telling you.
- PNG, for anything that needs a see-through background: clipart, frames, alphabets, overlays.
- JPG, for solid rectangular images, mainly patterned papers, in a smaller file size.
- PDF, for multi-page documents: a printable journal, a guide, or a sheet of elements on one page.
You don’t need new software for any of them. Procreate, Photoshop, GoodNotes, Canva and even your tablet’s photo app open all three.
PNG vs JPG: the two file formats you’ll touch most
This is the distinction that trips people up most, so here it is plainly.
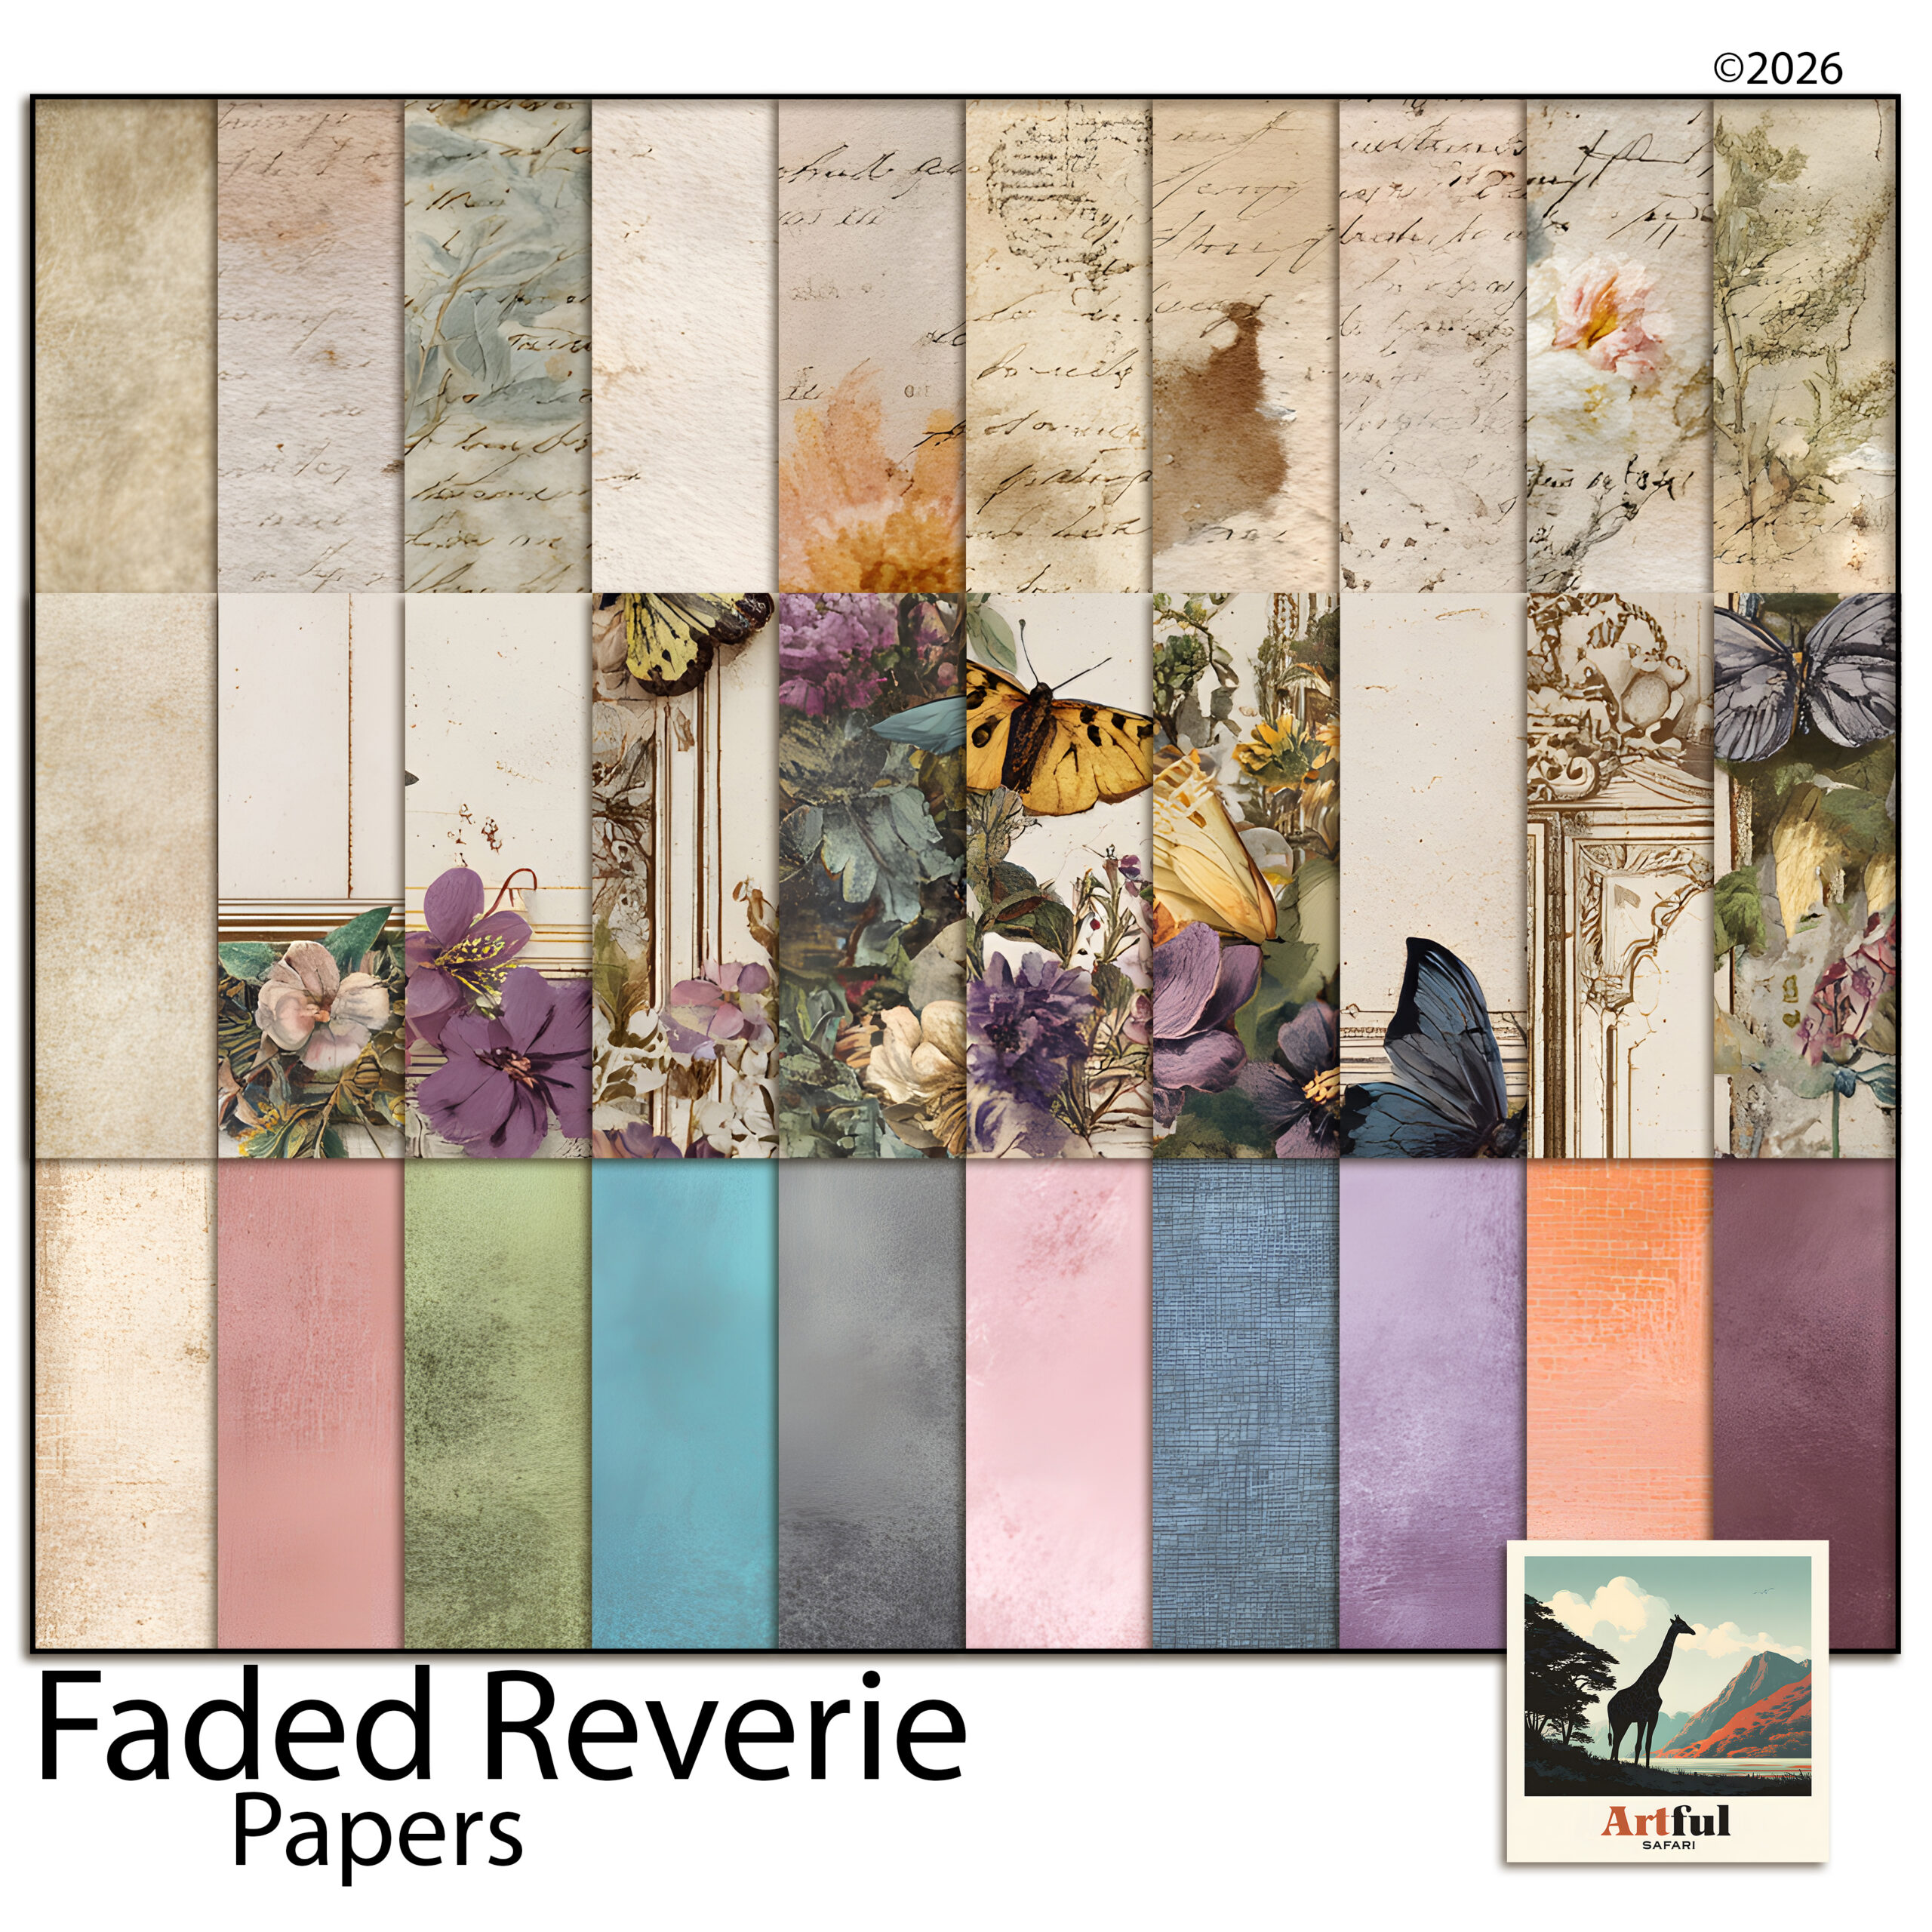
A JPG is always a full rectangle with no transparency. That’s perfect for a patterned paper, where you want the colour to fill the whole page. JPGs also compress well, so a pack of papers stays a reasonable download size. The papers in the Faded Reverie Digital Scrapbook Papers are supplied as JPGs for exactly that reason.
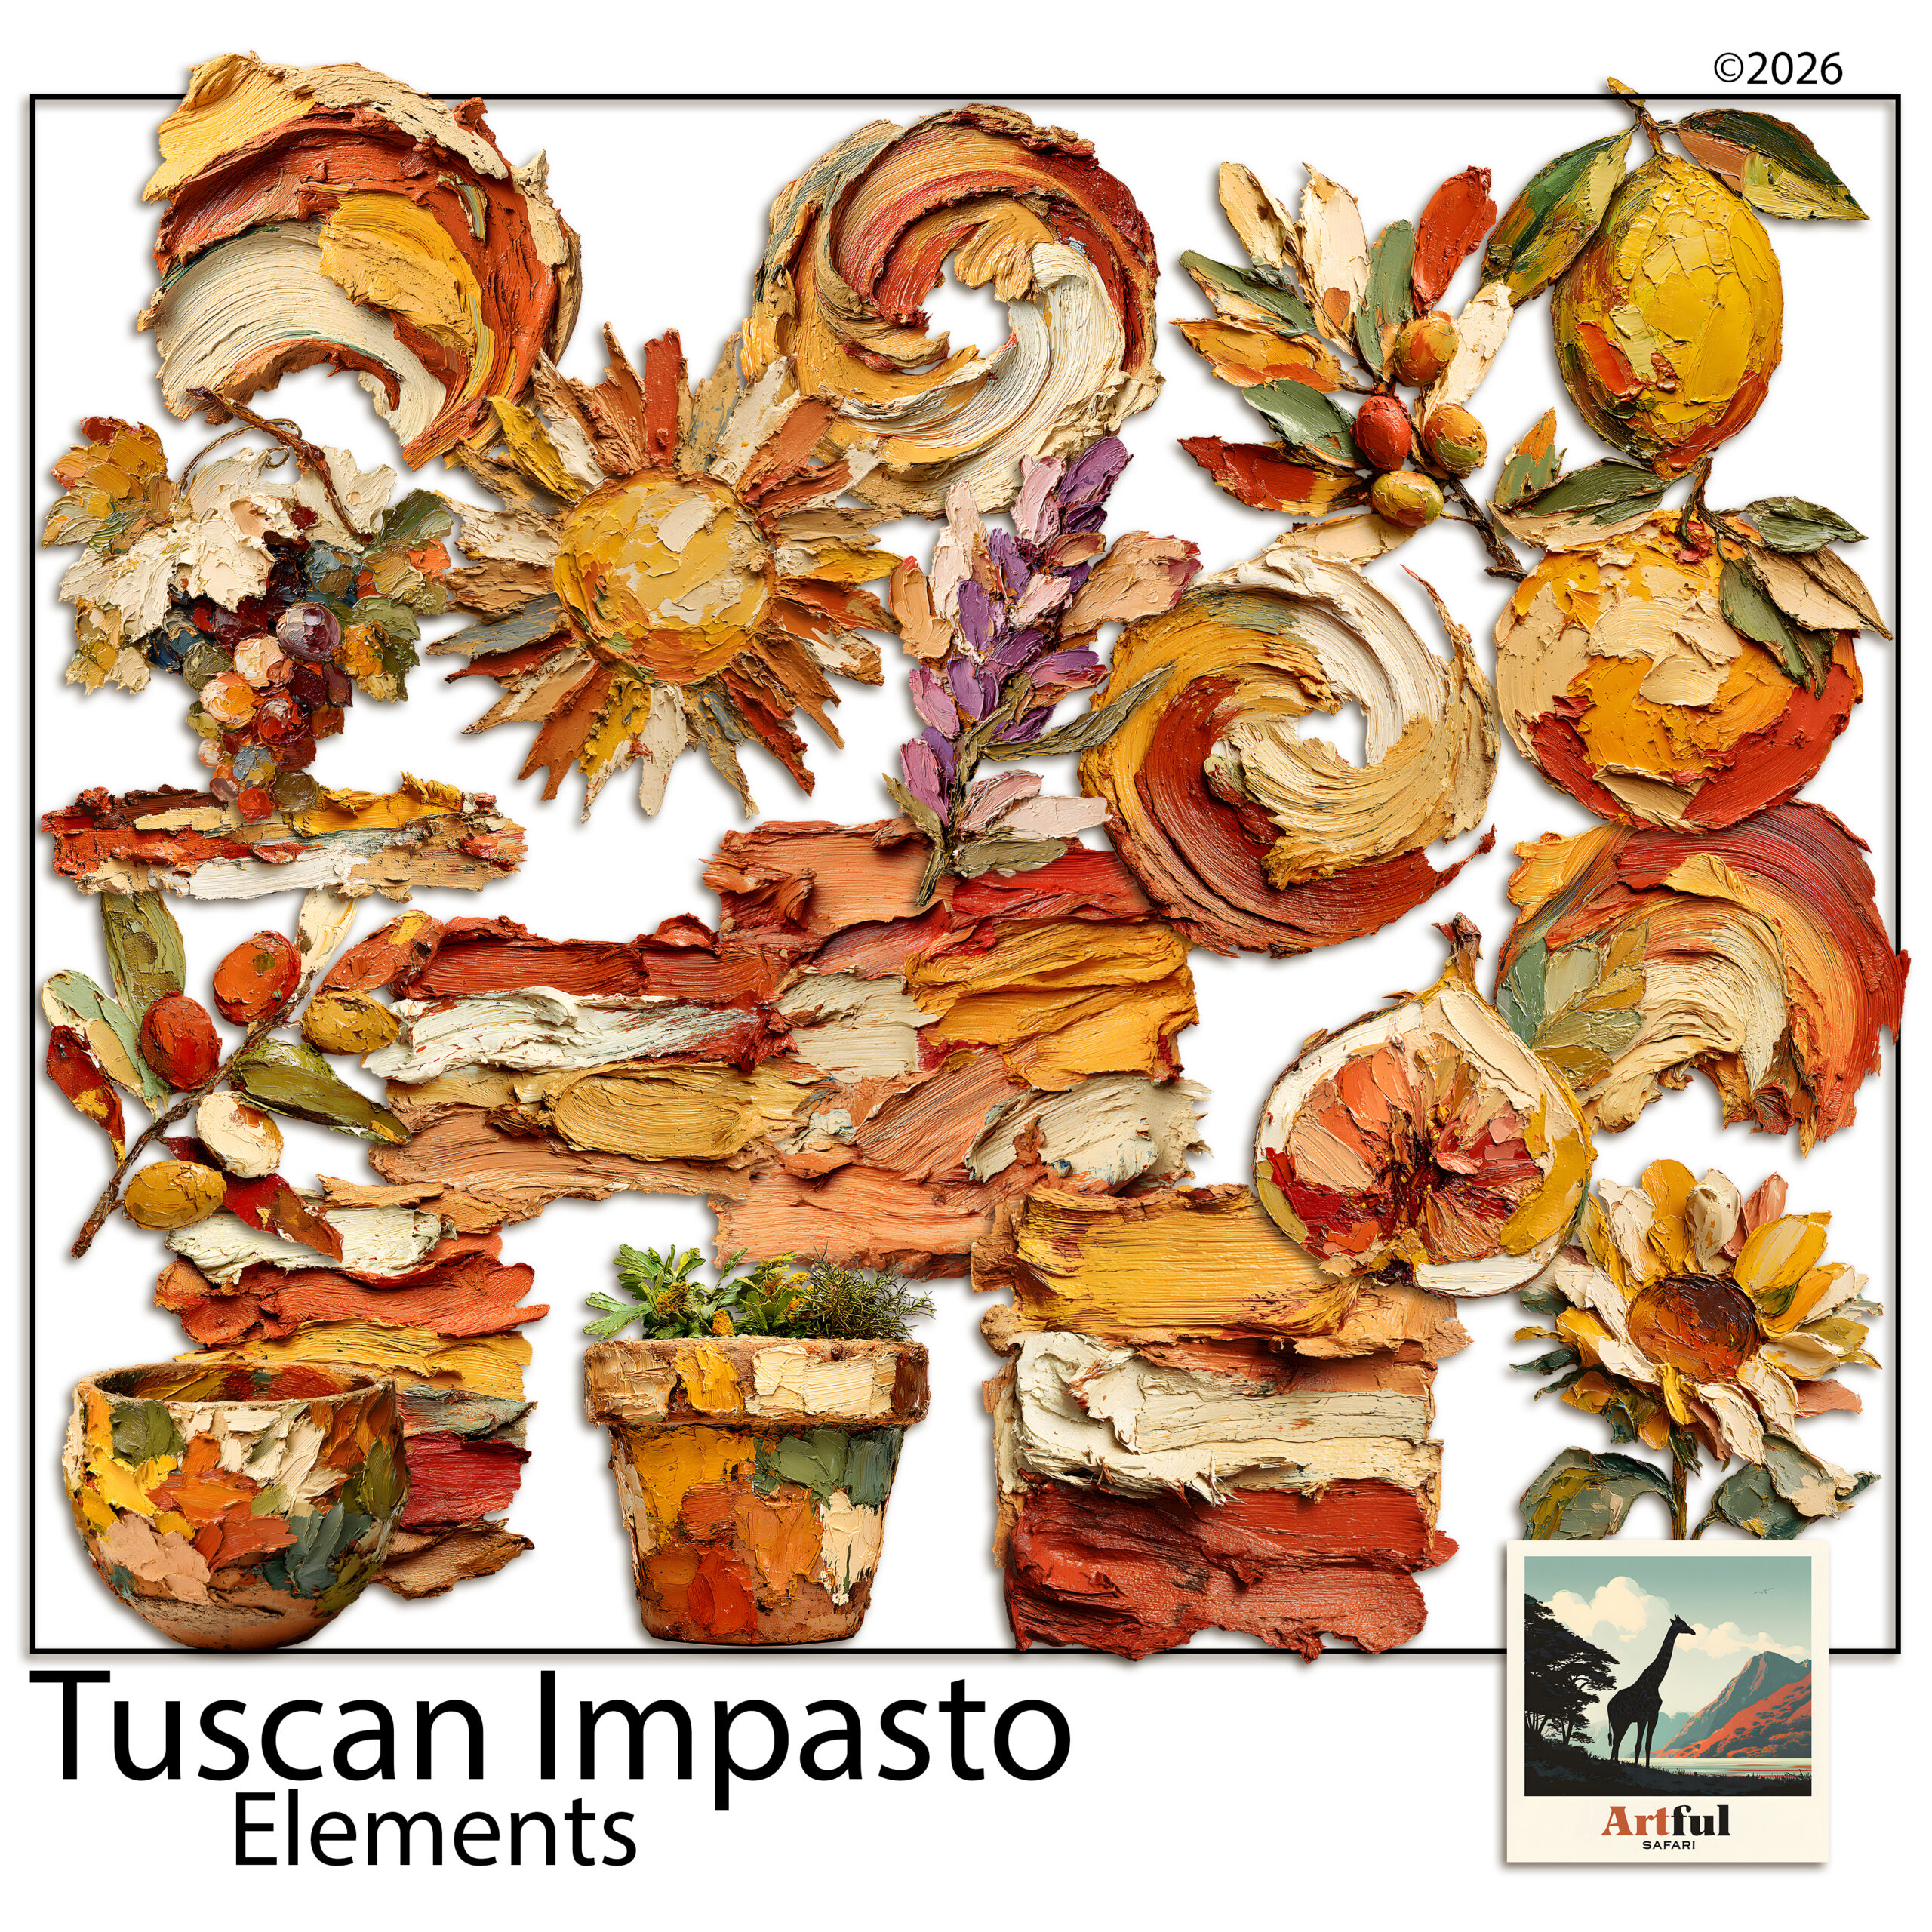
A PNG can carry a transparent background. Drop a PNG lemon or a frame onto your page and only the shape shows, with no white box around it. That’s why clipart, frames and alphabets come as PNGs, like the cutouts in the Italian Fruit Clipart, Olives, Lemons & Oil set. If a flower arrived as a JPG, you’d see an ugly square behind it.
| Format | Transparent? | Best for | Watch out for |
|---|---|---|---|
| PNG | Yes | Clipart, frames, alphabets, overlays | Larger files than JPG |
| JPG | No | Patterned papers, photo backgrounds | No transparency, slight compression |
| Page-based | Multi-page sets, guides, single-sheet layouts | Not a layer you drop onto a page |
Why does 300 DPI matter on digital scrapbook files?
DPI, dots per inch, describes how much detail is packed into each inch of an image. The higher the number, the more pixels you have to play with, so the image stays crisp when it’s shown large.
300 DPI is the standard for craft files because it gives you room. At 300 DPI a 12-inch paper is 3600 pixels across, which holds up whether you view it full-screen on a tablet, zoom in to crop, or one day send it out for print. A 72 DPI web image would turn soft and blocky the moment you enlarged it.
- You can always scale a 300 DPI file down without losing quality.
- You can’t realistically scale a low-resolution file up; the detail simply isn’t there to invent.
So 300 DPI is headroom. Even if you only ever view your pages on a screen, starting high means the file never looks soft when you zoom or resize.
When does the PDF in a kit actually matter?
Of the three file formats, PDF is the odd one out: it’s a document, not a layer you drop onto a page. You’ll see it used three ways.
- Printable journals and inserts arrive as a PDF so the pages stay in order and at the right size.
- Guides and instructions ride along as a PDF you read once.
- Single-sheet element collections sometimes come as a PDF, with all the pieces laid out on one page.
If you want to use one element off a PDF sheet on a digital page, you’ll usually have a PNG version alongside it. Reach for the PNG to layer, and keep the PDF for the full document.
How do the file formats fit together on a page?
A typical digital page stacks them: a JPG paper on the bottom, PNG elements and a PNG frame on top, your photo tucked behind the frame. The file formats aren’t competing, they each sit on a different layer.
That layering is where a lot of the craft lives. If you want a photo to sit neatly inside a shape or frame, my How to Use Clipping Masks guide shows the move that ties it all together.
How do I keep my files organised by format?
A kit can land as dozens of files, and a tidy habit on day one saves a lot of hunting later. The file formats are a useful sorting clue in themselves.
- Keep each themed kit in its own folder, named for the theme so you can find it by mood, not by date.
- Inside it, the JPGs are your papers and the PNGs are your elements and frames. Many kits already split them into Papers and Elements subfolders; if not, it takes a minute to do yourself.
- Leave the PDF where it is. It’s usually the guide or a printable set, not something you’ll layer.
One more thing worth checking: file size. PNGs run larger than JPGs because they store the transparency data, so a folder of frames can be heavier than a folder of papers. That’s expected, not a fault.
What format will my finished page be?
When you flatten and export a page, you pick from the same file formats, and the right choice depends on what the page holds.
- Export as JPG for a finished page that fills the whole canvas with no transparency. It’s the smaller file and fine for sharing on screen.
- Export as PNG if any part of the page needs to stay transparent, for example a title graphic or a single element you want to reuse elsewhere.
For a normal full layout, JPG is the usual export. Keep your editable, layered file too (the app’s own format), so you can go back and change a photo or move an element without rebuilding the page.
What format mistakes cost people the most time?
A few small mix-ups come up again and again. They’re quick to avoid once you know the file formats behind them.
- Using a JPG where you needed a PNG. Drop a JPG element on a page and you get a white box around it. If a cutout has an ugly square, you’ve grabbed the wrong file; look for the PNG version.
- Flattening too early. Once a page is exported to JPG, the layers are gone. Save the editable file first, then export a copy.
- Resizing a small file up. Stretching a low-resolution image past its size turns it soft. Start from the full 300 DPI file and scale down only.
None of these break anything permanently if you’ve kept your originals, which is the real lesson: hold on to the high-resolution files a kit comes with, and work on copies.
Key takeaways
- The three file formats split cleanly: PNG = transparent cutouts (clipart, frames, alphabets); JPG = full-colour rectangular papers; PDF = multi-page documents and guides.
- Use PNG when you need a see-through background and JPG when you want colour to fill the whole sheet.
- 300 DPI is headroom: it stays sharp when you zoom, crop or resize, and you can always scale down but not up.
- Layer them together, JPG paper at the bottom, PNG elements and frames on top, and keep PDFs for reading or full-page sets.
Frequently asked questions
What is the difference between PNG and JPG in a scrapbook kit?
PNG files can have a transparent background, so they suit clipart, frames and alphabets. JPG files are solid rectangles with no transparency, which makes them right for patterned papers.
Why are digital scrapbook papers 300 DPI?
300 DPI packs enough detail for the image to stay sharp when viewed large, zoomed or cropped. It gives you headroom; you can scale a high-resolution file down but you can’t add detail by scaling up.
Which format should I use for clipart?
PNG. Its transparent background means only the shape shows when you place it, with no white box around the edge.
What is the PDF in a digital kit for?
PDF is a document format used for multi-page sets, printable journals, guides, or a single sheet of elements. It’s for reading or printing in order, not a layer you drop onto a page.
Do I need special software for these file formats?
No. Apps like Procreate, Photoshop, GoodNotes and Canva open all three file formats, and your tablet’s built-in photo app handles PNG and JPG too.