
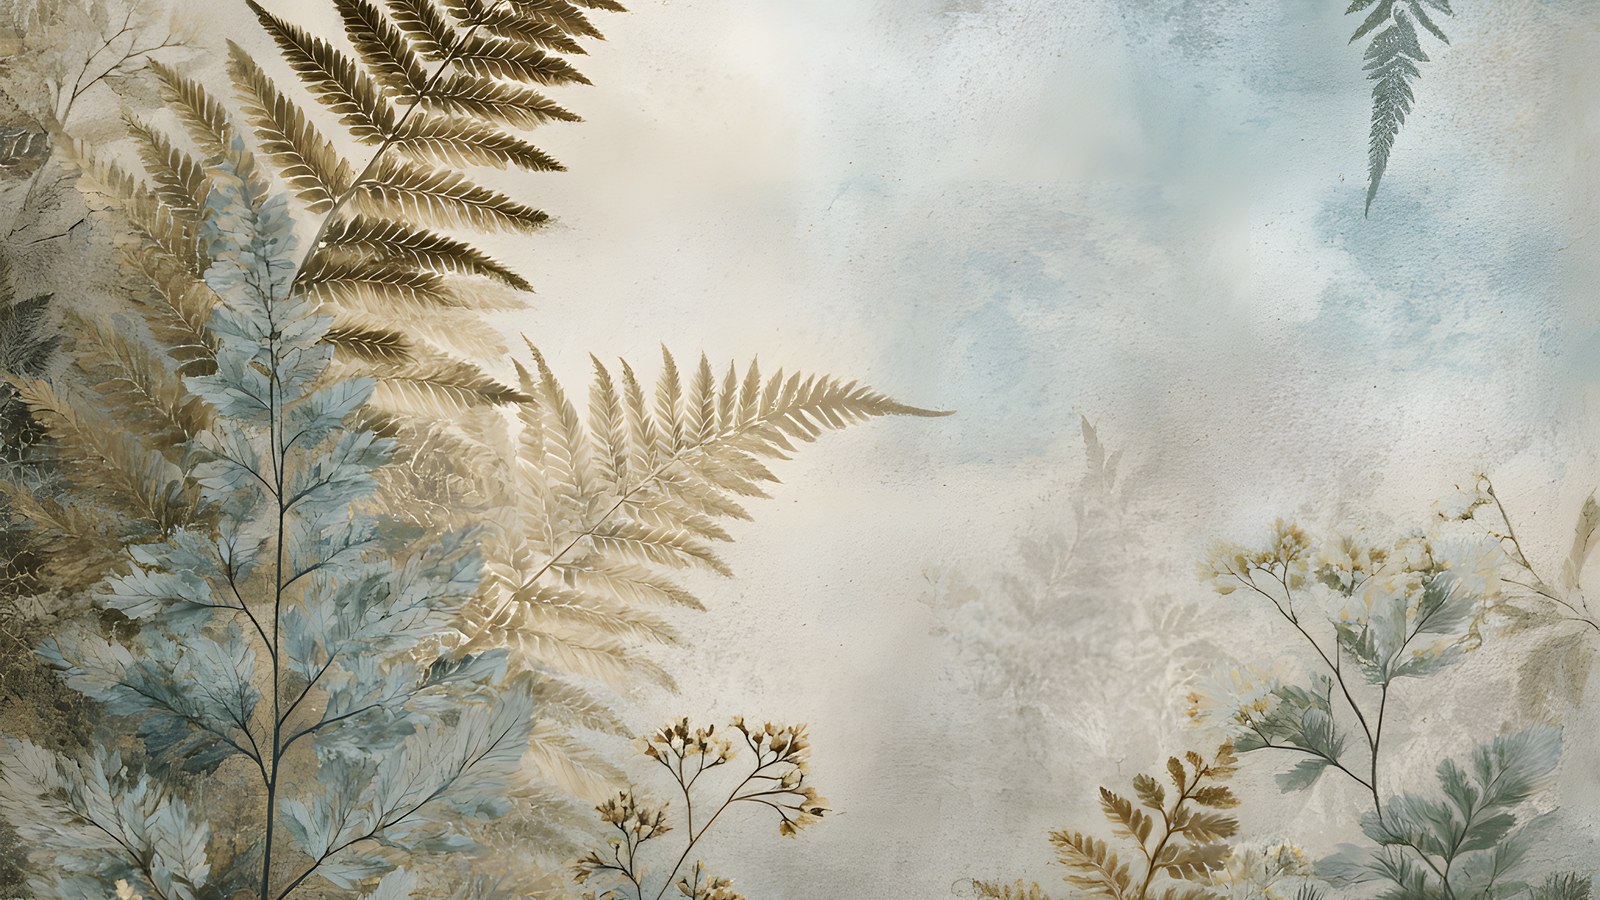
A mushroom journal is a page-a-day or page-a-find notebook built around fungi: the caps, the gills, the damp places they grow. You do not need to know a single species to start one. You need a few good backgrounds and a reason to look down on your next walk.
This guide covers six ways to build a mushroom journal in a digital or printed notebook. Each one works with soft, foggy forest papers, because a quiet background lets small subjects stand out.
Table of Contents
What a mushroom journal actually holds
Most people picture a field guide, but a mushroom journal is closer to a diary with a subject. You record what you saw, where you saw it and how the light looked. The facts matter less than the habit of noticing.
If you want the botanical cousin of this idea, our guide to nature journal pages covers ferns, feathers and leaves in the same spirit. A mushroom journal narrows that down to one subject, which makes it easier to finish.
For reference on names and structure, the Wikipedia entry on mushrooms explains cap, gills, stem and spore in plain terms. It is a handy page to keep open while you label things.
1. Start with a misty background page
The first page of a mushroom journal sets the tone for every page after it. Pick a background with fog or soft colour washes so the rest of the page has room to breathe.
Pale blue-grey papers with a few dried fern fronds at the edge work well. They read as forest floor without competing with a photo or a cut-out cap in the middle.
2. Give each find its own spread
One mushroom, one spread. Put the photo on the left and your notes on the right, then leave the margins alone.
A mushroom journal gets crowded fast if every page tries to hold three finds. Separate spreads also make the journal easy to flip through months later.
What to write beside the photo
- The date and the place, as specific as you can make it.
- The ground it grew from: leaf litter, a stump, a lawn edge.
- Colour of the cap and the underside, since both change as it ages.
- One line on the weather that week.
3. Layer ferns and cones around the edges
Forest papers with printed pine cones, oak leaves and ferns already have texture in the corners. Keep your photo or cut-out centred and let the printed edge frame it.
If you are building a mushroom journal digitally, nudge the photo off-centre by a small amount. A perfectly centred subject on a busy corner looks stiff, and an offset one looks placed.
4. Keep a colour key for caps
Mushroom caps come in tan, rust, cream, grey and the occasional startling red. A small colour key at the back of your mushroom journal turns scattered pages into a record you can compare.
Pick a swatch from the paper itself, so the key matches the pages it describes. Warm tans against cool blue-grey is the pairing that shows up most in these papers.
5. Add a pressed-botanical page between finds
Not every day gives you a mushroom. When it does not, a page of pressed ferns, feathers or dried seed heads keeps the journal moving without forcing an entry.
These pages also give a mushroom journal some rhythm. A busy spread, then a quiet one, then a busy one again. An old herbarium works on the same principle, and the Wikipedia page on herbaria shows how pressed plants have been filed and labelled for centuries.
6. Close with a wide landscape page
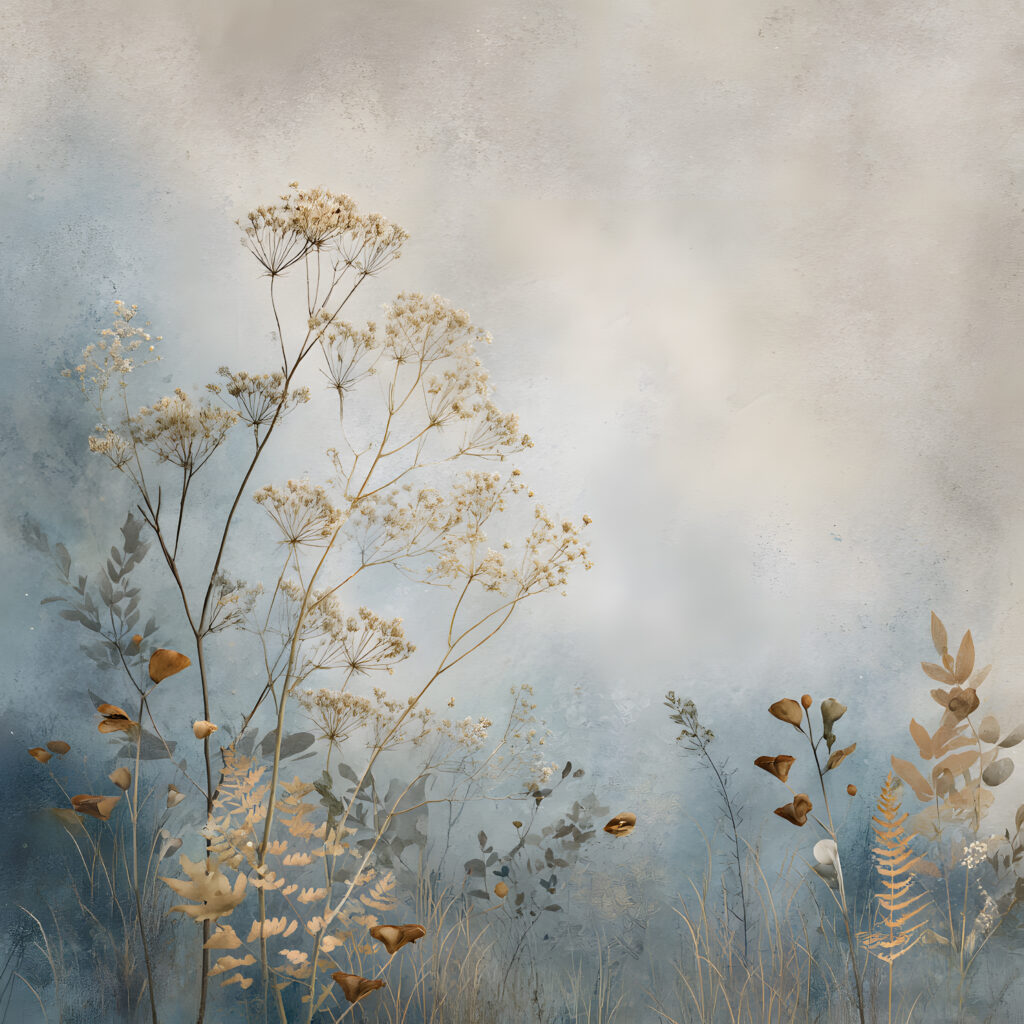
End the journal, or each season of it, with a page of the whole woodland rather than a single find. A wide foggy paper with a few small marks across the bottom says the season is done.
It also gives your mushroom journal a clear last page, which is the part most notebooks never get.
Photograph it so the page works later
A mushroom journal page is only as good as the photo you bring home. Take one shot from above, one from the side at ground level and one of the underside if you can do it without picking anything.
Shoot against the ground you found it on. A cut-out looks tidy on a page, but the context is what you will want to remember in a year.
Light matters more than the camera. Overcast days flatten the shadows and bring out the colour in the cap, which is exactly what a soft background wants to sit beside.
A note on naming what you find
Writing “unknown, tan cap, found under oak” is a perfectly good entry. Many fungi look alike, and a confident wrong label is worse than leaving the name blank.
Treat your mushroom journal as a record of sightings, not a guide to eating. If you want a name, check it against a local field guide or a regional fungi group, and never eat anything on the strength of a journal page.
Digital or printed, both work
A digital mushroom journal is easy to rearrange. You can drop a photo onto a background, resize it, add a text box for notes and export the page as an image to share.
If you prefer paper, print the backgrounds you like and glue your photos in. Either way, keep a consistent page size so the journal sits together as a set.
Putting it together with one paper pack
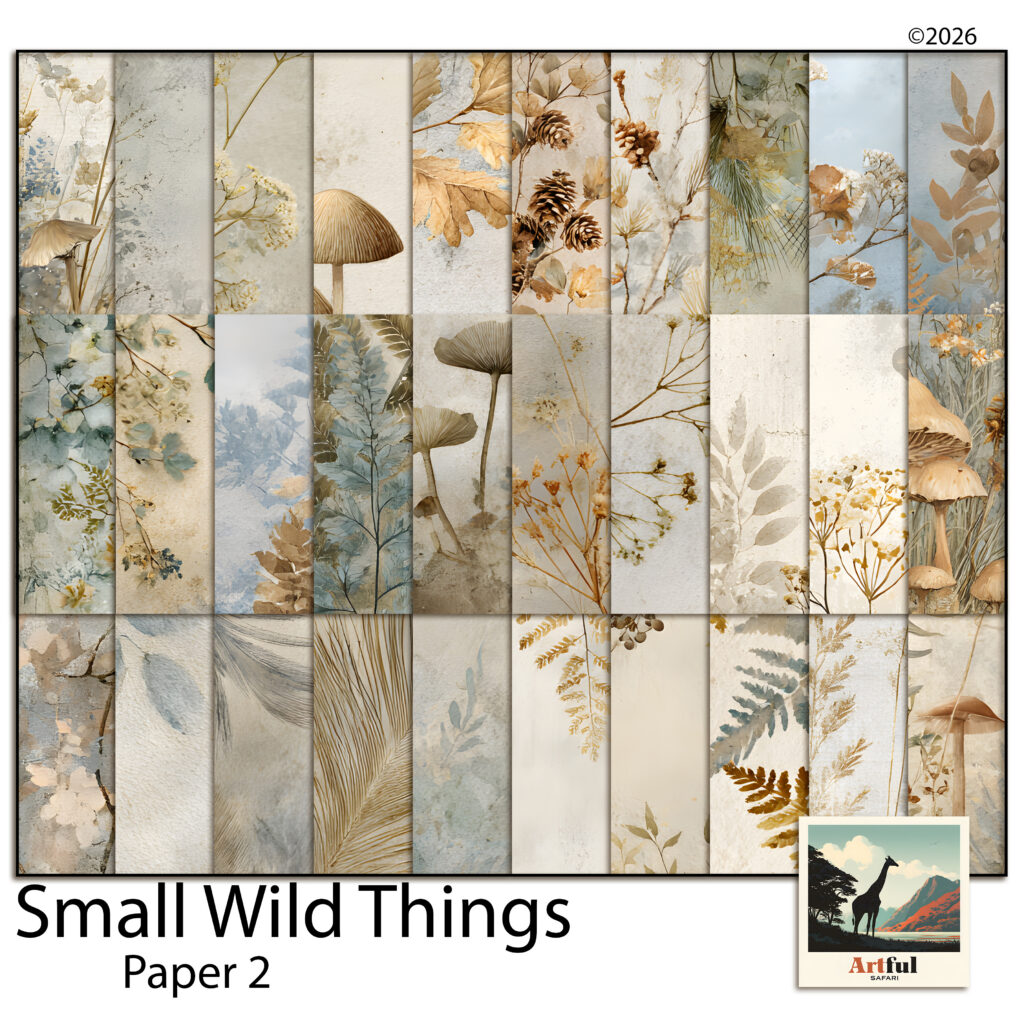
If you would like all of these backgrounds in one place, our misty forest scrapbook papers are a set of 30 woodland backgrounds with ferns, cones, feathers and a few tall mushrooms in soft blue and tan. They are made as 12 x 12 inch digital papers for a mushroom journal or a scrapbook layout.
Any quiet background will do the job. What matters is that the paper is softer than the subject you place on it, a point we cover in choosing a background paper that does not fight your photograph.
A simple way to begin
Open one misty page, add the date, and go outside with your phone. When you find your first cap, photograph it and come back to the page.
That is a complete first entry. The rest of a mushroom journal is the same step repeated whenever you pass a log or a lawn edge worth a second look.