40% off until 31 October on selected products·8 days left

Category: Trends & Ideas

  • Notorious Solo RPG: 6 Easy Ways to Journal a Bounty Hunt

    Notorious Solo RPG: 6 Easy Ways to Journal a Bounty Hunt

    The Notorious solo RPG is a bounty-hunting game for one player, designed by Jason Price for Always Checkers Publishing. It shares a name with the Hitchcock film and the rapper, and it is neither. You play a Nomad, a hunter in a galaxy at war, and you track one target across one planet with two six-sided dice and a stack of tables.

    The rules hand you the hunt. What they do not hand you is a book to keep it in, and that is where people get stuck once the first session is over.

    Below are six ways to run a Notorious solo RPG hunt as a real book you can pick up off a shelf, rather than a stack of loose notes.

    What the Notorious solo RPG asks you to do

    Your Nomad carries three numbers. Notoriety is your reputation on the planet you are working, Favour is your standing with the Nomad’s Guild, and Motivation is your will to bring the target in.

    Motivation doubles as your re-roll currency. Spending it to rescue a bad roll costs you at the end of the story, which is where most of the tension in the Notorious solo RPG comes from.

    Every action is one roll of your Nomad die plus whichever attribute applies, against a challenge die. Higher number wins. That is the whole dice system, which is why there is so much room left over for writing.

    The game gives you six Nomad profiles to choose from: the Armour, the Assassin, the Bot, the Brute, the Scoundrel and the Uncanny. Each comes with a ranged weapon, a melee weapon and an outfit that gives you armour. You then roll for Origin, Scar, Trigger, Species and Personality, and those rolls are the ones that give you something to write about on page one.

    There are two ways to play. Arcade Mode runs fast, and Story Mode is written for people who want to journal, so Story Mode is the one you want if you are building a book.

    New to the format entirely? Our complete guide to solo journaling RPGs covers the basics before you spend anything.

    1. Open your Notorious solo RPG book with a wanted poster

    Notorious generates the contract before almost anything else. You roll for the planet your target is rumoured to be hiding on, and the planet hands you three factions present there: a Controlling one, a Challenging one, and a Minor one.

    You pick which of those hired you, and each has its own reasons for wanting somebody brought in. The Old Empire is after rebellious types. The Trade Alliance wants whoever has damaged its takings, and the Mystic Order is interested in the darker end of its own ancient warrior tradition.

    That is a wanted poster sitting there waiting to be made. Give it the right-hand page of your first opening: the target’s name, a face if you want to collage or sketch one, the faction’s mark, and the fee. Write “dead or alive” along the bottom, because the game does.
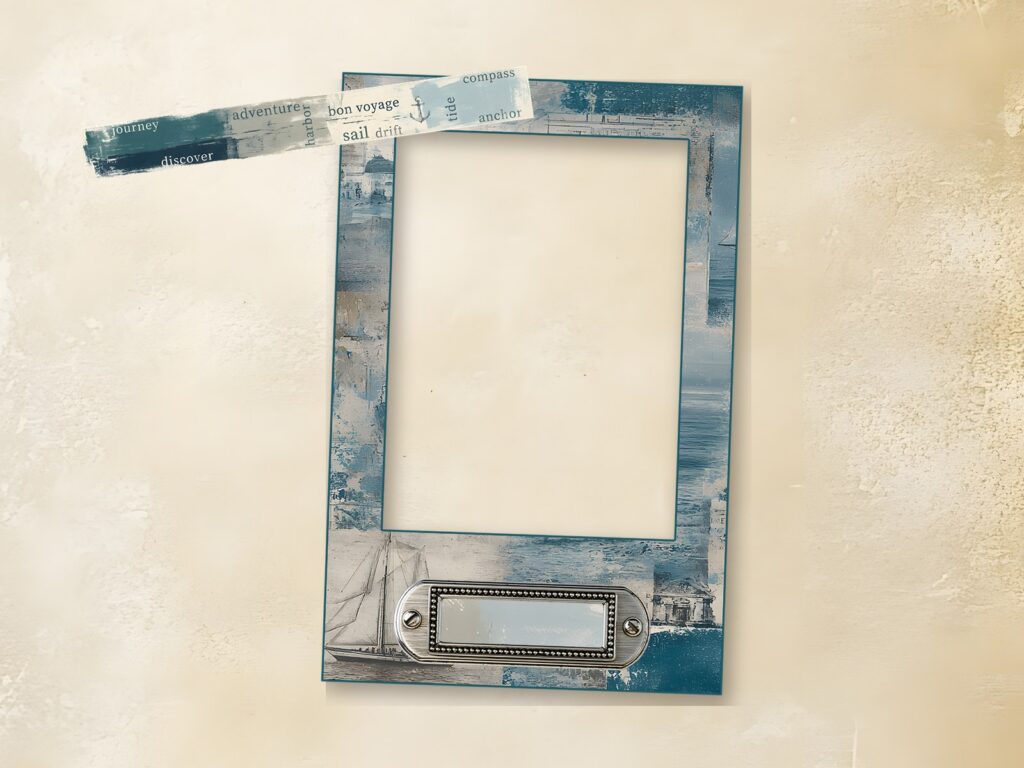
    A weathered paper and an empty frame set up as the wanted poster page of a Notorious solo RPG journal
    An empty frame on weathered paper, waiting for the target’s face and fee. Build this page before you roll anything else.

    Doing it this way means the first thing anyone opening your book sees is the job rather than a grid of numbers.

    2. Give the Nomad a page facing the poster

    All those character rolls exist to be looked at again later. Your Scar is something visible that other people react to, and your Trigger is what pulls you away from the Guild’s code once the pressure comes on.

    Put them on the left-hand page opposite the poster so hunter and hunted stare at each other across the gutter. Name, species, profile, the three numbers in a box you can cross out and rewrite, and four lines of history underneath.
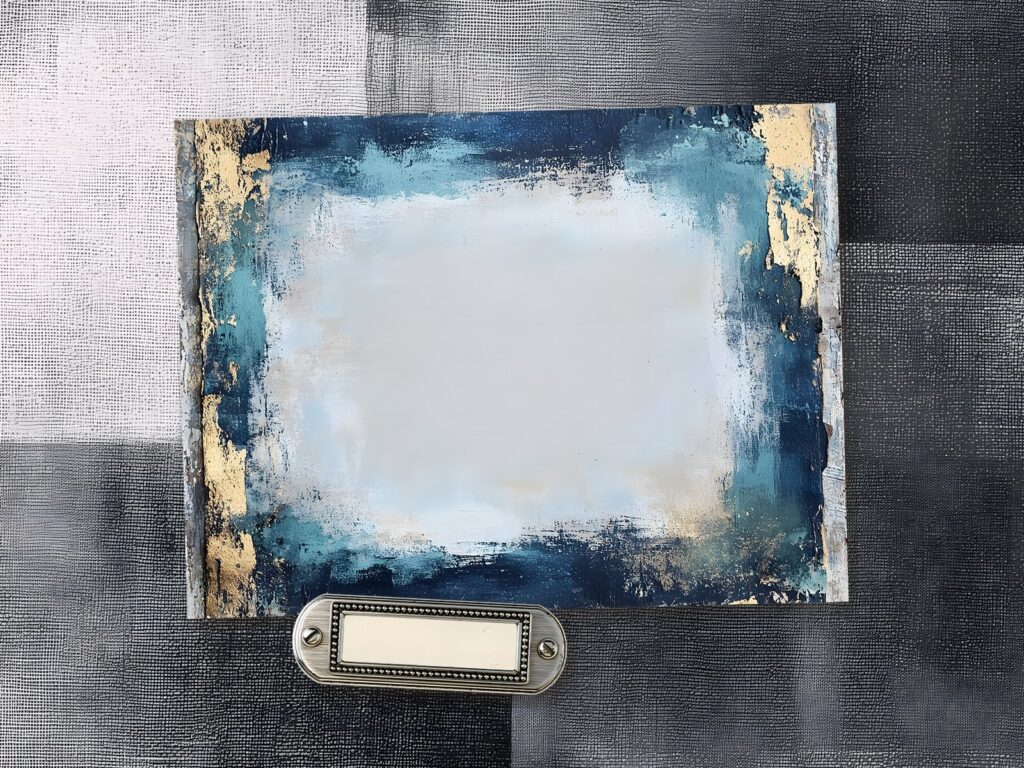
    A pale journal card and a name plate laid out for the hunter's page in a Notorious solo RPG book
    One card, one name plate, room for four lines of history. The hunter’s page does not need more than that.

    Leave the numbers loose. Notoriety in particular climbs through a hunt, and you want to watch it move.

    3. Keep a ledger of leads

    The play loop in the Notorious solo RPG is short. You roll on the Exploration table and complete the prompt, and there is a chance of turning up a Lead. That chance rises as your Notoriety rises, which is a quiet way of saying that the more people know your name, the faster the job closes.

    After two Leads, the third is always the Target. Every hunt has that shape: two clues, then the confrontation.

    A ledger handles it better than prose does. Rule three columns down a left-hand page, headed with what the lead was, where it came from, and what it cost you. Two rows fill across a whole planet, and the third row is where you write the target’s name and stop.
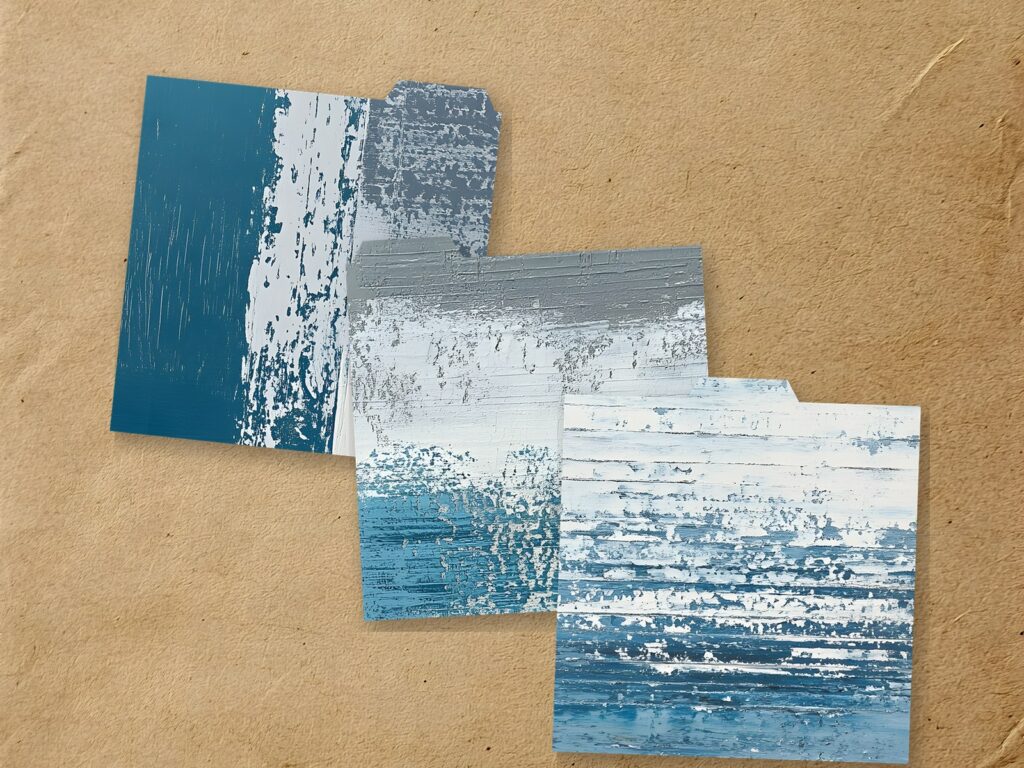
    Three index cards on kraft paper used as the lead ledger in a Notorious solo RPG journal
    Three cards, three leads, and the last one carries the target’s name. Cards work as well as ruled columns if you would rather not draw lines.

    4. Give each destination half a spread

    After Exploration, the game sends you to the Destinations table, and you play out whatever happens there. Each planet carries six locations, and the prompts attached to them are where most of the encounters live.

    How you approach somebody depends on what they are. You can Speak to a Local, but you cannot attack or threaten one, and you can only Recruit them when a prompt offers it. A Hostile is the reverse: no conversation, only Threaten or Attack.

    Half a spread per destination keeps pace with the game. A torn strip for the sky, a darker scrap for the ground, the place name in the top corner, and five or six lines about who you met there.
    A star field paper with two ticket stubs, the makings of a destination page in a Notorious solo RPG book
    A dark sky and two stubs. Half a spread per stop is enough to keep the book level with the dice.

    Anything more elaborate and the book falls behind the dice.

    5. Build the showdown as a full opening

    When a Lead surfaces or the Target finally appears, the Notorious solo RPG asks you to roll a Showdown. First a Site, which might be a speeding hovertrain, the ruins of a crashed starship, or a mystic temple. Then a Setting for the conditions on top of it, such as a blinding sandstorm or a herd stampeding through.

    None of that touches the dice. It exists so you have something worth describing, which makes it the most useful roll in the game for anyone keeping a book.

    Give it both pages. Site across the top, the fight down the middle, and the outcome bottom right where the eye lands last.

    6. Close the bounty on the page

    When the Showdown with the Target is finished, however it went, you take your remaining Motivation, double it, and add it to your Favour with the Guild. A poor result can leave you starting the next contract with almost no support, or being hunted yourself by the faction that hired you. A strong one earns you something bigger and more dangerous.

    That number is your closing entry. Write it on the last page of the hunt, then go back to the front and mark the poster: CLOSED, or KILLED, or ESCAPED across the target’s face.

    The Notorious solo RPG also gives you epilogues, so you can end the Nomad’s story there or carry them into the next job. If you are carrying them, leave the following right-hand page empty and let the next poster begin there.

    What a finished Notorious solo RPG journal looks like

    People in this hobby have started calling these books RPJs, short for role playing journals. The finished ones have a shape you can recognise from across a table.

    A finished Notorious solo RPG book runs poster at the front, character page facing it, then the ledger, four or five destination pages, one full showdown opening, and a closing entry with a number on it. Twenty to thirty pages for a single contract, which is comfortable at an evening or two a week over a month.
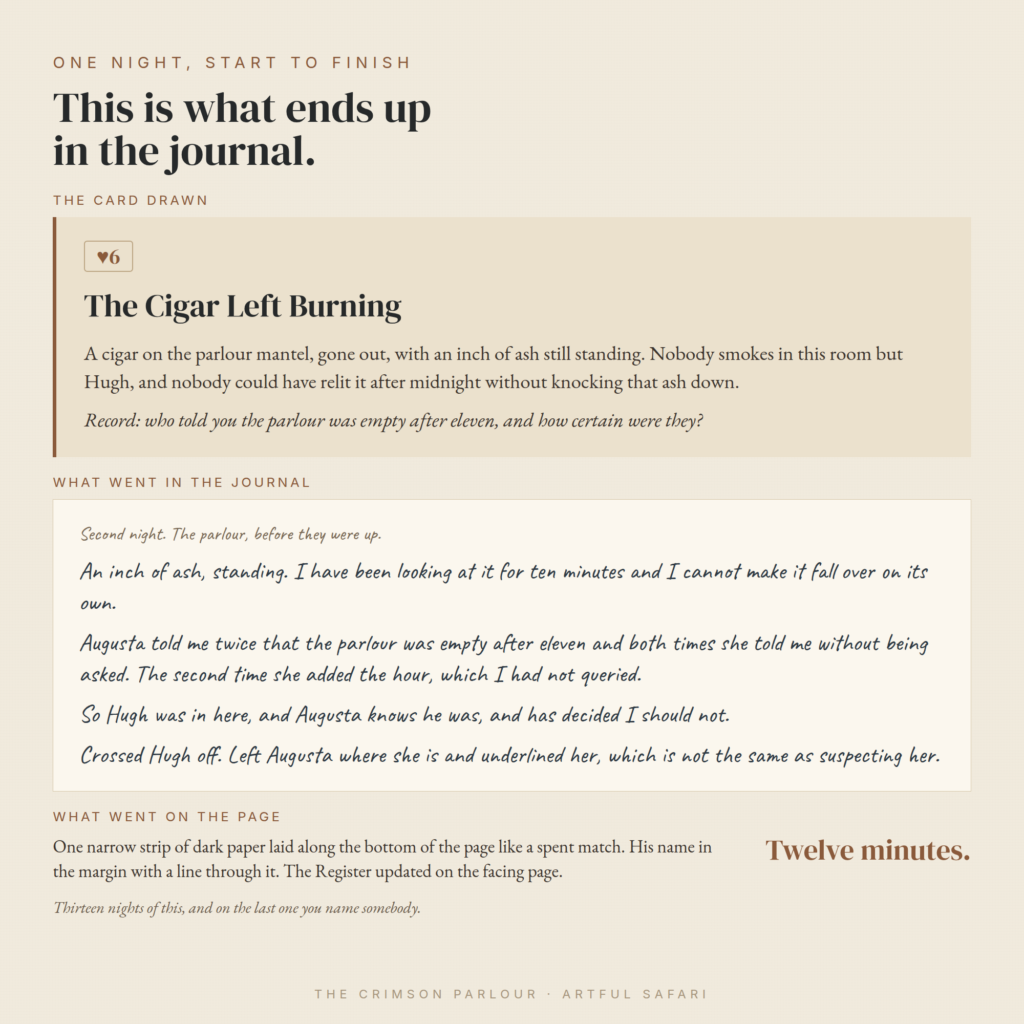
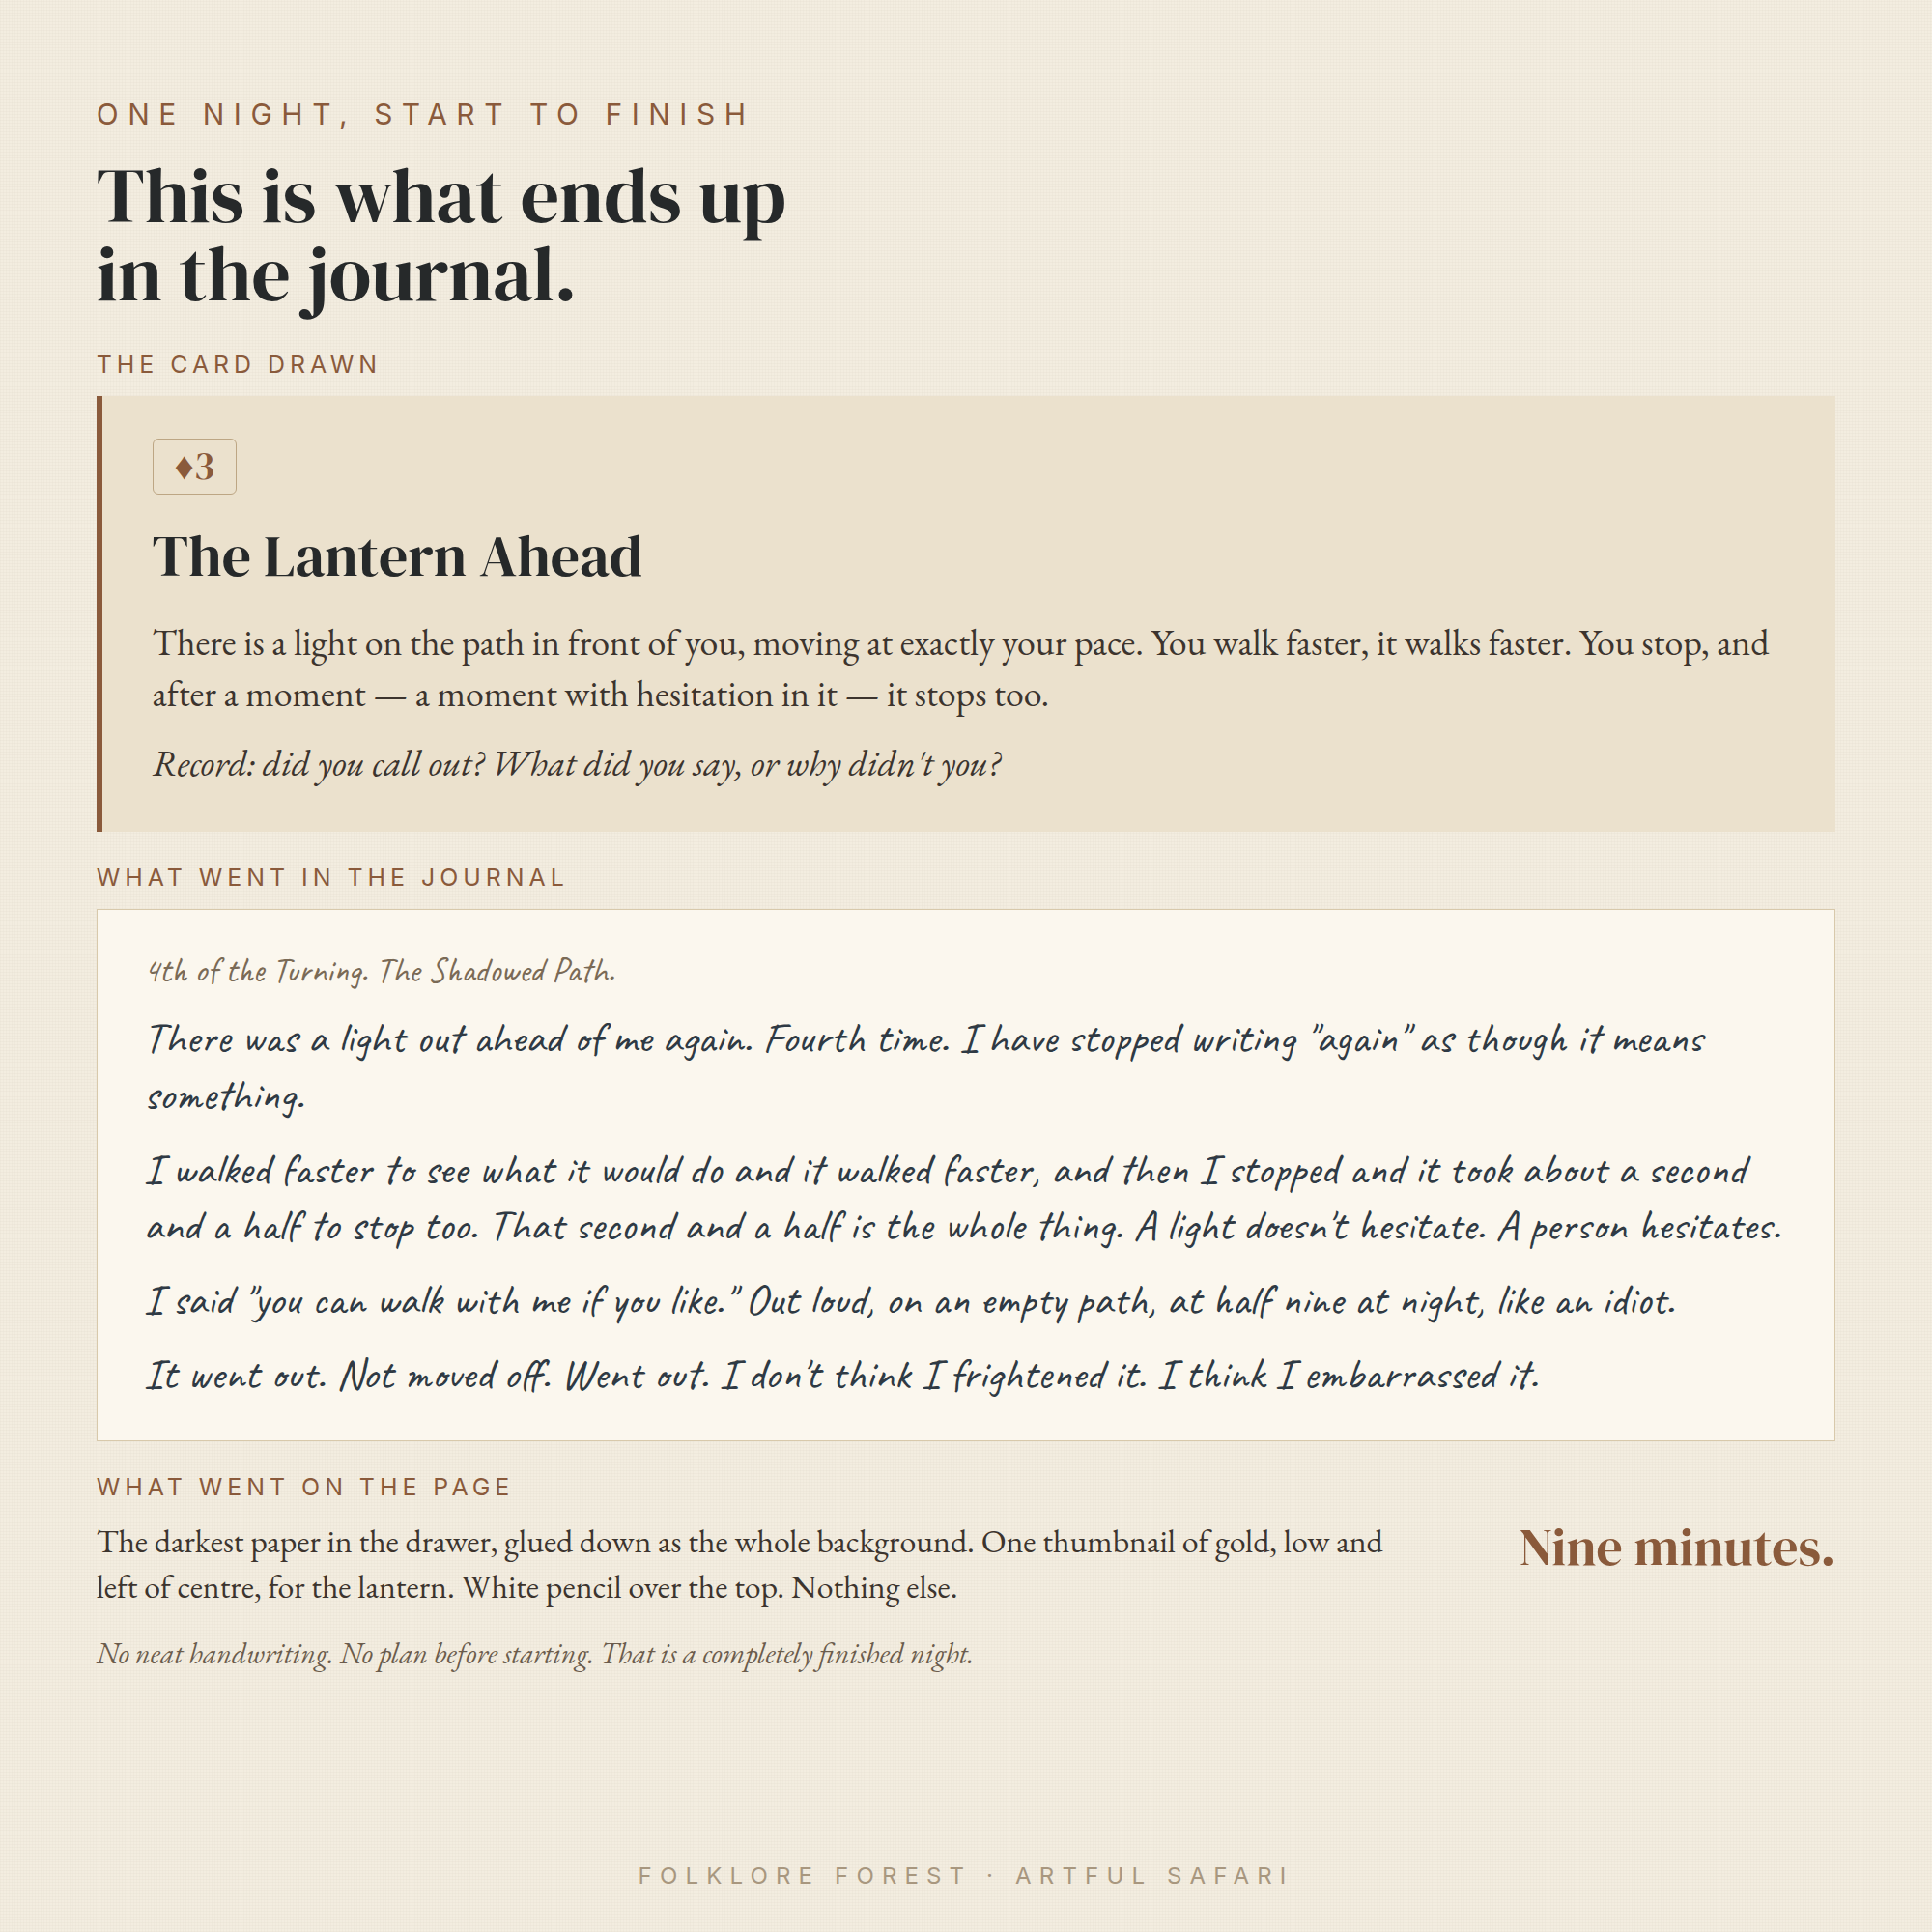
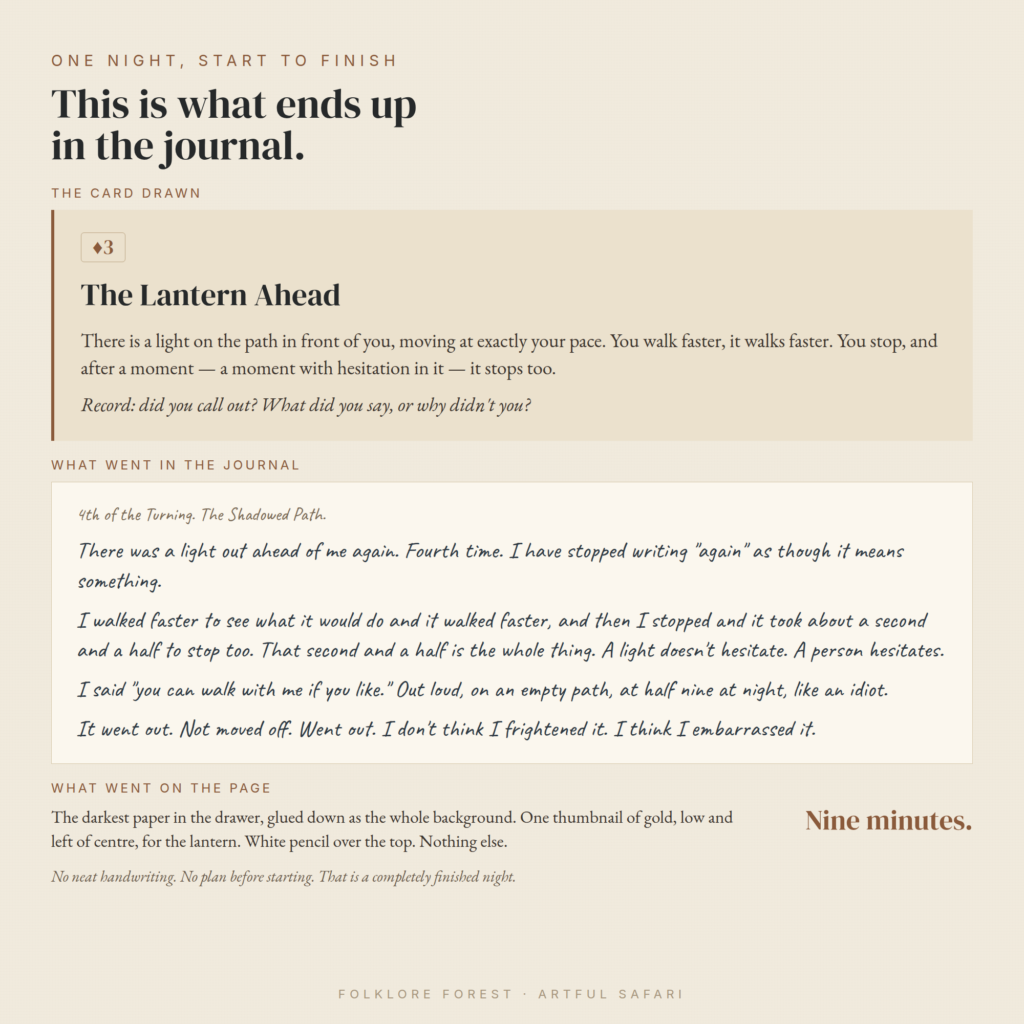
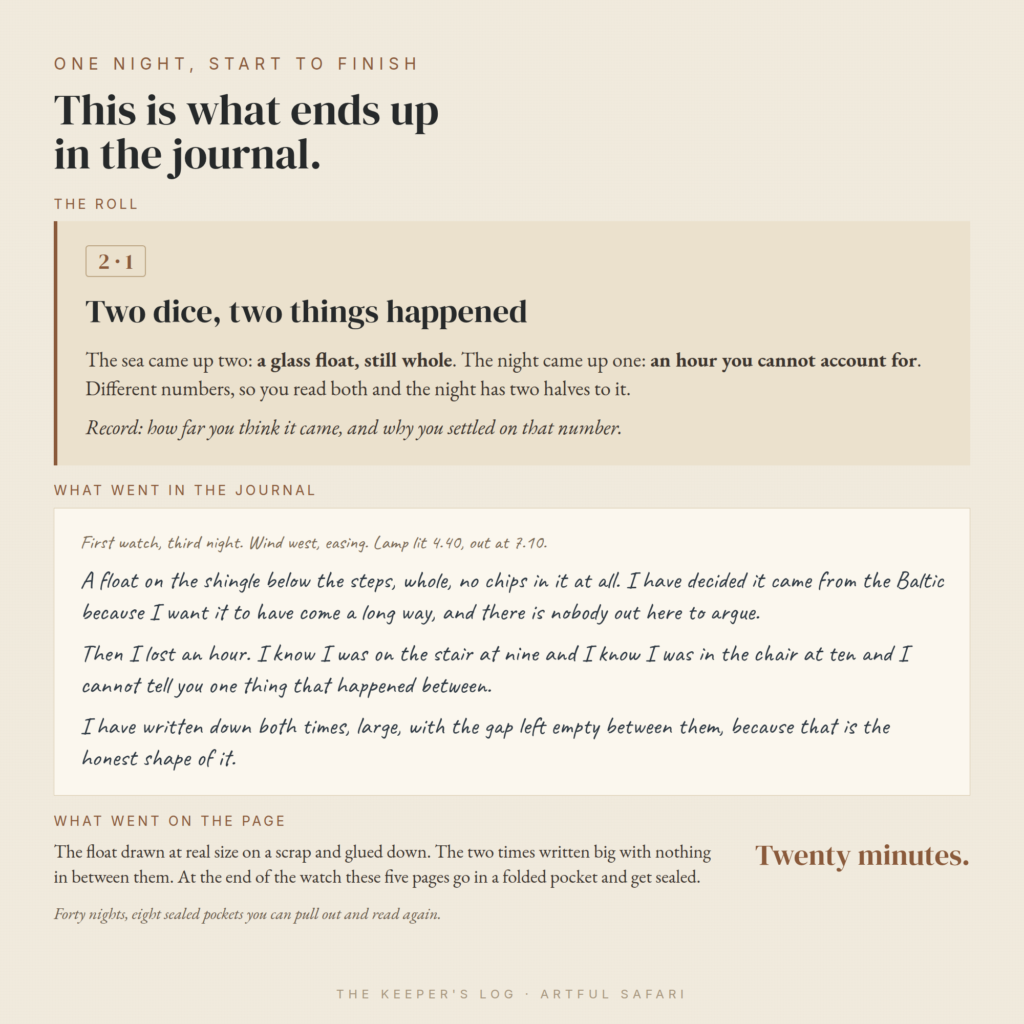
    One night of solo play written up as a journal entry, the same shape a Notorious solo RPG hunt fills
    One night of play written up. A destination page works the same way: what happened, then what went on the paper.

    The RPJ crowd calls the videos of these “flip throughs”, and watching one is the quickest way to see what you are aiming at. Cassi Mothwin plays the whole thing at journaling pace rather than gaming pace, which is the pace this kind of book needs:

    If you already build books out of scraps, none of this is new to you. It is the same craft described in what a junk journal actually is, pointed at a bounty instead of a holiday.

    Where to get the Notorious solo RPG and what it costs

    The download lives on the publisher’s own itch.io page from around ten US dollars. That gets you the 76-page book with the tables, the six Nomad profiles, and a character sheet you can fill in on screen.

    Always Checkers also sell a printed A5 edition with copper foiling on the cover, wire-bound, though it goes in and out of stock. Torben Bökemeyer did the artwork and it is worth seeing at full size.

    To read somebody else’s hunt before committing, PopCult’s review and actual play of Notorious follows one Nomad through two contracts, and it is the fullest written account of the loop I could find.

    Questions people ask about the Notorious solo RPG

    I have bought the Notorious solo RPG and still have not started. Where do I actually begin?

    Begin with the contract, not the character. Roll the planet your target is hiding on, take the three factions it gives you, and pick the one that hired you. Write that up as a wanted poster on one page. You now have a target with a name and a reason behind it, which makes the first Exploration roll feel like play rather than admin.

    Do I need special dice for the Notorious solo RPG?

    No. Two ordinary six-sided dice cover the whole game. One of them is your Nomad die, which you roll with an attribute added on, and the other is the challenge die you are rolling against. A pair borrowed from a board game in the cupboard will do the job.

    Do I have to be good at writing?

    No. Most of what goes in the book is short: a place name, who you met, what it cost you, a number. The lead ledger is columns rather than prose, and a destination page runs to five or six lines. Only the showdown really asks for a scene, and by the time you reach one you know your Nomad well enough to write it.

    How long does one hunt take?

    A contract runs two Leads and then the Target, so somewhere between three and six sittings depending on how much you cut and glue. An evening or two a week finishes a book in about a month. Arcade Mode compresses that a long way if you want the story without the pages.

    Can I use cards instead of dice?

    The rules ask for two six-sided dice and give you tables to roll on, so cards are your own substitution rather than something the game offers. Plenty of people in the journaling crowd do it anyway, drawing from a tarot or oracle deck and mapping the numbers across. It shifts the odds, which may or may not bother you.

    Is the Notorious solo RPG the same as the film or the rapper?

    No. This is a 76-page game from Always Checkers Publishing, with no connection to the 1946 Hitchcock thriller, the 2009 biopic, or Christopher Wallace. If you arrived here looking for one of those, that is a name clash rather than the game.

    If you would rather start from papers

    None of this needs a kit. A cheap notebook, a pen, and whatever is already in your stash will carry a whole Notorious solo RPG hunt, and half the pleasure of these books is that they look handmade.

    If you would sooner start from papers that already have an atmosphere, Helene designs the sets in The Crimson Parlour, a Victorian mystery kit with its own thirteen-night game inside it. A different setting to the Notorious solo RPG, and the same idea underneath: a game that leaves a book behind when it is over.

  • Ironsworn Solo RPG: 6 Easy Steps to Your First Session

    Ironsworn Solo RPG: 6 Easy Steps to Your First Session

    The Ironsworn solo RPG is a free dark fantasy tabletop game by Shawn Tomkin, played alone with three dice and a journal. You swear an Iron Vow, make moves to pursue it, roll a six-sided action die against two ten-sided challenge dice, and write down in the journal what happened after each roll.

    Most people download it, read the moves twice, then sit looking at a blank notebook wondering what goes on the first page. That gap between owning the game and starting it is where the stalling happens.

    What follows is a setup order for keeping the game as a physical book you make by hand, rather than a document on a laptop. Six steps, from the free download to a finished vow marked on the page.

    The rules cost nothing. The book is yours, and that is the half nobody writes instructions for.

    What an Ironsworn solo RPG session actually looks like on paper

    Ironsworn is a dark fantasy game set in the Ironlands, a cold frontier where people scrape a living at the edge of somewhere worse. Shawn Tomkin released it in 2018. It was built to be played alone as readily as with a group, and the digital edition has been free the whole time.

    A session of the Ironsworn solo RPG runs as a loop. You say what your character is doing, you find the move that covers it, you roll, and the result tells you whether it went well, went well at a price, or went wrong.

    Then you write. The writing is not an extra bolted onto the rules, it is the thing the whole system exists to produce. A made book holds it better than a notes app.

    Step 1. Download the Ironsworn solo RPG rules, then pick the book

    The free digital edition lives on Tomkin Press, the author’s own publishing site, and the same download sits on Shawn Tomkin’s itch.io page. It runs to 270 pages and arrives with a playkit and printable asset cards.

    Print the moves reference and the asset cards. Leave the rest open on a screen beside you, the way you would leave a recipe book open on the bench.

    For the journal, an A5 hardback with thick pages will take ink and glue without buckling. If you already make junk journals, use one you have made. Coming the other way, from the gaming side, our guide to what a junk journal is covers the materials.

    An Ironsworn solo RPG journal opening built on birch woodland papers
    A bound book you can glue into holds an Ironsworn solo RPG better than a folder of loose printouts.

    Step 2. Build the front matter your Ironsworn solo RPG needs

    An Ironsworn solo RPG character comes with a handful of numbers to keep, and the book works far better when they live in one fixed place instead of migrating through the pages. Give the first opening of the journal to them and never write a scene there.

    On the left page go your character’s name, their five stats, and their assets. The stats are edge, heart, iron, shadow and wits, and they are the small numbers you add to a roll. Assets are the cards that say what your character is good at, anything from an animal companion to a combat talent or a ritual.

    On the right page go the four tracks. Health, spirit and supply each run from nothing up to five. Momentum runs from minus six to plus ten and tells you how the quest is faring overall.

    Draw those tracks as boxes you tick and cross, not as numbers you rub out. A crossed-out row of health still reads three months later. A smudged pencil 3 does not.

    Step 3. Swear your first Iron Vow, and give it a spread

    A cold-toned leaf element used to break up a vow page in a journal

    The Iron Vow is the spine of the game. When you commit to a quest you write the vow down, give it a rank, and roll +heart, which means rolling the six-sided action die and adding your heart score.

    A strong hit gives you two momentum and a clear next step. A weak hit gives you one momentum and more questions than answers. A miss drops something in your way before you can begin, and you either press on at a cost or forsake the vow.

    Ranks run troublesome, dangerous, formidable, extreme and epic, and the rank sets how fast the track fills. A troublesome vow marks three boxes each time. Dangerous marks two, formidable marks one, extreme marks two ticks and epic marks a single tick.

    Each box holds four ticks and every track is ten boxes long. That is the number to design the page around.

    Here is the part the rulebook leaves to you. Rule the ten-box track by hand across the top of a fresh opening, wide and in ink, then write the vow underneath it in the words your character used.

    Rule the track in ink, wide, before there is anything to record on it. A page that already has room for the story tends to get one.

    The rest of that opening stays empty and fills as the quest does. Reading back through an Ironsworn solo RPG journal a year later, those half-filled tracks are the thing that brings the night back.

    Step 4. Make one move and write down what the dice said

    Every uncertain action in the Ironsworn solo RPG goes through a move. Face Danger, Secure an Advantage, Gather Information, Make Camp, Undertake a Journey and the rest each tell you what to roll and what each outcome means.

    An action roll is three dice thrown at once. One six-sided die is your action die, you add a stat to it, and that total goes up against two ten-sided challenge dice.

    Beat both and it is a strong hit. Beat one and it is a weak hit, which is success with a price attached. Beat neither and it is a miss.

    When the two challenge dice land on the same number, something larger is going on than the move by itself. Take a match as the game handing you a twist.

    Write the entry straight away, while the roll still stings. Two or three lines in your character’s voice, not a report on what the dice did.

    What to record after each move in an Ironsworn solo RPG

    A page that holds only prose loses the game underneath it. A page that holds only numbers is a spreadsheet. Five things, every time, keeps it readable for years.

    • The move you made, abbreviated in the margin. Something like Face Danger, +iron.
    • The outcome, as one mark beside it. A tick for a strong hit, a half tick for a weak one, a cross for a miss.
    • What happened, in your character’s voice, at whatever length the moment earns.
    • Any track that moved, marked on the front opening rather than buried mid-page where you will never find it again.
    • One thing for your hands. A scrap of map, or a torn edge of paper in the colour of that night’s weather.

    That last line is what separates an RPJ from a pile of notes. RPJ is short for role playing journal, the community’s own name for this, and most of the people using it came to Ironsworn from junk journalling rather than from tabletop gaming. The making is why they stay.

    Woodland papers suited to an Ironsworn solo RPG set in the Ironlands
    Cold, wooded, slightly grim papers suit an Ironsworn solo RPG better than anything bright.

    Step 5. Ask the oracle, then glue something in

    Solo play removes the person who would normally answer your questions, so the Ironsworn solo RPG hands you the Ask the Oracle move and a long run of random tables. You can ask a yes-or-no question with odds attached, or roll on a table for a name, a place, an action or a theme.

    An oracle table is a numbered list you roll against, and the number is never the answer. The answer is what you decide the result meant. That decision is where a solo game stops being arithmetic.

    Keep a glued-in pocket near the back for results you have rolled but not used yet. Write them on small cards, pull one when a scene needs a shove, and glue the spent card onto the page it caused.

    A weathered card element cut down for oracle results in an Ironsworn solo RPG journal
    Cut cards from a paper you like, write the oracle result on one, and glue it down where it landed.

    Step 6. Mark a fulfilled vow so the page shows it

    Progress in an Ironsworn solo RPG does not come from ticking a box whenever you feel like it. You mark progress when you Reach a Milestone, which the rules define as overcoming a real obstacle, finishing a hard journey, solving a mystery, or winning support you needed.

    Once the track holds enough filled boxes, you make the Fulfill Your Vow move. This one is a progress roll and it works differently: you do not roll the action die at all. You count your filled boxes and compare that number against the two challenge dice.

    Bonds run on a track of their own. Each time you Forge a Bond with a person or a community you mark one tick, and when a character’s story ends, Write Your Epilogue tallies those bonds the way a vow is tallied.

    On paper, a fulfilled vow is worth more than a tick. Ink the ten boxes solid, date it, and hand the facing page to one image of the thing you swore to do, finished.

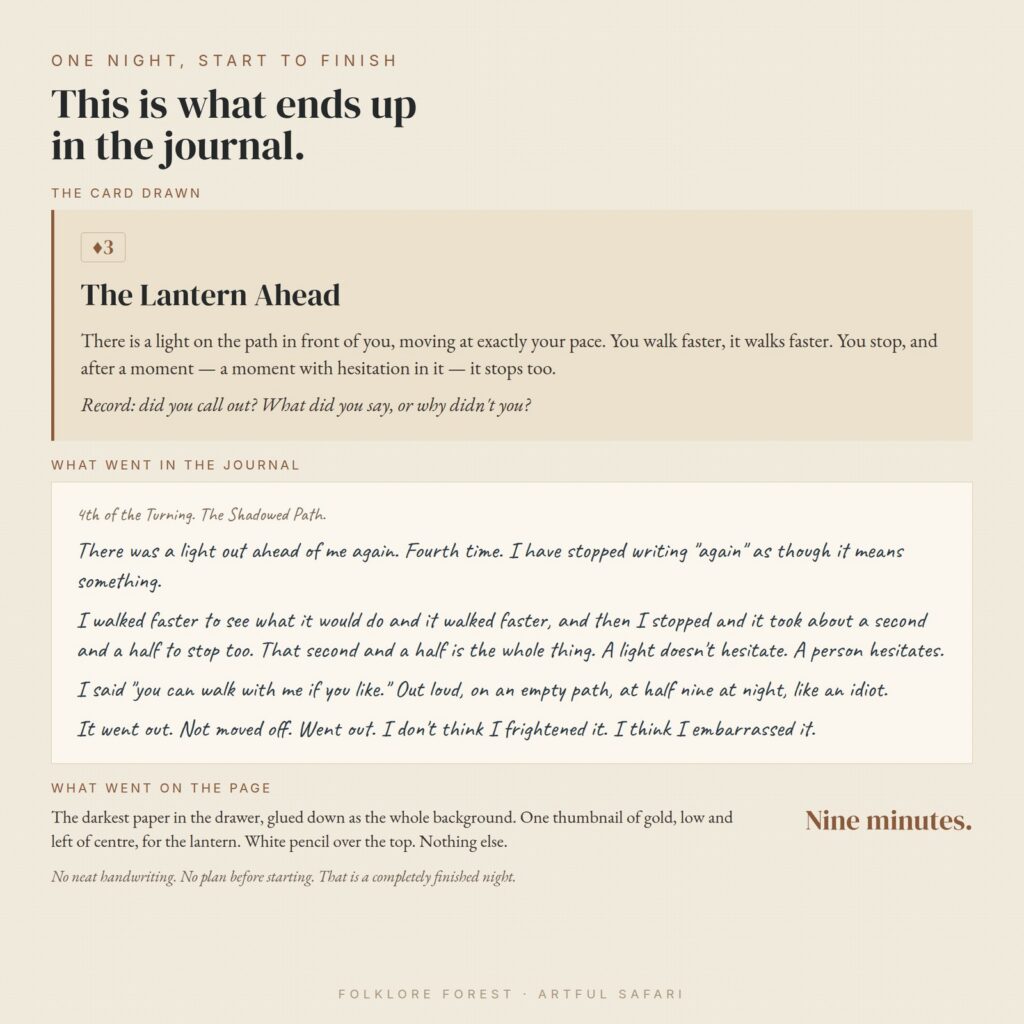
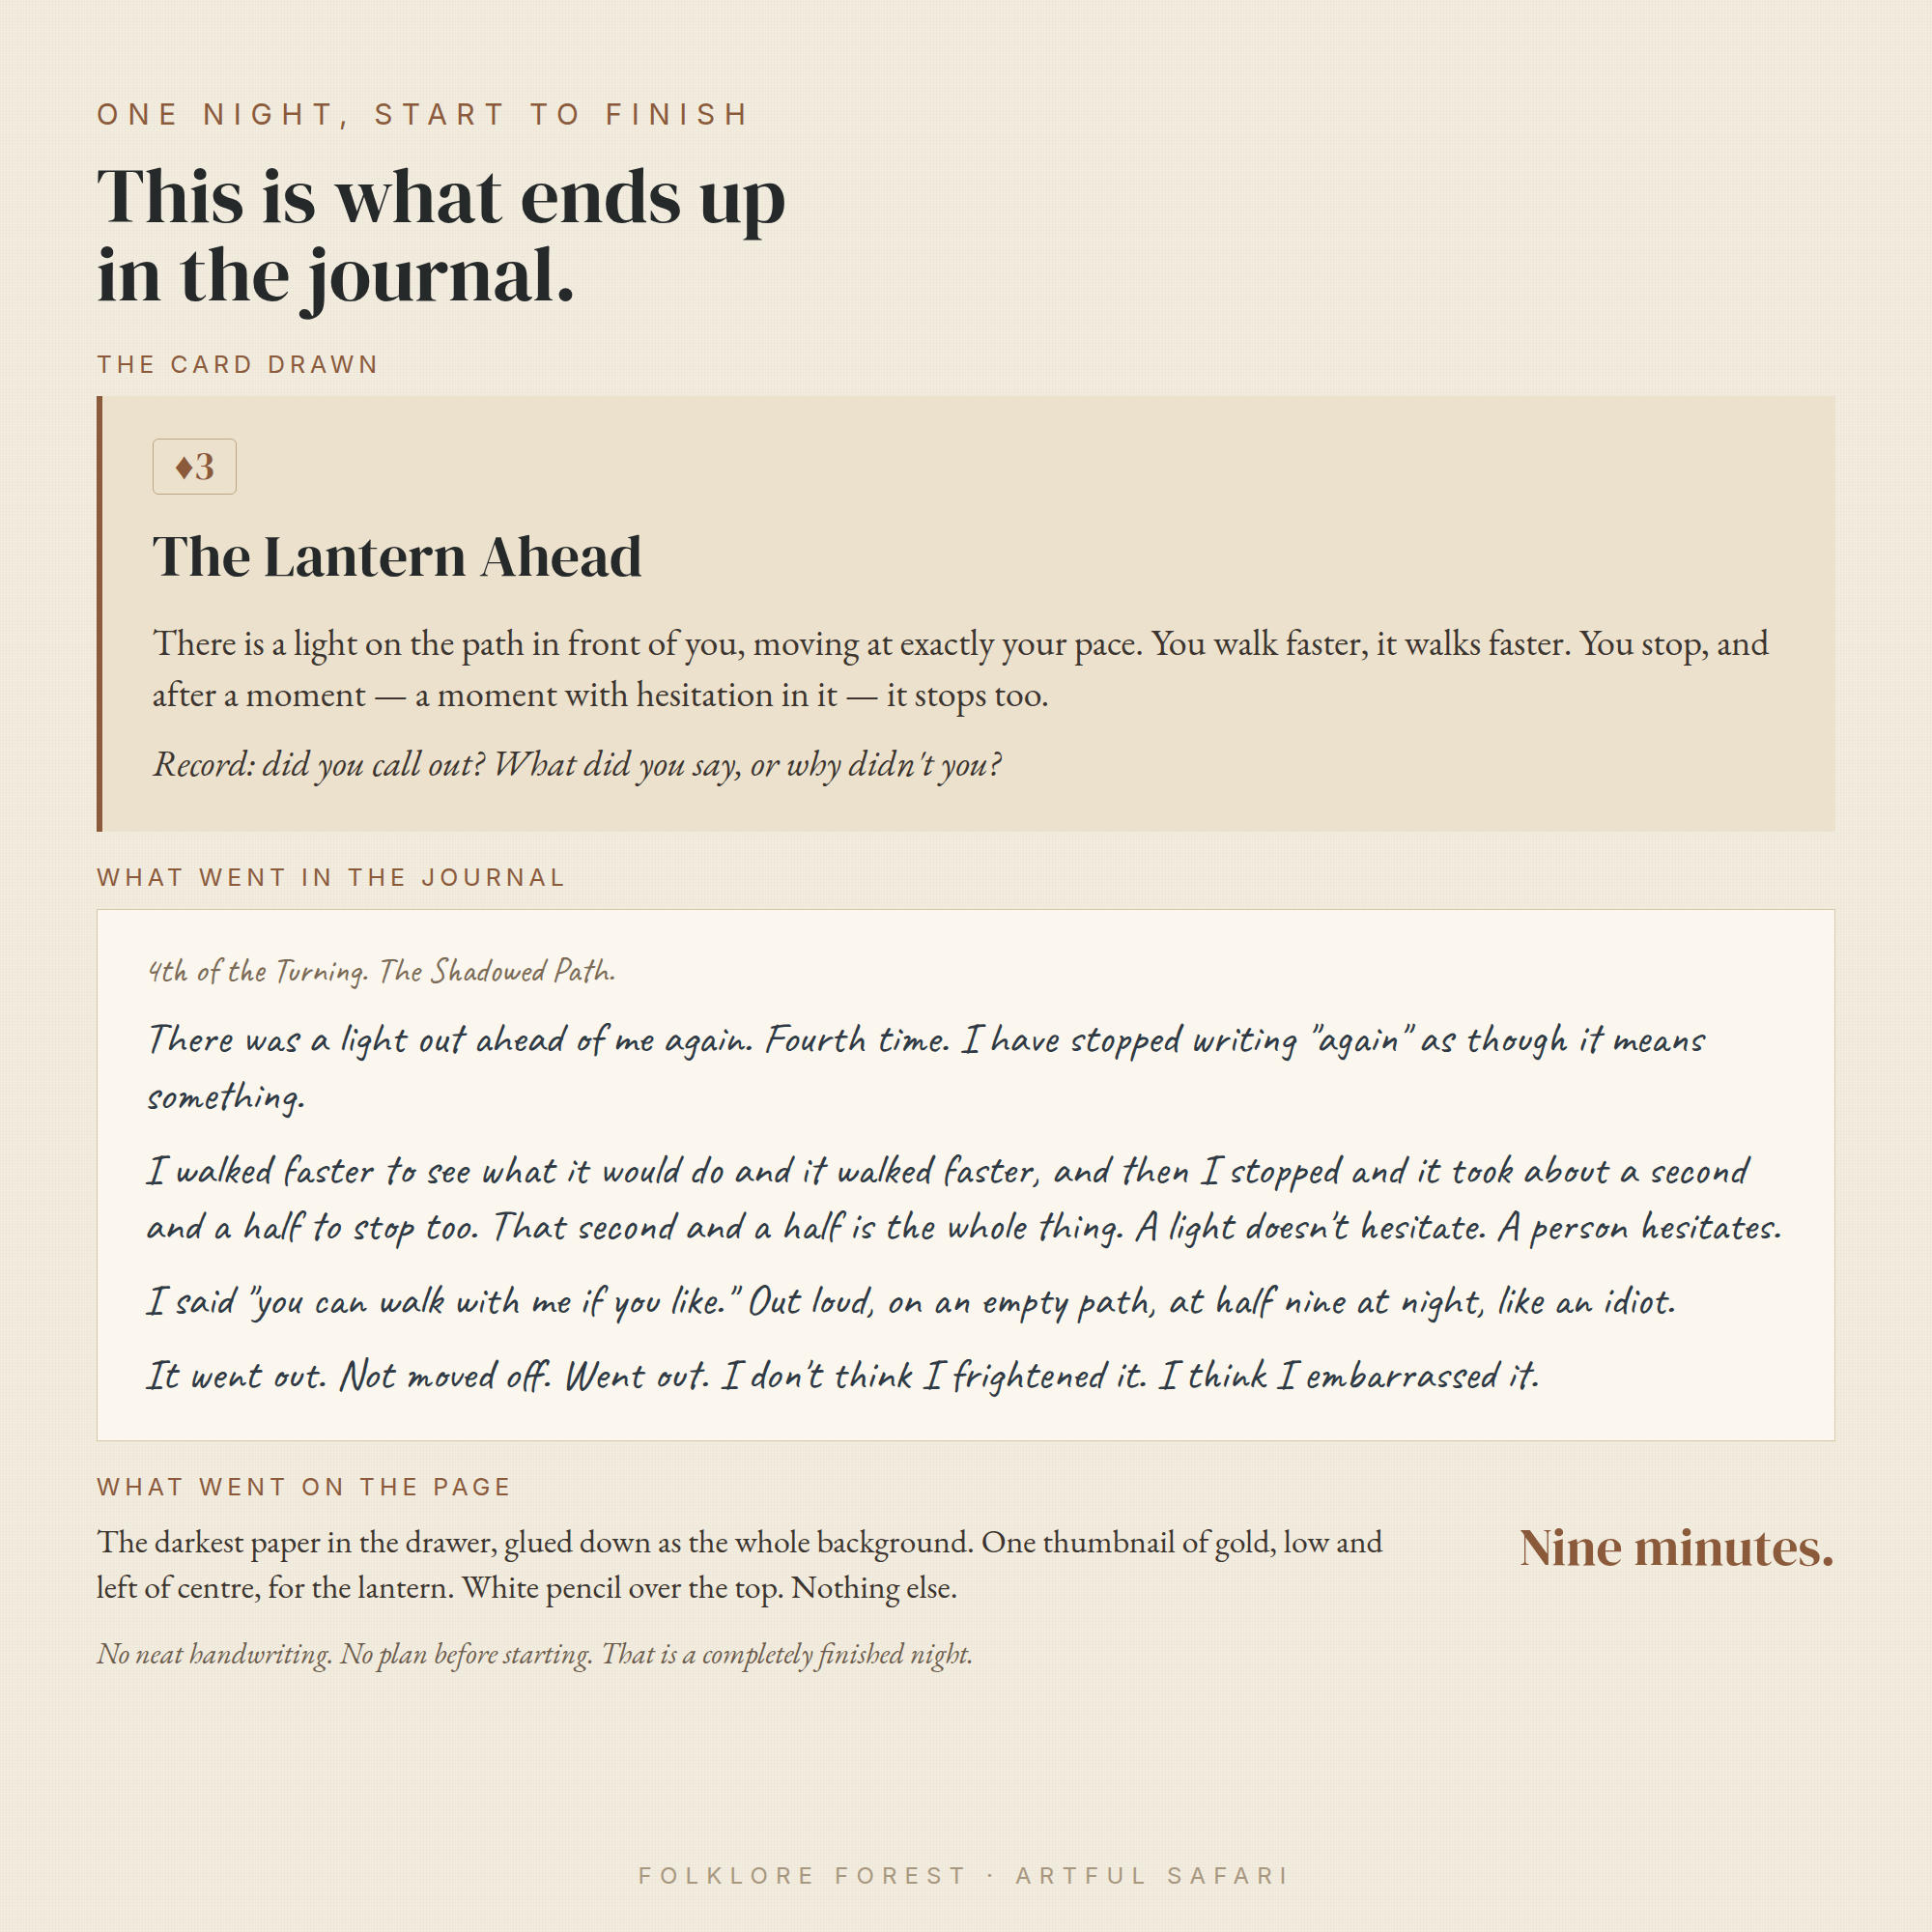
    One finished night in a solo journaling game, from the prompt through to what went on the page
    A single night written out end to end, from another game in the same format. Four lines and one thing stuck down is a finished entry.

    That opening is what you turn to when somebody asks what an Ironsworn solo RPG actually is. It gets there faster than the rulebook.

    What goes wrong in a first Ironsworn solo RPG journal

    Swearing an epic vow first is the common one. An epic vow marks a single tick at a time and a full track is forty ticks, so the book stalls long before the story does. Swear something troublesome and finish it.

    Writing on loose sheets with the intention of binding them later almost never ends in a bound book. Start in the hardback even if the first page comes out scruffy.

    Decorating the whole journal before you play tends to make it too precious to write in. Build two or three openings ahead of the story and stop there.

    Recording the dice instead of the character is the one people regret. Six months on, “8 against 4 and 9, weak hit” tells you nothing. What your character did about it tells you the lot.

    Thin paper is the last one. Fountain pen ink and wet glue will find it, so test a sheet before you commit forty nights to a book.

    Common questions about the Ironsworn solo RPG

    How do I actually start once I have downloaded the game?

    Make a character and swear one troublesome vow tonight, before you decorate anything. The usual stall is treating setup as a project, printing the whole rulebook and buying a journal and never rolling. Do the front opening from step two in half an hour, swear a small vow, make one move, write four lines.

    Do I need dice to play Ironsworn?

    Yes, one six-sided die and two ten-sided dice. That is the whole set. If you do not own ten-sided dice, a dice-rolling app does the same job, and plenty of people roll on a phone with the paper journal open on their knee.

    Do I have to be good at writing?

    No. Nobody reads an Ironsworn solo RPG journal except the person writing it, so there is no one to find a plot hole or mark a sentence. Four lines in your character’s voice does the job. The people who stay with this longest tend to write short and glue in more.

    How long does one session take?

    Ten minutes to a couple of hours, and the short ones are normal. One move, one entry and one thing stuck to the page is a complete evening. It suits interrupted schedules, because you can put it down mid-quest and pick it up three weeks later without rereading anything.

    Is the Ironsworn solo RPG really free?

    Yes. The digital edition, the playkit and the printable asset cards are free from Tomkin Press and from itch.io, and what you get is the complete 270-page rulebook rather than a sample. Shawn Tomkin also sells printed editions and a science fiction follow-up called Starforged.

    Can I use a junk journal I have already made?

    That is the best book for it. A junk journal already has pockets and mixed papers, which is what an Ironsworn solo RPG needs for oracle cards and vow tracks. Leave the first opening blank for your character and tracks, then work forward. Pages you decorated months ago will steer scenes, which is worth having.

    Where an Ironsworn solo RPG goes next

    Watching somebody play clears up the loop faster than reading about it does. Dave Thaumavore’s walkthrough of Ironsworn and how its mechanics work takes the dice, the vow ranks and the oracle in order, with examples on screen.

    Plenty of people keep a second, shorter game running alongside a long campaign, for nights when forty ticks feels like a distance. Our guide to how a solo journalling RPG is built pulls the format apart, and the first seven nights guide is a slower way in.

    Either way, the book is the part you keep. An RPJ made from papers you actually like is a better home for a long Ironsworn solo RPG than a stack of printouts, and printing your own is covered in our home printing settings guide.

    If you want the paper side sorted before you swear your first vow, our Folklore Forest kit pairs woodland papers and ephemera with a 52-night game of its own.

  • Colostle: 6 Easy Steps to Your First Explorer’s Journal

    Colostle: 6 Easy Steps to Your First Explorer’s Journal

    Colostle is a solo journalling game by Nich Angell, set inside a castle so large it has oceans and mountains in its rooms. You play it with the book, an ordinary deck of 52 playing cards and a notebook: draw a card, read the prompt it points to, write down what your character did.

    The writing is the game, and the notebook is the part nobody sets up for you. Players call the finished book an RPJ, short for role playing journal, a name the YouTuber Journals4breakfast put on it.

    That gap is where most people stop. They buy the book, buy a journal to go with it, and then sit looking at a blank first page trying to work out what goes where. Six steps below get a Colostle journal open, laid out and usable before you turn a single card.

    What Colostle actually asks your notebook to hold

    Colostle was written and illustrated by Nich Angell of Draconeer Games in Gloucestershire, and it won the Gold ENNIE for Best Rules in 2022 after a Kickstarter that raised close to £45,000. His own description of the world is on the Colostle site: a castle so big that there are oceans, mountains and cities within its rooms, and no outside to any of it. The landscapes inside are the Roomlands.

    Colostle plays like this. Your character has an Exploration score and a Combat score, each a number out of five, set by the class you pick from the book. You draw a number of cards equal to your Exploration score, and each card sends you to a prompt.

    A weathered metal EXPLORE sign, an element from the Urban Travel range
    Exploration is most of the game. The cards decide what you walk into.

    Red cards point at living things, people and creatures. Black cards point at places and objects. The number on the card decides which prompt you land on, and you choose the order in which you resolve the cards you drew.

    Wandering the Roomlands are the Rooks, which the book calls huge walking stone castle towers that attack anything they see, but hold the Rookstones, the only source of magic in this world. Fighting one means drawing cards against it and winning the majority of the exchanges. Angell has described the game as part game, part creative-writing exercise, which is a fair description and the reason the journal carries so much of the weight.

    So the book hands you a card draw and a prompt, and everything after that is yours. The cards you turned need somewhere to sit on the page. So does the shape of the place you were standing in, and so does what your character did about it.

    Deciding where a card draw goes on the page is a job you only have to do once. Do it properly and the next forty spreads fill themselves in.

    Step 1. Pick a book you are willing to spoil

    The single biggest reason a Colostle journal never gets started is that the journal is too nice. A pristine hardback with cream paper invites you to wait until you have something good enough for page one, and that day does not arrive.

    Pick something you would not mind wrecking. A cheap sketchbook, a charity-shop hardback you are gutting, an old ledger, a spiral pad. Players in this hobby routinely play inside altered books, and one of the better-known ones runs her games in 1980s school yearbooks.

    Size matters more than quality, because a Colostle spread wants width. A4 gives you room for a card record and a map on the same opening without cramping the writing. Anything smaller and the map turns into a doodle in a corner.

    Step 2. Build the character opening before anything else

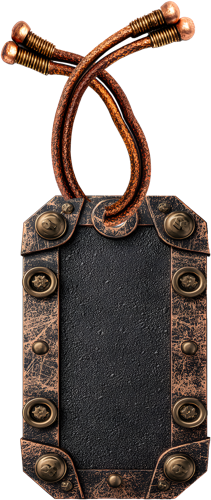
    A dark riveted luggage tag on a leather cord, an element from the Echoes of Time range
    A tag glued to the character opening holds the two scores where you can find them.

    Colostle builds a character from four things: a Calling, which is why they are out there; a Nature, which is how they react to what they meet; a class; and a weapon. The Calling and the Nature come up randomly. The class sets those two numbers you will be drawing cards against all game.

    The base book gives you four to choose from. The Armed has grafted a Rook’s arm to themselves and fights slightly better than they explore. The Followed travels with a Rookling companion and is the best explorer of the set.

    The Helmed has harvested machinery from a Rook’s heart, which makes them poor at exploring and very dangerous in a fight, and the Mounted rides a Rook mechanism, which reverses that entirely.

    Give all of it a full double-page opening at the front. Name, Calling, Nature, class, weapon, the two scores, and a space to write in what the character is carrying as it accumulates. You will turn back to this opening more than any other page in the book, so make it the one that looks finished.

    Step 3. Set up one Colostle spread before you draw a card

    This is the step that gets skipped and it is the one that fixes everything. Rule up a single blank Colostle opening in advance, so that when you sit down to play you are filling in a shape rather than inventing one.

    The official Colostle journal is worth copying here. The Roomlander Journal is a 98-page spiral-bound A4 book in which every double-page spread holds one encounter phase, with a section to record the card draws for Exploration and Combat, a map section for visual notes on the lay of the land, and a journal section to write up what your character did that day.

    You can rule that yourself with a pencil and a straight edge. A narrow column down the left edge of the left-hand page holds the cards, and a box roughly a quarter of the spread, top right, holds the map. Everything else is writing space.

    Do five or six of these openings in one sitting while you are in the mood for ruling lines. Then Colostle never waits on your stationery.

    Step 4. Record the draw so you can read it back in a year

    Colostle runs on the cards, so write them down as cards. Not “I found a ruined tower” but “♠7 — ruined tower”, with the prompt number if you want to find it again. The suit and the rank are the reason the story went where it went, and stripping them out turns your RPJ into fiction with no evidence behind it.

    A perforated record card with ruled lines, an element from the Urban Travel range
    A record card down the outside edge takes a column of suits without eating the writing space.

    There is a practical reason as well as a sentimental one. When an Events table sends you back for another draw, or a fight runs across two openings, you need the record to keep track of what came from where. A column of card symbols down the left edge does that job, and it looks deliberate.

    Junk journallers have an advantage here. A small pocket glued to the character opening will hold the actual cards from a session you care about, and a whole encounter can be pasted in as a fan of four cards rather than transcribed.

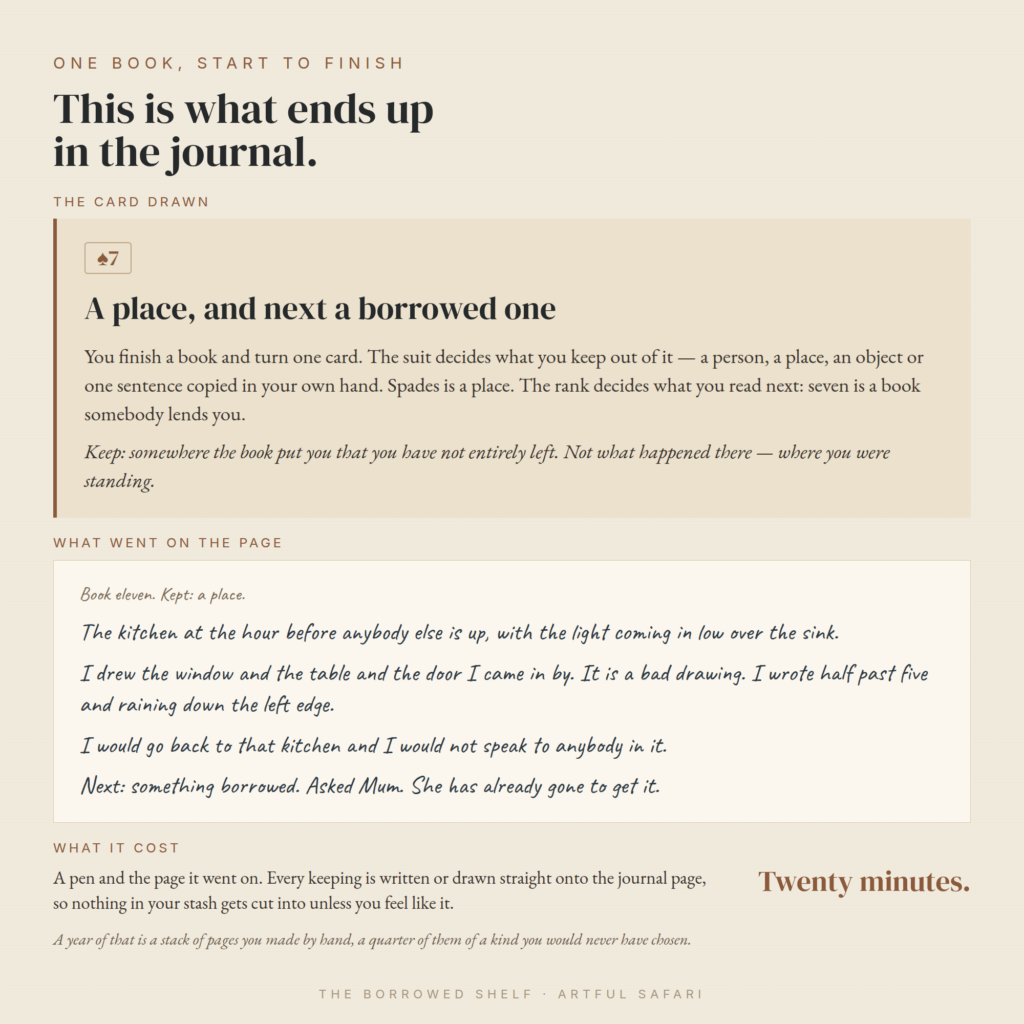
    A card draw written up as a journal entry, the same two-part layout a Colostle spread uses
    Not Colostle, but the same anatomy: the card and its prompt at the top, what actually went on the page underneath. This one comes from Artful Safari’s own card-driven journal.

    Step 5. Map the room while it is still in your head

    The map box is the part people leave out, and it is the part that makes a Colostle journal look like a Colostle journal rather than a diary. It does not need to be good. A rectangle for the room and an X where the Rook was standing will do.

    A journal card with ruled lines above a printed street map, an element from the Urban Travel range
    A card with a map already on it will carry a room you cannot face drawing.

    Do it before you write the prose, not after. Once you have written the entry the geography collapses into sentences and you lose the sense of where things were in relation to each other, which is the whole pleasure of exploring a room the size of a country.

    Ink the map, then let a wash of watered-down brown or grey sit over the floor of it. That one move does more for the look of a page than any amount of careful lettering. If you would rather not draw at all, a torn scrap of aged paper with the room’s name on it does the same job.

    Step 6. Write the entry, then close the spread properly

    Now write the Colostle entry. Your character’s account of what happened, in whatever voice suits them, as long or as short as it wants to be. Some encounters are four lines and some fill the page.

    Then close the opening off. Date it in the world’s own terms, note the two scores as they stand after the encounter, and write one line about where the character is heading next. That last line is what gets you back into the chair tomorrow, because it means the next session opens with a direction instead of a blank.

    The reason to close a spread rather than trail off is that an RPJ is a book, and books have pages that end. A finished opening has a card column, a map, an entry and a sign-off, and a stack of them reads as a record of a journey rather than a set of abandoned starts.

    What a finished Colostle spread looks like

    Left-hand page: the card column down the outside edge with the suits inked in, the map box top right of the spread with its wash, and the first half of the entry filling the rest. Right-hand page: the rest of the writing, and the sign-off at the foot with the two scores and a heading.

    Pick two inks and one paper tone and keep them for the whole book, so a flip through reads as one journey rather than forty separate craft projects. A warm brown for everything and a deep red kept back for the Rookstones will carry the entire Roomlands.

    If you want to see how Colostle flows before you commit to a layout, Cozy RPG Reviews goes through the card system and the setting in full, and it is the quickest way to see what one turn actually involves:

    Watching somebody play is consistently what makes these games click for people who have read the rules twice and still feel stuck.

    Colostle questions people actually ask

    Do you need dice to play Colostle?

    No, Colostle runs on an ordinary deck of 52 playing cards and nothing else, which is one of the reasons people pick it as a first solo game. The suit and the rank of each card you turn send you to a prompt in the book. If you already own dice from another game, they sit this one out.

    Do you have to be good at writing?

    No, and the prompt system is why: the book hands you the situation, so you are never facing an empty page and inventing from nothing. Plenty of players write four lines an encounter and let the map and the card record carry the rest of the spread. Nobody is reading it over your shoulder.

    I have the book and a journal, so how do I actually start?

    Set up the character opening first, then rule one blank spread, and only then shuffle. That order is the whole trick, because it means your first card draw lands in a page that already has somewhere for it to go. Most people who stall have skipped straight from buying the book to a blank sheet.

    Do you need the official Roomlander Journal?

    No. The rules ask for a notebook, and any book you are willing to write in will do the job. The official one is useful as a template rather than a requirement, because its spread layout shows you what to rule into your own: a card record, a map box and a writing area on every opening.

    Can you play Colostle in a junk journal?

    Yes, and it suits the game well. A made book gives you pockets to keep the actual cards from a session, aged paper that matches a stone castle, and tip-ins for maps that outgrow their box. The only thing to watch is bulk, since a book that is already fat with ephemera will not lie flat once you add forty spreads.

    How long does one Colostle session take?

    The game does not set one. The natural unit is a single encounter phase, meaning one round of card draws written up, and the official journal gives each of those a double-page spread. Treating one spread as one sitting keeps the book moving and means you always stop somewhere you can pick up from.

    If Colostle is your first journalling game

    Plenty of people arrive at Colostle having never touched a roleplaying game in their life and get on with it fine, because there is no table of people waiting on you and no one to improvise at.

    Our guide to solo journalling RPGs covers what these games have in common and how a session usually runs, and the seven-nights piece is a shorter on-ramp if you want to try the format before buying a rulebook. If the book you are playing in is a made one rather than a bought one, what a junk journal actually is is the place to start.

    For the papers themselves, Helene designs the sheets for The Crimson Parlour in the sort of aged Victorian tones that suit a stone castle and a card draw, and the kit carries its own thirteen-night mystery to play if you finish the Roomlands and want another book to fill.

  • Koriko: 5 Easy Ways to Keep a Journal Worth Finishing

    Koriko: 5 Easy Ways to Keep a Journal Worth Finishing

    Koriko is a solo journaling game by Jack Harrison in which a teenage witch spends a year in a city she has never seen. You play it across six volumes with the book, a tarot deck, a stack of dice and a notebook you keep yourself. Keeping that notebook well is what makes the year worth finishing.

    Most players stall on the notebook. A Koriko year is six sittings of an hour or two each, and a pile of loose entries in a lined pad does not feel like a year when you reach the end of it.

    Below are five ways to lay the book out so it holds the shape of the story. None of them change a rule. They are page decisions, made once, before the first card comes off the deck.

    What Koriko actually asks you to do

    Koriko: A Magical Year is by Jack Harrison, with cover and interior art by Deb JJ Lee, published through Mousehole Press in 2023 after a Kickstarter that raised £235,791. Its stated inspiration is Kiki’s Delivery Service, the Studio Ghibli film and the Eiko Kadono novel it came from. It took two Silver ENNIEs in 2024, for cover art and for production values.

    A soft blue and sand coastal paper, the ground a Koriko city map sits on
    Koriko can be any city you answer it into being as. A soft coastal ground from the Salt Air range suits a harbour town.

    To play you need the book, a tarot deck, a stack of six-sided dice and a journal. The story runs across six sections the game calls volumes, each an hour or two. Volume one is Departure and volume two is Arrival, so the pacing is built in before you make any decisions of your own.

    Setup builds your witch and her home village first, then the city. Koriko is a place of your invention, and the book asks you questions until it exists: a seaside town, a smoggy capital, whatever you answer with. Then she arrives, and you start drawing cards.

    The minor arcana give you moments. The major arcana give you confidants, twenty-two of them, who accumulate into a separate deck the game calls your circle. Each confidant carries prompts to use whenever they come up, and after four meetings you reach a crossroads with that person where you either help them, at some risk, or turn them down.

    Risk is where the dice come in. Take a chance and you add dice to a stack that gets less stable every time you touch it. When it falls, the fallen dice tell you what the consequence is, and one of those consequences is a Lesson: something your witch has learned, written into the journal, spendable later.

    At the end of every volume she rests and writes a letter home to her mentor. At the close of winter she decides whether to stay in Koriko as the city’s witch or go. If you want the fuller picture before you buy, Destructoid’s write-up walks through a season of play in detail.

    1. Map the city before you play in it

    Setup asks you to invent Koriko and then never gives you anywhere to put it. Most Koriko players answer the questions on scrap paper and lose them by volume three, at which point the harbour has moved and the baker lives on a different street.

    Give the city the first opening in the book. Left page: a rough map of the shapes you decided on, as crude as you like. Right page: the answers you gave during setup, written as short lines rather than paragraphs.

    A lined journal card with a compass, ruled for the city setup answers
    A ruled card takes the setup answers without turning them into an essay.

    Use a paper background with some age in it so the map reads as a document rather than a doodle. A single sheet of patterned paper trimmed to the page, with the map inked straight onto it, does more for the finished book than any amount of neat handwriting. This is the spread you will flip back to more than any other.

    If you have never assembled a page this way, the basics in our beginner’s guide to junk journals cover the layering using things you probably already own.

    2. Give the circle its own ledger

    The circle is the mechanic that makes Koriko a year rather than a series of scenes, and it is the one most easily lost. Twenty-two possible confidants, each met up to four times, each heading towards a crossroads you will want to remember the run-up to.

    A lined journal card headed story, sized for one confidant in a Koriko ledger
    One card per confidant, four dated lines, and you will still know what they wanted in volume five.

    Set aside four consecutive pages near the front for a confidant ledger. Rule each page into quarters, one confidant per box, with the card name in the corner and room for four dated lines underneath. Every time that person surfaces, add one line before you write the entry proper.

    The ledger is a two-minute habit that pays off around volume four, when you draw someone for the third time and cannot recall what they wanted. It also gives the finished book a reference section you can flip back to.

    Tuck a small envelope or a folded pocket onto the last ledger page. Anything you make for one particular confidant lives in there rather than floating loose in the book.

    3. Mark each season so the year reads as a year

    A Koriko journal covers twelve months and six volumes, and without a marker the whole thing reads as one long undated block. The fix is a divider between volumes, and it does not need to be elaborate.

    One page, the season’s name, and one colour that runs through everything on that side of the divider. Spring gets cool greens, summer goes warmer, autumn drops to rust, winter goes pale. Pick the papers before you play, so the choice never interrupts a session.

    A plum and gold star chart paper used as a winter season divider
    Winter wants the darkest paper in the drawer. This one is from the Midnight Apothecary range.

    The tab is the other half of this. A cut-and-glued tab on the divider page, sticking out past the fore-edge, lets you find spring in a closed book without opening it. Anyone arriving at Koriko from an RPJ background does this without being told, because that is how a junk journal gets built anyway.

    Print the season papers in one go before volume one and store them in the back pocket. Printing junk journal papers at home takes five settings, and doing all four seasons at once means you never stop mid-volume to feed the printer.

    4. Keep the letters home as letters

    The letter to the mentor at the end of each volume is the strongest piece of writing the game asks for, and writing it as another journal entry wastes it. It is addressed to someone. Make it look addressed to someone.

    A coastal card with a curled corner, for a letter home tucked into a pocket
    A curled corner and a soft edge read as a letter rather than another journal page.

    Write each letter on a separate sheet, fold it, and glue a pocket or a simple envelope onto the volume’s closing page. The letter goes in the pocket, readable, removable. Six letters across the Koriko year, six pockets, and the book acquires a rhythm that has nothing to do with how well you write.

    Date them in the witch’s calendar rather than yours. It costs nothing and it stops the letters reading like diary entries from a person sitting at a kitchen table in 2026.

    5. Leave the last spread of your Koriko journal empty until winter

    Koriko ends with a real decision. She stays as the city’s resident witch or she leaves, back to the village or somewhere new, and the game does not make that choice for you.

    Reserve the final opening of your Koriko journal on day one and rule it off. The temptation to use it turns up in volume five, when you run short of space. Knowing the ending has a page waiting changes how you pace the middle of the book.

    When you get there, the left page takes the decision itself and the right takes what came after. That second page is the only part of a Koriko journal that answers the question the whole year has been asking.

    Watch someone else keep a Koriko journal first

    Reading rules is a poor way to work out how a book should look. Two videos are worth the time before you start.

    The Bad Spot’s review is the clearest walk-through of the dice stack and the circle I have found, and at sixty thousand views it is why a fair few people bought the game at all. Watch this one if you are still deciding whether to buy Koriko.

    For the journal side, Bookish Artist Mandy’s first Koriko episode shows the actual page as she fills it, pens and all. Watch what she does with margins and you will steal something useful.

    Koriko questions people actually ask

    I have bought Koriko and still have not started. What do I do first?

    Open the book at setup and answer its questions before you touch a card. Setup builds your witch and her home village, then hands you the city to invent; write those answers onto the first opening of the journal as a map and a list and you have started. The bought-but-unstarted pile is mostly people waiting for a tidier moment.

    Do I need dice to play Koriko, or can I use cards instead?

    You need both a tarot deck and dice. The cards carry the prompts and the dice carry the risk, and the dice do something cards cannot: you stack them into a tower that eventually falls over. Swap in cards and you lose the part of the game that makes taking a chance feel like taking one.
    Do I have to be any good at writing?

    No. Every card you draw arrives attached to a prompt, so you are answering something rather than staring at an empty page. Plenty of players write two lines and spend the rest of the evening on the page itself, gluing paper and cutting tabs, and nobody reads it but you.

    How long does one Koriko session take?

    An hour or two. The story runs across six volumes and the publisher puts each volume at one to two hours, so a full year of play is about six evenings. You can leave months between them, which is when the letter home gets written anyway.

    Do I need to have played a roleplaying game before?

    No, and the book says as much: a passing familiarity with witches, city life and teenage drama is the only background it asks for. There is no group to coordinate and nobody to perform in front of. A good share of the people arriving at Koriko now came out of junk journalling rather than tabletop gaming.

    Can I play Koriko in a junk journal instead of a plain notebook?

    Yes, and the length suits it. Six volumes across a year is enough book for tabs, pockets, season dividers and a map spread to earn their place. A bound junk journal also takes the letters home better than a notebook, because you can glue a pocket onto a page without the spine fighting you.

    What a finished Koriko journal looks like

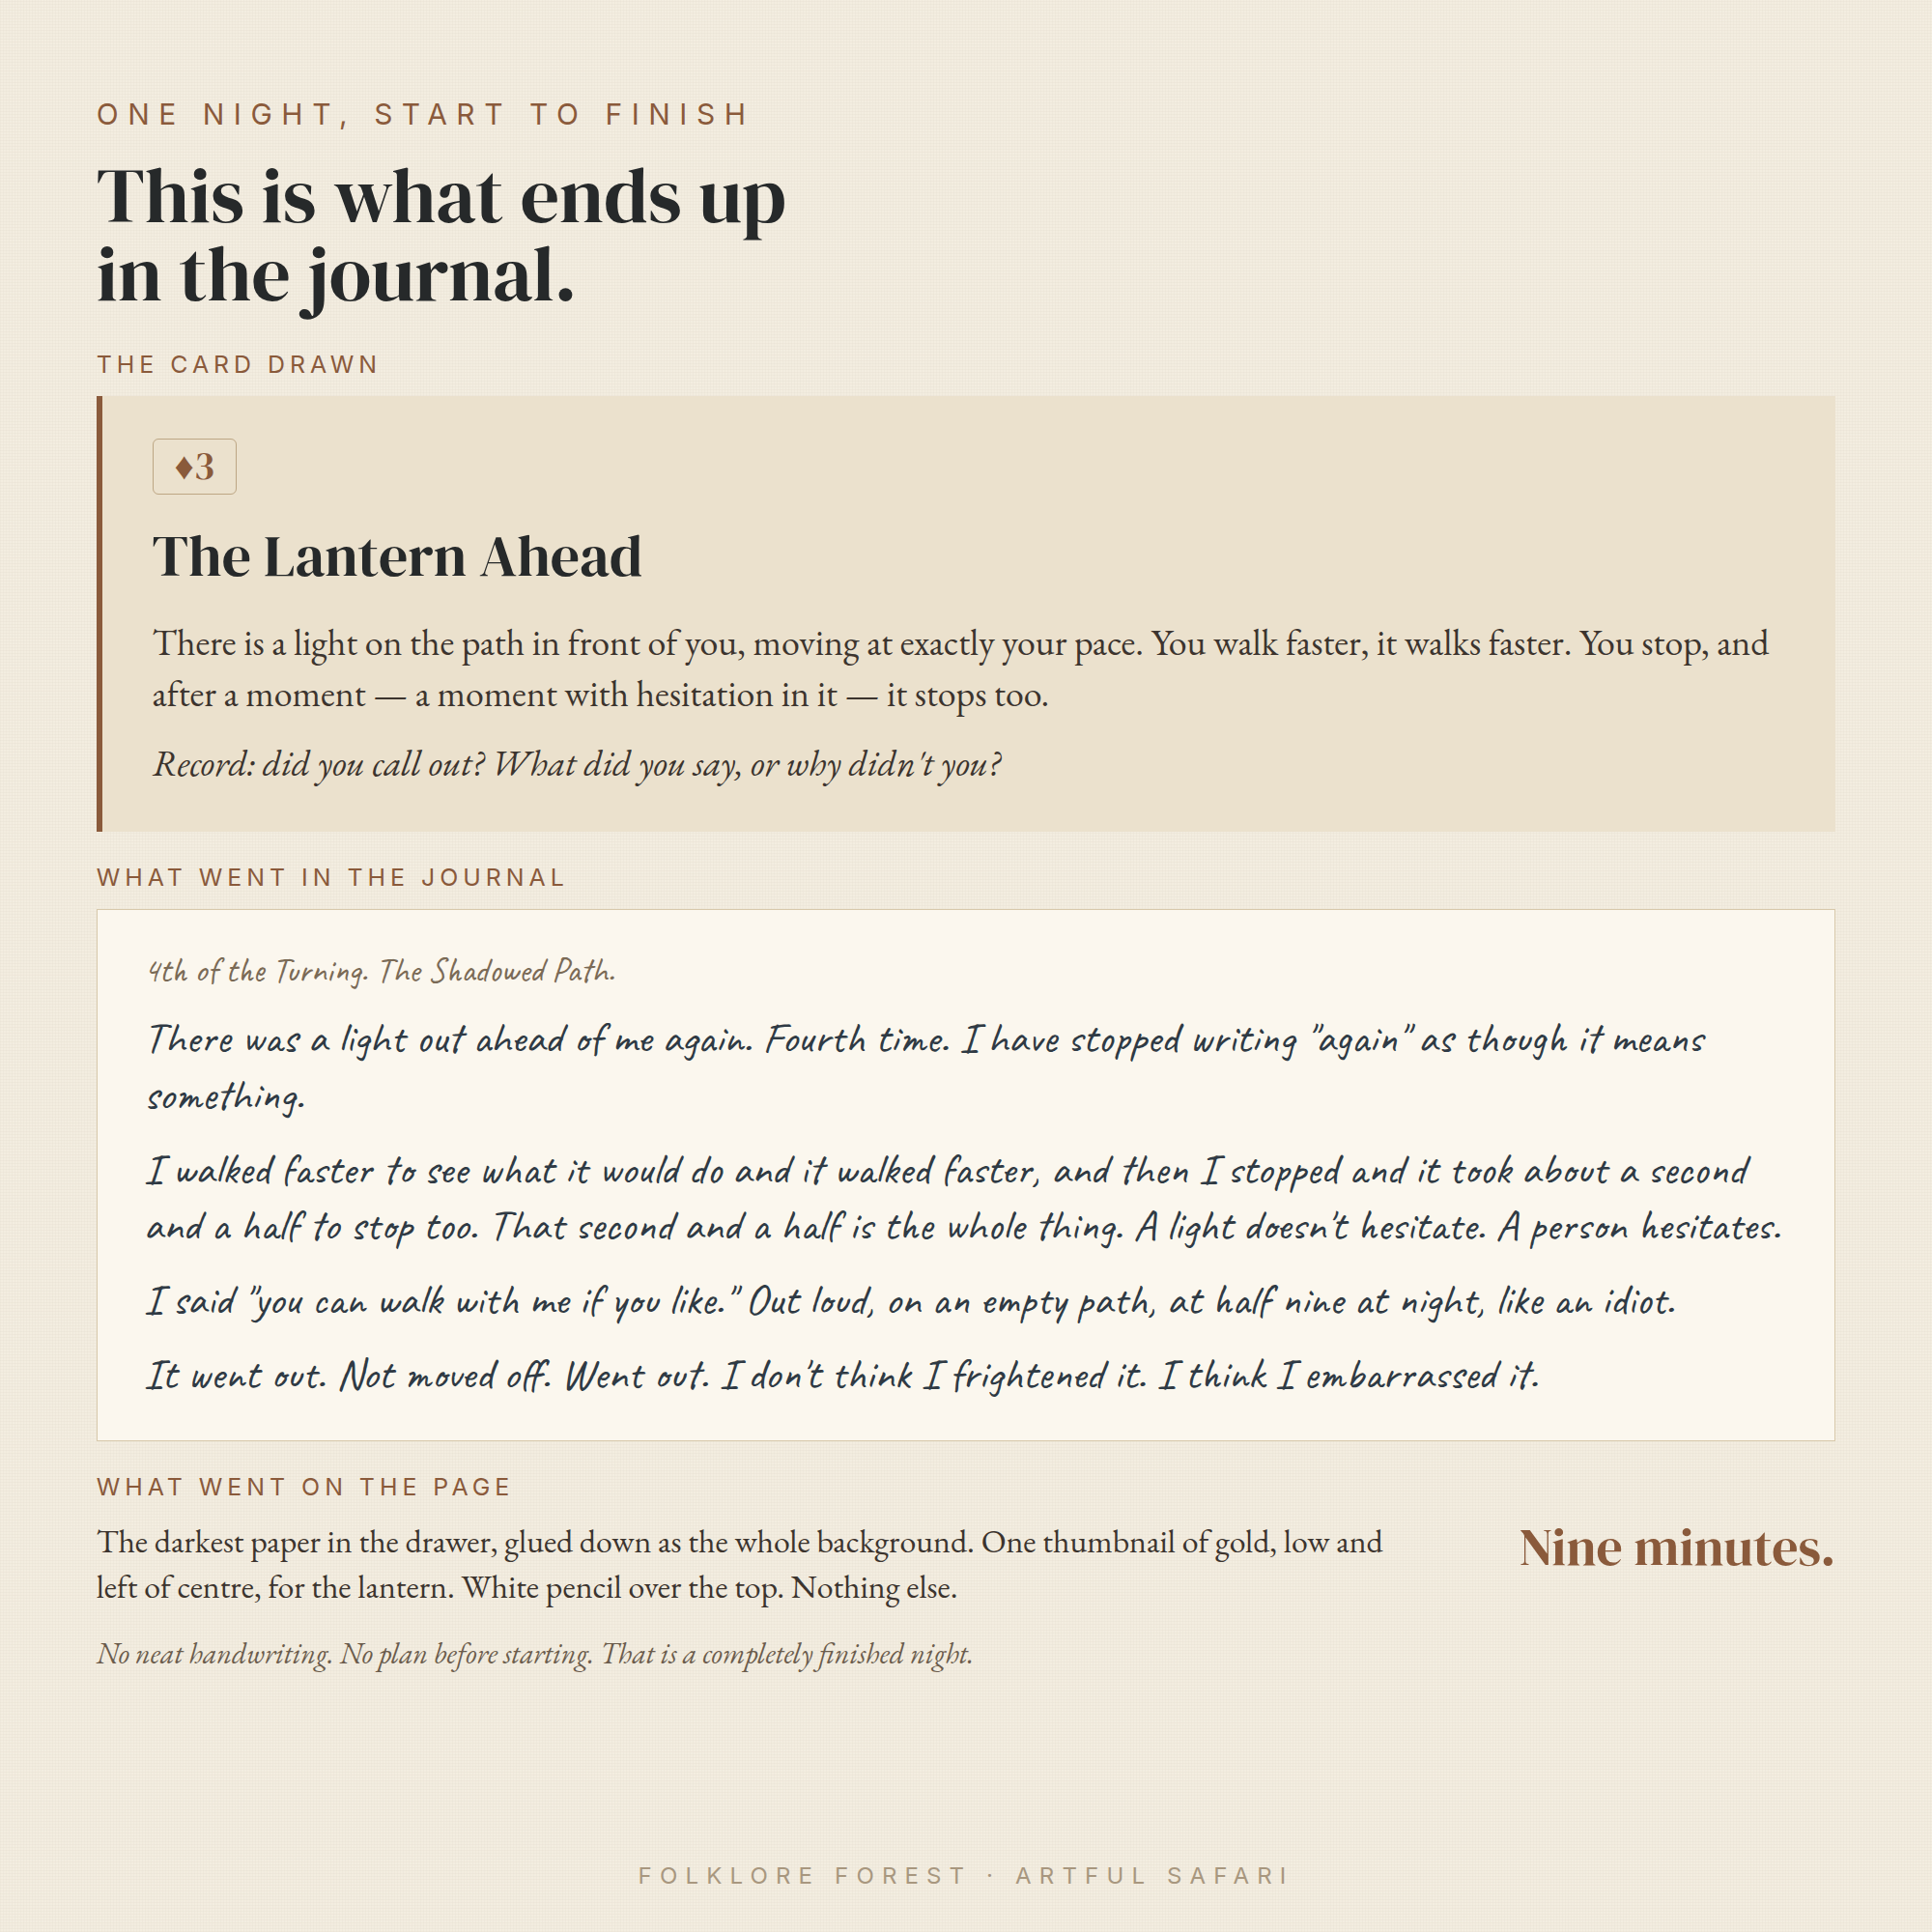
    One night of solo journaling play written up in full, the shape a Koriko volume entry takes on the page
    A worked night from our own Folklore Forest game: the card, the entry, and what went on the page. A Koriko volume ends up much the same shape.

    Twelve to twenty openings in a finished Koriko journal, depending on how much you write. A map at the front, a ledger behind it, four tabbed dividers, six letters in six pockets, and a decision at the back. That is a book you can hand to somebody.

    The wider RPJ crowd has been arriving at the same structure from the other direction, coming to solo games out of junk journalling rather than out of tabletop roleplaying. If you are newer to the format, our guide to solo journaling RPGs covers what these games are, and the first seven nights walkthrough covers the habit of actually sitting down to play.

    Koriko rewards the book you build for it. Six volumes is enough time for a badly organised journal to become a chore and a well laid-out one to become the reason you keep going.

    If you would rather have the season papers and pocket pieces already designed than go hunting for them, Helene puts together the Folklore Forest kit for exactly this kind of year-long book.

  • Apothecaria: 7 Easy Ways to Keep It as a Junk Journal

    Apothecaria: 7 Easy Ways to Keep It as a Junk Journal

    Apothecaria is a solo journaling game by Anna Blackwell in which you play a village witch, treating patients who arrive with ailments like Fairy Fever using potions you brew from foraged reagents. It runs on a deck of playing cards across four seasons of thirteen weeks each, and everything that happens gets written into a journal you keep.

    What nobody explains is what that book should look like after thirteen weeks.

    One player said it under Shannon Green’s flip through: “I bought the game a while back and have been trying to figure out the journal setup.” That is the common stall, and it has nothing to do with the rules.

    So this is a guide to the book. Seven ways to set an Apothecaria journal up so the thing on your shelf at the end of Spring is worth opening again.

    What Apothecaria asks you to write down

    Anna Blackwell’s game runs on a standard deck of playing cards and a calendar of four seasons, thirteen weeks apiece, opening on the first day of the first week of Spring. A round moves through diagnosis, foraging and potion preparation. Each of those wants a different kind of page, which is why one repeating notebook layout never quite holds it.

    Diagnosis hands you a patient and an ailment carrying reagent tags, so Yeti Chest wants two reagents that answer hair and lungs. Foraging sends you to Glimmerwood Grove, Meltwater Loch, Moonbreaker Mountain or Hero’s Hollow, and the card you pull out there brings an event along with the ingredient. Potion preparation is where the recipe gets written out and where you learn what the work was worth.

    The publisher’s page for Apothecaria carries the digital version and the hardback both. To watch a round go by before you commit, this review plays one out from patient to finished potion.

    Rows of green and purple apothecary bottles on aged paper, backing for an Apothecaria journal spread
    Midnight Apothecary paper. A shelf of bottles behind a recipe page does most of the atmosphere for you.

    The people doing this call the result an RPJ, short for role playing journal. Journals4breakfast coined it on camera in July because the long version is too many words to say twice. Five weeks later it was in video titles on three channels and in the name of the community’s Discord.

    1. Choose the book before you print a page

    The decision that shapes an Apothecaria journal most is the book you play inside, and it is the one people leave until last. Shannon Green went with an altered book, gluing her printed pages into an old Russian-English chemical dictionary. It reads like something pulled off a shelf in a back room rather than bought this morning.

    A hardback with foxed paper and a cracked spine has done most of the atmosphere before you write a word. It also lowers the stakes on neatness, which matters more than it sounds when week three arrives and you have glued something in crooked.

    Shannon Green is playing Apothecaria as an altered book right now, and this is where her series starts. Watch it first if you are looking at a stack of printed pages and an empty desk.

    2. Dye the paper before you glue anything down

    Coffee turns fresh printed pages the colour of paper kept in a still room for forty years, and it costs an afternoon. Shannon dyed her journal pages and her playing cards in the same session, which is the part worth copying. A bright white deck on aged paper looks wrong the moment you deal the first card.

    Aged cream paper covered in faded brown writing, the colour dyed pages settle into
    The colour you are aiming at. This one is Midnight Apothecary paper, but a coffee bath gets close.

    Do it while the sheets are loose. Wet paper cockles as it dries and that texture is half of what you are after, but it has to happen before anything gets bound or glued in.

    Her coffee session covers the cards as well as the pages, and the tabbing at the end of it feeds straight into the next step.

    3. Tab the seasons so you can find week six

    Fifty-two weeks of Apothecaria in one book means you will be hunting for things by October. Tabs down the fore edge, one per season, take ten minutes and save the rest of the year.

    Run a second set of tabs on the reference sections, because those are the pages you open every single round. The herbal and the patient ledger want to be findable with a thumb.

    4. Give the herbal a spread it repeats

    The herbal is the part of an Apothecaria journal you return to most, since every potion sends you leafing back through it. Build one slot per reagent and keep that slot identical the whole way down the page.

    Four things belong in a slot: the name, where it was found, the symptoms it answers, and how it has to be prepared before it goes near a pot. Rule them the same way every time and the page still reads in week eleven, when you have thirty reagents and no memory of the first ten.

    Foxglove, nightshade berries and hellebore on aged cream paper, backing for a herbal page in an Apothecaria journal
    Foxglove, nightshade and hellebore. Poisonous herbs make a fitting backing sheet for the herbal.

    Keep the four foraging areas apart rather than running one alphabetical list. Glimmerwood Grove filling up while Hero’s Hollow stays nearly empty tells you something true about how you have been playing.

    Shannon’s first pass at her own journal shows how much structure to build before you start, which is less than most people expect.

    5. Write the brew up like a working recipe

    A finished potion is worth money in Apothecaria, and the ingredients you picked move that number. Sweet reagents lift the value and poisonous ones pull it down, so the recipe page records a decision as much as a result.

    Write it as numbered steps, the way a recipe card reads. One reviewer’s sample brew ran to eight steps, from preparation through to how the finished bottle was stored, and that length is about right if you want a working book instead of a summary.

    A blank bordered journal card with ferns along the bottom edge, ruled up for a potion recipe
    A bordered card with room for eight lines. Glue one in per brew and the recipes stay the same size all year.

    Leave a line at the bottom for what it sold for and whether the patient came back. Reputation is a real quantity in this game and a missed deadline costs you some of it.

    6. Press and mount what you gathered

    This is where a junk journal earns its place over a notebook. Gas Weed and Wigfish do not grow anywhere, but a pressed fern and a torn strip of old map stand in for them well enough on the page.

    Fern frond, bracket fungus, toadstool, moss and a feather laid out in a row like pressed specimens
    Small Wild Things specimens. Fern, fungus, moss and a feather cover most of what you will forage.

    Mount one specimen per reagent on the herbal spread with the name written underneath. If you already keep a junk journal you own every tool this needs, which is why so many players arrived here from craft rather than from gaming.

    Journals4breakfast calls it shopping her own stash. Her line about it, repeated back at her in the comments ever since, is “It was like shopping but free!”

    7. Keep the villagers on one page

    Patients recur in Apothecaria, so they deserve a ledger instead of being scattered through fifty-two weeks of entries. One line each: name, what they walked in with, what you gave them, whether it held.

    Leave space to the right of every line. Somebody who turned up with Toad Nose in week two will be back, and the second visit plays far better if you can see the first one without hunting.

    What a finished Apothecaria spread looks like

    Watching one beats reading about one. Shannon’s flip through of weeks four to seven is the clearest look at what an Apothecaria book turns into once the seasons get going.

    The Spring week three playthrough is the other one to watch, because it catches the writing as it happens rather than the finished page.

    A viewer under that playthrough wrote that Shannon’s offhand answers “took off any pressure I had felt about having to come up with an elaborate story to start with.” Watching somebody shrug at a card and move on does more for a stalled book than reading the rules twice.

    One night of a solo journaling game written up start to finish, the shape an Apothecaria week takes on the page
    What the cards said, what got written, what went on the page. An Apothecaria week takes the same three-part shape.

    Apothecaria questions people actually ask

    Do I need dice to play Apothecaria?

    No. Apothecaria runs on a standard deck of playing cards, jokers included, and that deck decides who walks in and what you find when you go out looking for ingredients. Plenty of players swap in a tarot or oracle deck instead and read the cards their own way, which changes the flavour and nothing else.

    Do I have to be good at writing?

    No, and the people already playing say so constantly. Journals4breakfast puts it this way: nobody is ever going to critique your character development, because the book is yours and nobody else reads it. Shannon Green’s playthroughs are full of moments where she shrugs at a card, writes one line and moves on.

    How long does a week of Apothecaria take?

    As long as you let it. A round is diagnosis, then foraging, then writing up the potion, and the writing itself is short. The time goes into whatever crafting you attach to it, which is why The HalFass Crafter describes the hobby as something you can pick up and put down instead of getting mired in an hours long session.

    I have the game and a journal. How do I actually start?

    Play Spring week one and write down only what that round produced. The stall almost always comes from trying to build a finished herbal and a decorated cover before a single card has been turned over. Set up two pages, play one round, and let the rest of the book grow out of the play.
    Do I have to print Apothecaria myself?

    No. The publisher sells a physical copy of the book as well as the digital version, and buying the physical one includes the digital. If you do print it, keep the pages loose so you can dye and age them before they go into whatever book you have chosen to play inside.

    Starting your own Apothecaria journal this week

    Print the pages, dye them, glue or bind them into the book you picked, and give yourself Spring week one and nothing past it. The people who stall are usually the ones who tried to build the whole herbal before playing a round. If printing is the part holding you up, the home settings that actually work are here.

    If you have never played anything like this, our guide to solo journaling RPGs covers what the category is and how one evening of it really goes.

    And if you want a shorter RPJ to run alongside Apothecaria while the seasons turn, The Keeper’s Log is forty nights in a lighthouse, played with two dice.

  • RPJ: What a Role Playing Journal Is, in 5 Easy Answers

    RPJ: What a Role Playing Journal Is, in 5 Easy Answers

    An RPJ is a role playing journal: a solo journaling game you play on your own in a notebook, working through printed prompts and answering them as a character whose story you are writing down. The word was coined on camera in July 2026 by the YouTuber Journals4breakfast, and it spread across craft YouTube in about five weeks.

    The word is new. The thing it names is not, and the same five questions come up every time somebody meets an RPJ for the first time.

    1. What an RPJ actually is

    You buy a small printable book. It holds a setting, a handful of tables and a run of prompts, and you answer those prompts in a journal you already own.

    You are the only player. Nobody is waiting on you, nobody scores you, and there is no evening in the diary you have to keep free. A card or a die decides the things you would otherwise have to invent, so the story surprises you as you write it.

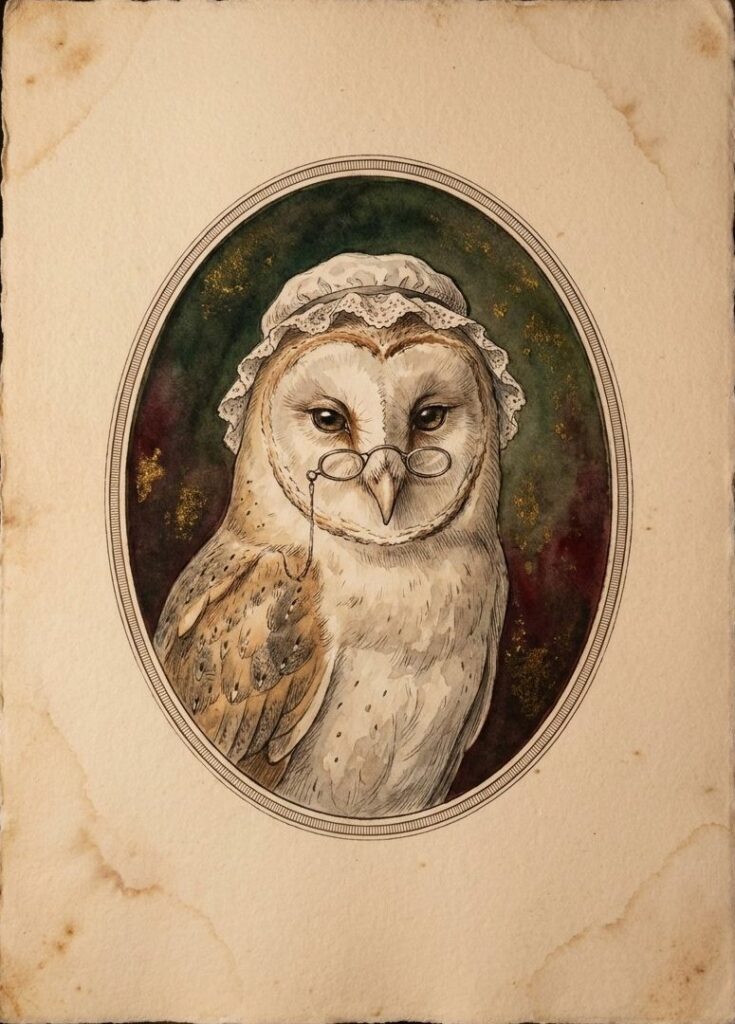
    A Grandmother Owl character card from the Folklore Forest game, the kind of card you draw during an RPJ
    Turn a card, meet whoever is on it, write what they want from you.

    The plain-English name for the category is solo journaling game, and that is the phrase most people type into a search box. RPJ is the shorter word the community made for itself. Both mean the same thing.

    What ends up in the book looks like craft rather than homework. Pressed paper, stamped edges, a map, a taped-in letter, and somewhere in the middle a few lines of writing that move the story on.

    One evening of an RPJ, or role playing journal: the prompt, the entry it produced and the finished page
    One prompt, one entry, one page. That is a whole night of an RPJ.

    2. Where the word RPJ came from

    It was coined by Journals4breakfast in her July 2026 video about falling into the hobby, which has since passed 25,000 views. If you watch one thing before reading on, watch this. The renaming happens partway through, mid-sentence, because the four-word name for it had worn her patience out:

    “That is too many words for me. We’re going to just call these RPJs, roleplaying journals. Deal. Deal.”

    Journals4breakfast, 18 July 2026

    She added a line to that video’s description the same day: “from this moment on… to be known as RPJ’s”. It stuck faster than anyone expected.

    Five weeks later the word appears in four video titles across two channels, in nine of the thirteen descriptions across three channels, and in comments from 32 separate viewers who are not any of those creators. The HalFass Crafter put it straight in an episode title, which is the clearest sign a word has crossed from one channel to another:

    Credit where it belongs. Andrea at Journals4breakfast named this and the rest of us borrowed it.

    3. How an RPJ differs from the journaling you already do

    A junk journal or an art journal holds your life. An RPJ holds someone else’s, and you find out what happens to them at the same speed the page does.

    An antique clock element from the Echoes of Time kit, used as a page accent in an RPJ

    That difference solves a specific problem. Plenty of people own beautiful books they cannot fill, because a blank page asking for your own week is a hard thing to answer on a Tuesday. A prompt about a locked door in a house you have never been to is much easier.

    It also gives the supplies a job. The stash in the cupboard becomes props for a story instead of stock waiting for the right occasion. Journals4breakfast calls that part, shopping her own stash for an RPJ, her favourite thing about the whole hobby.

    If you are new to the craft side of it, our guide to what a junk journal is covers the book itself.

    4. How an RPJ differs from a game round a table

    This is the question behind the flinch. Role playing games have a reputation for thick rulebooks, a table of people and someone running the whole thing, and none of that applies here.

    You play alone, at your own pace, and nothing has to be said out loud. You read a prompt, decide what your character does, and write it down. If a game asks you to settle something by chance, a die or a shuffled deck answers it for you.

    The rules in a solo journaling game usually run to two or three pages and most of the book is prompts. You can put it down for a fortnight and pick it up with nothing lost. Longer walkthrough here: a full evening of a solo journaling game, start to finish.

    5. What you need to start an RPJ

    A book, a printed game and something to write with. That is the floor, and almost everyone reading this already owns two of the three.

    • A notebook. Any bound book. Some people cut up an old hardback and glue their pages into it.
    • A printed game. Print it single-sided and clip it, or read it off a screen beside you.
    • A randomiser. A six-sided die, or the ace to six from a pack of cards, or a deck you already read with.
    • Your stash. Optional and the whole point. Scraps, stamps, tape, whatever is in the drawer.
    A blank journal card frame from the Enchanted Hours kit, ready for a first RPJ entry
    A loose card is an easier first entry than a whole page.

    There are plenty of free games to try before you spend anything. Shannon Green prints twelve of them as booklets in this one, and the printer settings she lands on are the part worth stealing:

    itch.io’s journaling tag lists hundreds more, a lot of them pay-what-you-want.

    Take your time over the setup. People in this hobby routinely spend a fortnight building the book before they draw a single card, and they count that fortnight as playing.

    Where the RPJ crowd gathers

    Right now it is mostly YouTube comment sections. Shannon Green and the two channels above carry the bulk of it, and the comments under them are full of people asking each other beginner questions and getting kind answers back.

    There is also a Discord server, RPJourneys, started by Journals4breakfast in July 2026 and running at 149 members when we checked on 24 August. It is a show-and-tell room for finished pages. We have not linked it here because the published invite codes keep expiring, so the working one is whichever a creator has posted most recently in a video description.

    If you want the reading list version instead, our seven quiet nights guide is the slow way in.

    A blue and gold banner tag from the Enchanted Hours kit

    RPJ questions people actually ask

    I’ve printed a game and I have a journal. How do I actually start?

    Open to the first page and answer prompt one, badly. The stall is nearly always about wanting the first page to be good, and the fix is to write four sentences and glue something down. Set the book up afterwards, once you know what the story is about. This is the most common sticking point in the whole hobby, so you are in a large and well-decorated queue.

    Do I need dice?

    No. Take the ace to six out of a pack of playing cards, shuffle them and turn one over whenever the game says to roll. Our own card games are designed for a standard 52-card deck of playing cards. Plenty of players do buy dice as a small ceremony of starting, which is a fine reason.

    Do I have to be a good writer?

    No, and most people doing this would not call themselves writers. A typical entry is a few lines, sometimes a list, sometimes a letter your character never sent. One creator filled most of a journal using watercolours, stickers and stamping with barely a paragraph in it. The prompt is doing the difficult part.

    I’ve never played a role playing game in my life. Is that a problem?

    Not at all, and a good half of this community arrived the same way. Nothing in an RPJ needs prior knowledge of tables, characters or rules. If a term in a game’s booklet loses you, skip it and keep writing. The one thing that reliably makes it click is watching somebody play a session on camera before you start your own.

    Which game should I start with?

    Start with a setting you would happily decorate for a month, because that matters more than the rules do. Witch, apothecary, lighthouse keeper, cartographer, whatever makes you want to open the drawer. Short games are kinder for a first attempt than long campaigns. If you cannot choose, pick the one whose cover you like and keep the other tab open.

    Starting tonight

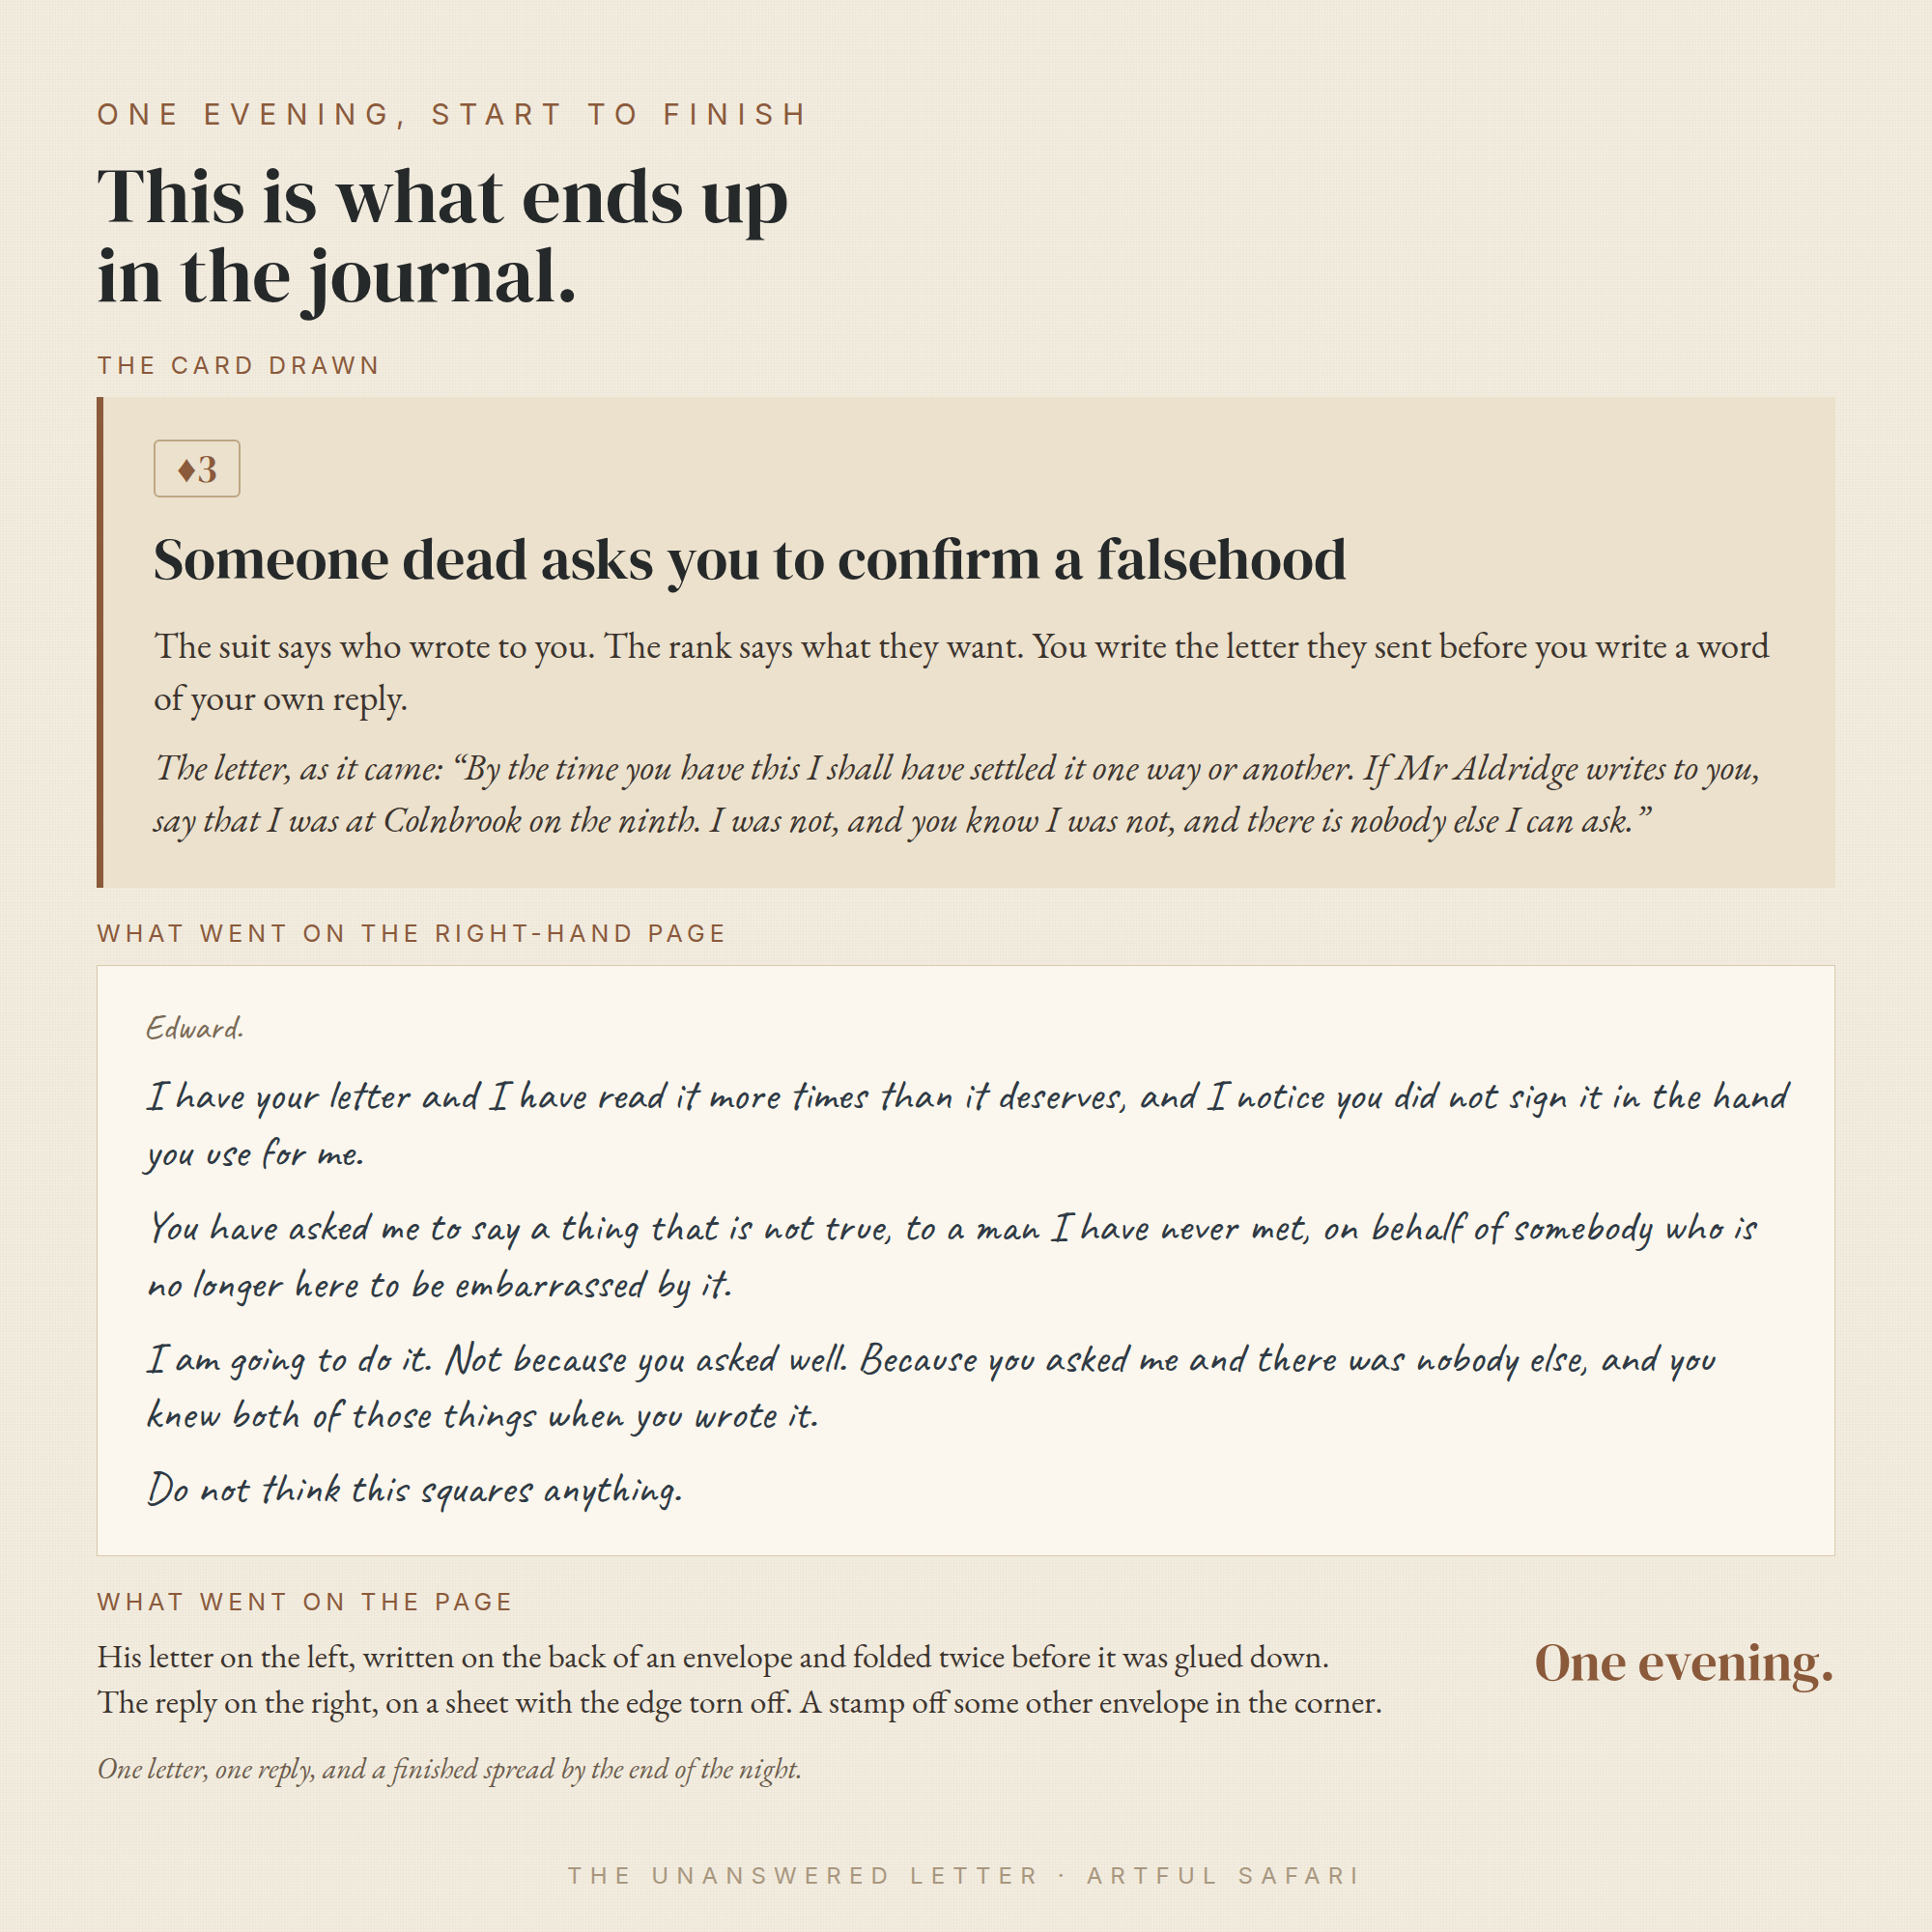
    An RPJ is cheap to try. If you want one evening to find out whether any of this is for you, The Unanswered Letter is a one-sitting game about a letter that was never answered, and it will tell you in an hour or two whether you want the next one.

  • Solo RPG: 8 Easy Ways to Start One Tonight

    Solo RPG: 8 Easy Ways to Start One Tonight

    A solo RPG is a story you play by yourself and write down, one prompt at a time, in a book you keep. Nobody else is involved and there is nothing to memorise. A lot of people now play in a decorated journal rather than a notes app, and you can start tonight with a notebook you already own.

    If the letters RPG make you want to run for the hills, you are in the majority here. The women arriving at this hobby this year mostly came from junk journalling and scrapbooking rather than tabletop gaming, and they say the same thing on the way in: they had no idea what an RPG was and assumed it was for somebody else.

    The craft side of it has its own word now. The YouTuber Journals4breakfast started calling these books RPJs, short for role playing journals, because “solo journaling roleplaying game” is too many words to say out loud.

    RPJ is what you will see in the comments. Solo RPG is what you type into a search box.

    Her video is the one that pulled thousands of journallers into this, and it is the fastest way to see why the reframe works:

    What a solo RPG actually asks you to do

    You read a prompt. You answer it in your journal, in whatever mix of writing, pictures, stickers and glued-down scraps suits you. Then something random decides what happens next, usually two dice or a card off the top of a deck.

    That is the whole loop. Nobody marks it and nobody reads it, so there is no wrong answer, and that is the part most people take longest to believe.

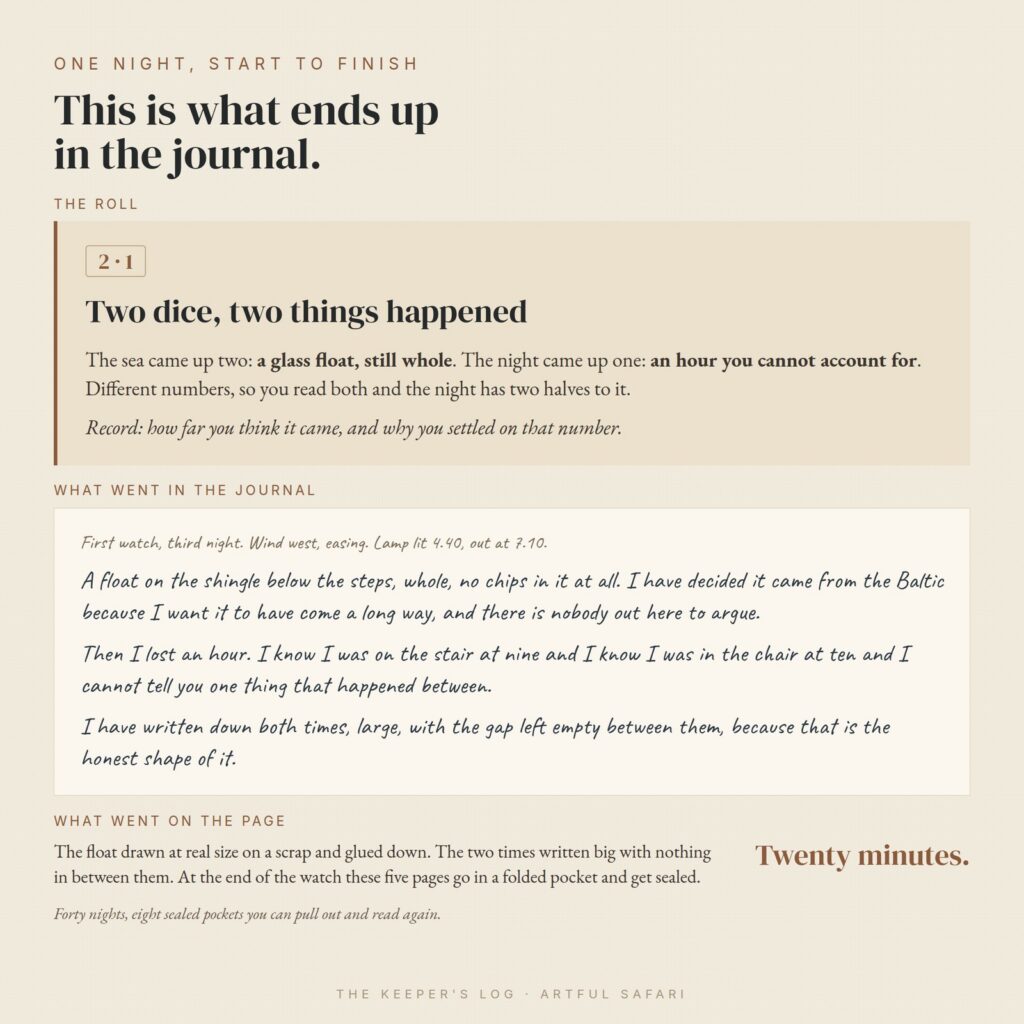
    One night of a solo RPG worked through end to end: the dice reading, the journal entry it produced and what went on the page
    One night, start to finish: what the dice said, what got written, what ended up on the page.

    If you want the long version before you start, we walk through an evening of it in the complete guide to a quiet night of solo journaling.

    Eight different doors into a solo RPG, then. Some cost nothing, one costs about the price of a coffee, and several use only what is already in the house.

    1. Print a free solo RPG tonight

    Itch.io is where most of the small independent games live, and a large share of them are free or name-your-own-price. Browse the solo journaling tag on itch.io and pick one on the strength of its cover, because at zero cost the wrong pick costs you nothing.

    Most of these books run to twenty pages or fewer and print on plain paper. If your printer fights you, our notes on printing journal papers at home cover the settings that usually sort it out.

    2. Buy a small one for about five dollars

    Five dollars is the going rate for a starter game and it is the number people in this community quote at each other constantly. What you get is a slim book of prompts and random tables somebody else has already thought hard about, which is the part that is genuinely difficult to write yourself.

    When newcomers ask which one to begin with, the titles that come back most often are Apothecaria, Colostle and Thousand Year Old Vampire. Any of them will teach you the shape of a solo RPG.

    A riveted metal tag on a leather cord from the Echoes of Time kit

    3. Use the notebook that has been sitting there

    Almost everyone in this hobby owns a beautiful blank book they have never been able to spoil. This is the thing it was waiting for.

    “I’ve got a journal just like your one that I never knew what to do with, now I do.”

    That comment, or a version of it, sits under every video that started this wave. Your stash gets used the same way. Stamps, washi, offcuts and that pack of stickers bought in 2019 all have somewhere to go once a prompt tells you what the page is about.

    4. Let a standard deck of playing cards decide

    Games ask you to pick a number at random so the story can surprise you. Two ordinary dice do it, and so does taking the ace through six out of a deck, shuffling those and turning one over.
    A card also suits anyone who freezes at a blank page, because it gives you something to answer. Some games hand you a deck of character cards instead, so the person who turns up in tonight’s entry is whoever you draw.
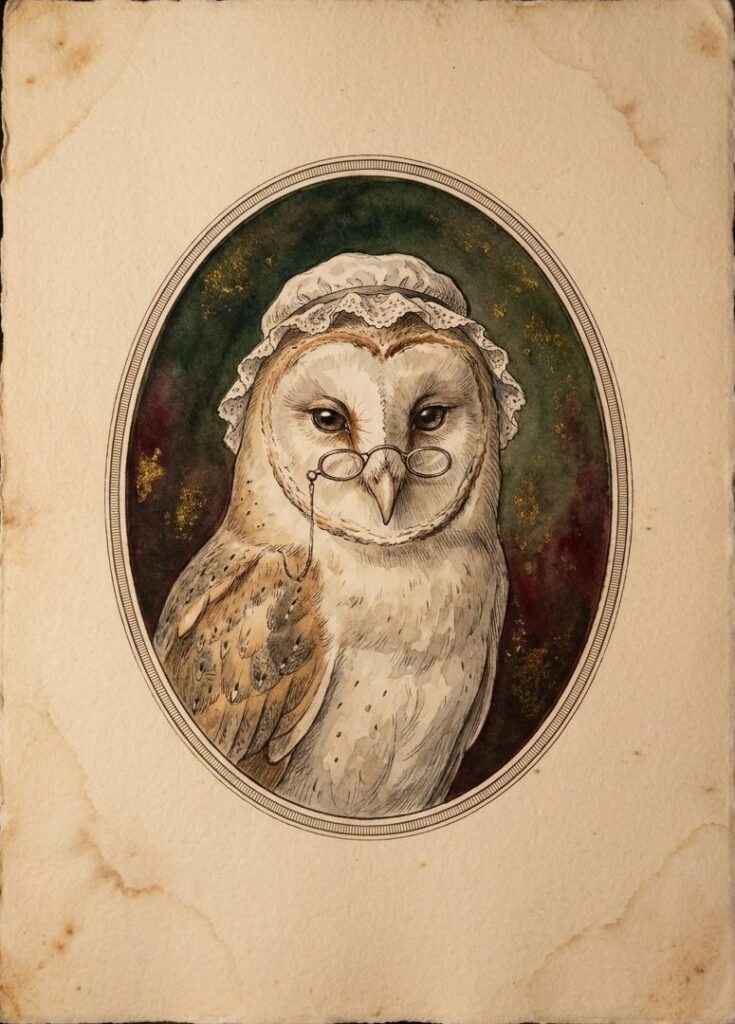
    Grandmother Owl, a solo RPG character card from the Folklore Forest deck, showing a barn owl in a lace cap and spectacles
    Draw a card, and Grandmother Owl is who your character meets tonight.

    Artful Safari’s own games are designed for a standard 52-card deck of playing cards, not tarot.

    Nobody checks any of this. If a game asks for a ten-sided die and you do not own one, two cards or the number generator on your phone will carry you through the first few nights.

    5. Turn a junk journal you already made into the solo RPG book

    Junk journallers keep hitting the same wall. They love making the books and then have nothing to put in them, and a solo RPG turns out to be the answer to “now what”. That collision is most of why the two hobbies met this year.
    Pick a finished book, decide it belongs to your character, and write entries into the pockets and tucked-in tags you already built. If you have not made one yet, start with what a junk journal is and build it around the game instead.
    6. Glue the pages into an old hardback

    An altered book gives you a solid spine and a bit of history for free. One creator printed her game and glued the pages into an old Russian-English chemical dictionary, which sounds mad and looks wonderful.

    Charity shops are full of candidates. A fat hardback nobody wants takes glue and paint better than a new notebook does.

    7. Watch a solo RPG being played before you set anything up

    The quickest way past “I do not understand what I am looking at” is watching somebody do it imperfectly on camera. Shannon Green works through free games and shows the printing in this one, and that is where a lot of people get stuck:

    The comment left under videos like that one, over and over: “Thank you for legit playing the game. It makes sense to me now.”

    8. Answer one prompt on one page and stop

    The smallest possible start is one solo RPG prompt, one page, book closed. You do not need a character sheet or a plan for the rest of it.

    A blank journal card with a torn paper panel and an oak leaf, sized for a single evening's entry
    One card at a time. A small space is easier to fill than a fresh page.

    This is the door for anyone who has bought a game and then stalled, which is a large group. One page done badly beats a beautiful book you never open. Our first seven nights walkthrough takes it from there.

    Setting up a solo RPG is part of the game, not the wait before it

    Plenty of people spend a long time building the book before they read the first prompt, and they are not doing it wrong. Tabbing, colouring, coffee-dyeing, hunting the stash for the right scrap: that is the hobby, and for a lot of this crowd it is the best bit.

    So “start tonight” means you can open the box tonight. It does not mean you should be finished by Sunday.

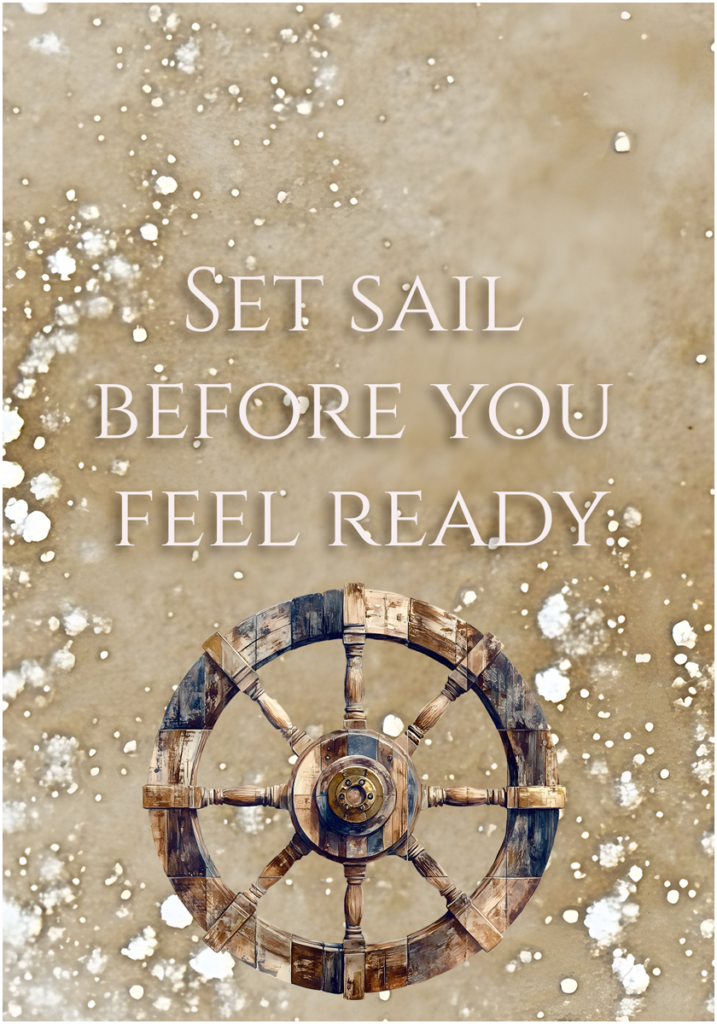
    A journal card reading Set sail before you feel ready, above a ship's wheel

    Where the solo RPG community is, if you want company

    The tabletop side lives on Reddit at r/Solo_Roleplaying, which is worth reading even if you never post. Search it for “journaling game” and you will find hundreds of threads of people recommending titles to each other.

    The craft side is on YouTube and in a small Discord, and it is friendlier to an absolute beginner. Both are free.

    Solo RPG questions people actually ask

    I bought one and I still have not started. What do I do?

    Open the journal and answer the first prompt in three sentences tonight, with a biro. The stall nearly always comes from waiting until the book is ready, and the book is never ready. Once there is one imperfect page in it the pressure drops and the decorating gets easier, because now you are decorating something that exists.

    Do I need dice to play a solo RPG?

    No. Most of our games use a standard 52-card deck of playing cards; only The Keeper’s Log uses two ordinary dice. People do buy dice as a small entry ritual and there is nothing wrong with that, though waiting for a set to arrive is one more reason not to start, so use the cards in the kitchen drawer.

    Do I have to be good at writing?

    No, and nobody will ever read it. Most players write a few lines and put the rest on the page in stickers, stamps, washi and glued-down scraps. One of the creators who started this wave says she has barely written a word and works mostly in watercolour, and a shopping list in your character’s handwriting counts as an entry.

    Which solo RPG should I start with?

    Start with a free one so the choice costs nothing, then buy a paid game once you know what you like. If you want a paid recommendation, Apothecaria, Colostle and Thousand Year Old Vampire are the ones this community hands to newcomers most often. Picking a theme you already love matters more than picking the “right” title.

    Is a solo RPG the same thing as an RPJ?

    Yes, near enough. RPJ stands for role playing journal, a word coined by Journals4breakfast in July 2026 for the craft version of this hobby, where the book itself is half the point. Solo RPG is the older and broader term, and it covers people playing in a plain notebook or a text file too.

    How long does one night take?

    That is up to you. A sitting is usually one prompt and one page. Some people write a few lines and stop, and some get lost in the collage. You can put it down mid-entry and pick it up again whenever you like without losing your place, which is why it fits around interrupted schedules.

    Pick a door and open it

    Any of the eight gets you a first page tonight. The free ones are the sensible place to test whether a solo RPG is your kind of thing at all, and you will know within one entry.

    When you want the papers and cut-outs to build the book around, our Folklore Forest kit pairs a solo RPG, played with a standard 52-card deck, with the journal papers and ephemera to keep it in.

  • Junk Journal Ideas for Beginners: 7 Easy Ways to Start

    Junk Journal Ideas for Beginners: 7 Easy Ways to Start

    A junk journal is what happens when scrapbooking loosens its collar. Same idea, keep the things you love and put them on a page, but messier, more layered, and much more forgiving. Instead of clean grids and neat photo boxes, you stack papers, tuck in bits of ephemera, and let the edges overlap. Nothing has to line up.

    If you’ve been curious about junk journal ideas for beginners but felt put off by the towering collage spreads people post online, start smaller. You don’t need a stash of vintage paper or a craft table. You can build a junk journal digitally in Procreate, Photoshop, Canva or GoodNotes, and because junk-journal papers print beautifully, you can also run them through a printer and glue a real one together. Both count. Both are fun.

    If you’d like papers that already match, and often ephemera too, browse our printable junk journal kits.

    What a junk journal actually is

    Think of it as a scrapbook that stopped worrying about being tidy. A scrapbook page usually centres a photo or two. A junk journal page centres a feeling, or a memory, or just a nice pile of paper you wanted to sit with. You layer a patterned background, add a tag, slip in a ticket, write a few lines, and call it done.

    The “junk” part is the point. Old envelopes, receipts, book pages, stamps, scraps of packaging, they all become raw material. Working digitally, your junk is a folder of PNGs and paper textures instead of a shoebox, but the instinct is the same. Grab things that feel like you and arrange them until the page looks lived-in.

    Why beginners take to it: there’s no wrong version. A crooked tag reads as character, not a mistake. That’s the freedom a blank scrapbook page rarely gives you.

    Junk journal ideas to start without overthinking it

    The fastest way to stall is to plan a masterpiece. Don’t. Make one small spread, finish it, and let the next one teach you something. Here are beginner-friendly junk journal ideas to get the first few pages down.

    Start with one simple spread

    Pick two facing pages and give yourself three jobs: a background, one focal piece, a little writing. That’s a whole spread. Lay a patterned paper across both pages so they feel connected, drop a single tag or journaling card slightly off-centre, and write two or three lines next to it. Resist the urge to fill every corner. White space is allowed.

    Use patterned papers as your base

    Papers do most of the heavy lifting. A florals-and-script background instantly sets a mood, and everything you add on top borrows that mood for free. Try this:

    • Choose one main paper for the spread and a second, quieter one for accents.
    • Tear or roughly cut a strip of the accent paper and lay it along a page edge.
    • Digitally, drop the paper opacity a touch under your ephemera so the top layer pops.
    • If you’re printing, matte photo paper or plain 120gsm both hold up well for gluing.

    Layer ephemera on top

    Ephemera is the small stuff: tags, tickets, journaling cards, postage stamps, labels, little illustrations. This is where a flat page turns into a junk journal. Stack two or three pieces so they overlap, angle one slightly, and let a corner poke out from behind another. Odd numbers and slight angles look natural. A stamp half-tucked under a tag looks like it was always there.

    A beginner junk journal spread showing these ideas in practice, with a patterned floral base, layered tags, a journaling card and a vintage postage stamp tucked under one corner
    The first of these junk journal ideas in practice: one patterned base, a couple of tags, a journaling card, and a stamp tucked under the edge. Nothing lines up, and that’s the look.

    Add a pocket or a tuck-spot

    Junk journals love hidden bits. A pocket gives you somewhere to slip a folded note, a spare tag, or a photo you don’t want glued down. Digitally, you can fake a pocket with a paper rectangle glued on three sides and a tag peeking out the top, so it reads as a pocket even though nothing’s really tucked. On a printed journal, glue a real half-pocket and fill it. Of all the junk journal ideas here, this one gives a finished page the most reason to be opened again.

    Junk journal ideas that keep the pages coming

    Once the first spread is done, the trouble isn’t skill, it’s momentum. These junk journal ideas give you a reason to open the book again tomorrow.

    Prompt pages

    Give yourself a one-line prompt at the top of a spread and let the rest fill in over the week. Things like “small good things”, “what I noticed today”, “songs on repeat”. The prompt does the deciding for you, so you’re never staring at a blank page wondering what it’s for.

    Collection spreads

    Pick a theme and gather. A tea-and-coffee page, a books-I-read page, a places-I-walked page. Collections are forgiving junk journal ideas because you add to them slowly, a scrap at a time, and they look better the fuller they get. Great for using up leftover ephemera that doesn’t fit anywhere else.

    A keep-it-low-pressure rule

    Set one rule that lets you finish: every page gets a base, a focal piece, and a scrap of writing, and then you close the book. No page has to be finished in one sitting, and no page has to impress anyone. The journals people actually complete are the ones where “good enough” was the goal from the start.

    Getting started

    The cheapest junk journal ideas come from raiding your own scraps and free digital papers, and plenty of people start exactly that way. But the fiddliest part for beginners is getting pieces that look right together. A ready-made set like the Jane Austen Regency junk journal kit gives you papers and ephemera already designed to layer, so your first spread comes together in minutes whether you build it in Procreate or print it and glue it by hand.

    Whichever way you go, the trick with all of these junk journal ideas is the same. Start with one small spread, layer a few scraps you like, and let the messy edges be the point. Finish that page and you’re already a junk journaller. The next one is easier.

  • Anniversary Scrapbook Ideas: 6 Memorable Pages for Any Year

    Anniversary Scrapbook Ideas: 6 Memorable Pages for Any Year

    An anniversary is a strange thing to sum up. A year, or ten, or thirty, and you’re meant to fit it into a card. An anniversary scrapbook gives you more room. When you build one on a screen, you can keep adding pages long after you thought you were finished, move things around at midnight, and swap a photo you found buried in your camera roll for a better one.

    If you’re marking a milestone and want more than a card, here are anniversary scrapbook ideas that suit the way you actually keep photos now, on your phone and in the cloud rather than in a shoebox.

    Anniversary scrapbook page ideas that hold a whole relationship

    The hardest part of a wedding anniversary scrapbook is deciding what goes in. You have years of material and no obvious order. So give it structure. These are the pages that tend to earn their place.

    An “our story” timeline

    One long page, left to right, marking the moments that actually changed things. First message. First trip. The flat with the terrible kitchen. The dog. Keep the dates loose if you can’t remember them exactly. Nobody is checking. A timeline works well as the opening page because it sets the shape for everything that follows, and a reader can see the whole arc before they slow down on the detail.

    A page per year

    This is the backbone of most anniversary scrapbook page ideas, and for good reason. One year, one spread. A photo or two, a line about what was going on, maybe the song you played to death that summer. Years where not much happened still get a page, because “the quiet year we bought the house” is part of the story too. If you’re making this for a tenth or twenty-fifth, this section alone can carry the whole book.

    The everyday rituals

    The things you’d never photograph on purpose. Who makes the tea. The walk you always take. The way one of you reads the last page of a book first. These are the parts a relationship is mostly made of, and they vanish first from memory because they never felt worth recording. Give them a page. Written plainly, they land harder than any big holiday photo.

    Building out the rest of the anniversary scrapbook

    Once you have the year-by-year spine, you can add pages that cut across the whole timeline. These break up the run of dated pages and give the book some texture.

    The places you’ve lived and travelled

    A map page, or just a grid of the addresses and cities with a photo of each. Every flat, every trip, in order. It’s surprising how much a list of places tells you about a couple. You can lay it out as a simple route and let the reader follow it, or keep it loose with photos scattered around a soft background colour.

    Letters or messages to each other

    Screenshot a few early messages, the ones that made you laugh or that you still remember. Set them on a page as they were, typos and all. You can also write a short letter for the page, one to the other, and leave space for a reply written later. If this is a gift, a single written page addressed to the person reading it will do more than any photo.

    A “this year” recap

    Not the whole relationship, just the last twelve months. What you did, where you went, the small wins. This is the page you update each anniversary, so the book grows a little every year instead of sitting finished on a shelf. Keep the layout the same each time and it becomes a run you can flip through.

    Making it as a gift

    A digital anniversary scrapbook has one obvious advantage as a present. You can finish it the night before. No ordering, no waiting for delivery, no realising on the day that the colours came out wrong. You work on the file, and when it’s ready it’s ready. If you think of a better photo an hour before you hand it over, you swap it in.

    A few things that help when it’s a gift rather than a private keepsake:

    • Decide early whether it’s finished or ongoing. A closed book is a lovely one-off. An ongoing one, with the “this year” page waiting, becomes a small tradition.
    • Keep the colour palette steady across every page. It’s the quickest way to make a mixed pile of photos from different years look like one thing.
    • Leave the first spread until last. You’ll know what the book is really about once the rest is done, and the opening page should reflect that.
    • Read it out loud in your head before you share it. The captions that sound like a person, not a caption, are the ones that get remembered.
    A digital anniversary scrapbook spread with a year-by-year layout, soft botanical background and handwritten-style captions
    A page-per-year spread from a digital anniversary scrapbook, built on screen so you can keep adding to it each year.

    A short worked example

    Say it’s a fifth anniversary and you have a weekend to build the anniversary scrapbook. Start with the “our story” timeline as page one, so you’ve committed to the shape. Then five year pages, one photo each, a single sentence under each about what that year held. That’s your core, and it took an afternoon.

    On the second day you add the extras. A places page with the two flats and the three trips you managed. A messages page with four early texts. A ritual page about the Sunday morning coffee that never changes. Then the “this year” recap, which you leave slightly unfinished on purpose, because next year you’ll open the file and add to it. Last, you go back to page one and rewrite the opening line now that you can see the whole thing. Done by Sunday night, and it didn’t cost you a frantic week.

    Putting it together

    You can build all of this from scratch, but it goes faster if you start with backgrounds, frames and small illustrated pieces that already share a look, so every anniversary scrapbook page feels part of the same book. A set like the Enchanted Hours digital scrapbook bundle gives you soft, warm elements you can drop straight onto a year page or a letter page without hunting for matching colours. Pick your palette from it first, then let the photos and words do the rest.

    Whatever your anniversary scrapbook ends up holding, the point isn’t a perfect layout. It’s that in ten years someone opens the file, lands on the quiet-year page, and remembers exactly what that year felt like. That’s the whole reason to make it.

  • Wedding Scrapbook Ideas: 6 Beautiful Pages Worth Keeping

    Wedding Scrapbook Ideas: 6 Beautiful Pages Worth Keeping

    A wedding gives you more photos than you know what to do with. The morning coffee with your maid of honour, the shot of the rings on the windowsill, the blur of the first dance. Sitting down afterwards to turn all of it into a wedding scrapbook you’ll actually look back on is a lovely job, and it can feel like a lot.

    Building the album on a screen makes it easier. You can move a photo, swap a colour, undo a bad idea, all without touching a single sheet of paper. Here are wedding scrapbook ideas laid out page by page, so you have somewhere to start.

    Wedding scrapbook page ideas, told in order

    The simplest way to plan a digital wedding scrapbook is to follow the day as it happened. Each moment becomes its own page or spread, and the story tells itself.

    How we got here

    Open before the wedding even starts. A short page about the two of you, how you met, the proposal, maybe a photo from years back next to a recent one. It sets the tone and gives the reader a reason to care about everyone who shows up on the following pages.

    The getting-ready morning

    This is often the warmest set of photos you’ll have. Robes and rollers, the dress hanging on the door, someone doing your makeup while your mum watches. Keep this page loose and a little candid. A few overlapping snaps, a scrap of handwriting, the time on a clock.

    The ceremony and the vows

    Give the words their own page. Type out your vows, or the reading a friend gave, and let them sit on a clean background with plenty of space around them. One photo of the moment is enough here. The point of this page is the writing, so don’t crowd it.

    The details

    Weddings are made of small things that took months to decide. Photograph them properly and they earn a page of their own:

    • The rings, close up, on something with texture
    • The bouquet and the buttonholes
    • The dress and the shoes before anyone puts them on
    • Table settings, place cards, the cake
    • The stationery, if you had it made

    A grid works well for details. Same size, even spacing, one photo per square. It lets each thing be seen without any of them fighting for attention.

    The people

    The guests are half the reason a wedding feels the way it does. A page for family groups, one for the friends who travelled, a corner for the children who fell asleep by nine. Names help. In twenty years you’ll be glad you wrote down who everyone was.

    The first dance and the party

    End loud. This is where you let go of neat layouts. Motion-blurred dancing, someone mid-laugh, the sparklers outside, the last drink of the night. Darker photos want a darker background so they don’t look washed out. Let this spread feel like the end of a long, good day.

    Styling a romantic wedding scrapbook page

    Romantic doesn’t mean busy. The pages that read as elegant usually have more empty space than you’d expect, not less. A few ideas that hold up across Procreate, Canva or Photoshop:

    • Pick one soft colour family and stay in it. Blush, cream, sage, a little gold. Two or three colours across the whole album keeps it feeling like one book.
    • Use florals as a frame, not a filling. A spray of watercolour roses in one corner does more than a border wrapped round the whole page.
    • Choose an elegant paper texture and reuse it. A soft linen or a faint marble under everything ties spreads together without shouting.
    • Give photos room to breathe. Wide margins read as expensive. Edges jammed to the border read as rushed.
    • Limit yourself to two fonts. One flowing script for names and dates, one plain serif for anything you actually need people to read.

    When a page feels off, the fix is almost always to remove something rather than add. Take the third flower away. Shrink the photo and let the background do the work.

    A digital wedding scrapbook page with soft blush florals framing one photo and the couple's vows set in a script font
    A wedding scrapbook vows page kept simple: one photo, wide margins, and florals sitting in a single corner.

    A short worked example: the vows page

    Say you want to build the wedding scrapbook page for your vows. Start with a cream paper texture across the full canvas. Set your margins wide, so the writing sits well inside the edges with air all round it.

    Drop your vows into the centre in a plain serif, dark grey rather than pure black, which is softer on a cream background. Put the two names above in a script font, larger, with the date underneath in small letters. On the right, add one photo from the ceremony, framed with a thin line or a faded torn edge.

    Then the florals. A single spray of roses in the bottom-left corner, maybe a couple of loose stems trailing up the side. Nothing across the text. Step back and look at it as a whole. If your eye goes straight to the words, you’re done. If it snags on the flowers first, make them smaller.

    Putting the wedding scrapbook together

    The thing that makes a wedding album feel finished is when every page looks like it belongs to the same set. That’s easier when your papers, frames and florals were designed to go together in the first place. A romantic set like the Gilded Rose digital scrapbook bundle gives you the florals, papers and frames already matched, so you can drop them onto a canvas and spend your time on the photos and the words instead of hunting for pieces that suit each other.

    Start the wedding scrapbook with one page. The vows, or the getting-ready morning, whichever pulls at you. Once the first spread comes together, the rest of the day tends to follow.