Digital scrapbooking for beginners means building photo-album pages on a screen instead of with paper, scissors and glue. You drop your photos onto a ready-made patterned background, add a few decorations and a line or two of text, then save the finished page as an image file. Nothing to cut, nothing to store in a cupboard, and no wasted supplies when you change your mind.
To start you need three things you can sort out in an afternoon: a device you already own, one layout app, and one themed kit of papers and clipart. I’ll take you through choosing each one and making your first page below.
Table of Contents
What is digital scrapbooking for beginners, really?
It’s memory-keeping done in a layout app rather than with physical paper. You work in layers, stacked like sheets of glass. The bottom layer is a patterned background (a “digital paper”). On top of that you place your photo. On top of that go the decorations: a frame around the photo, a sprig of clipart in the corner, the date in a nice font. Move any layer, resize it, delete it, redo it. Your photos stay untouched the whole time.
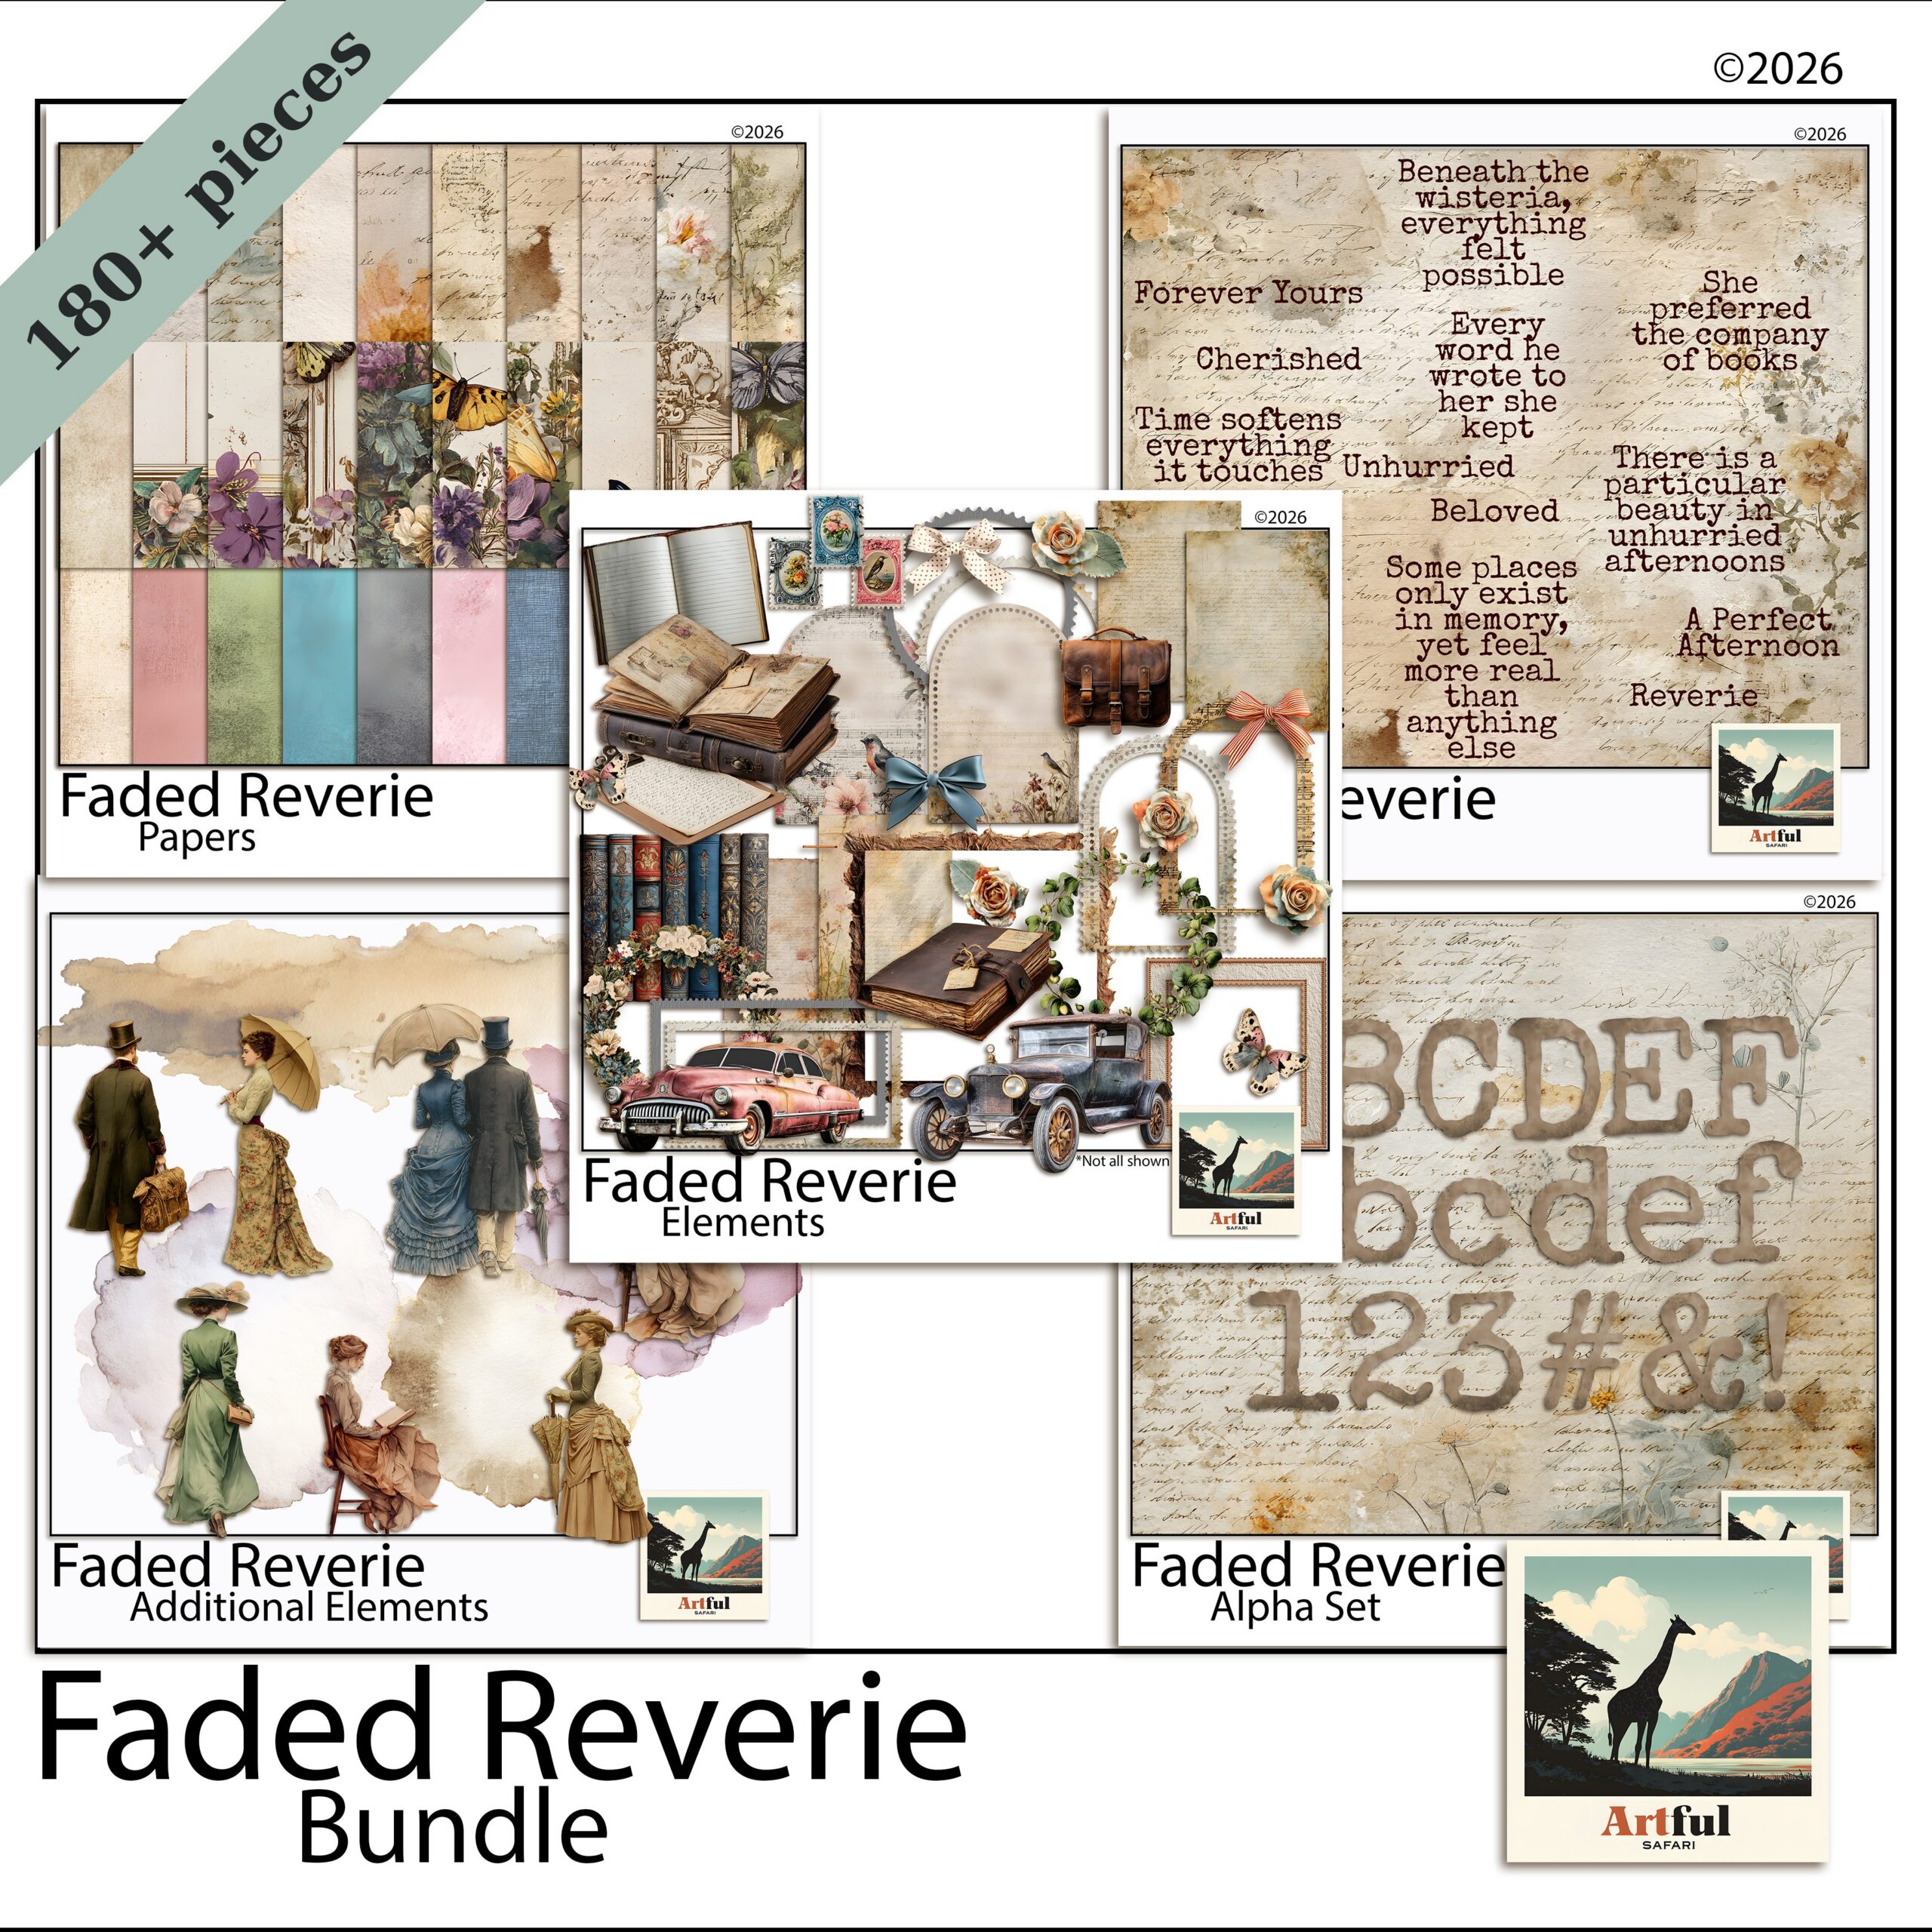
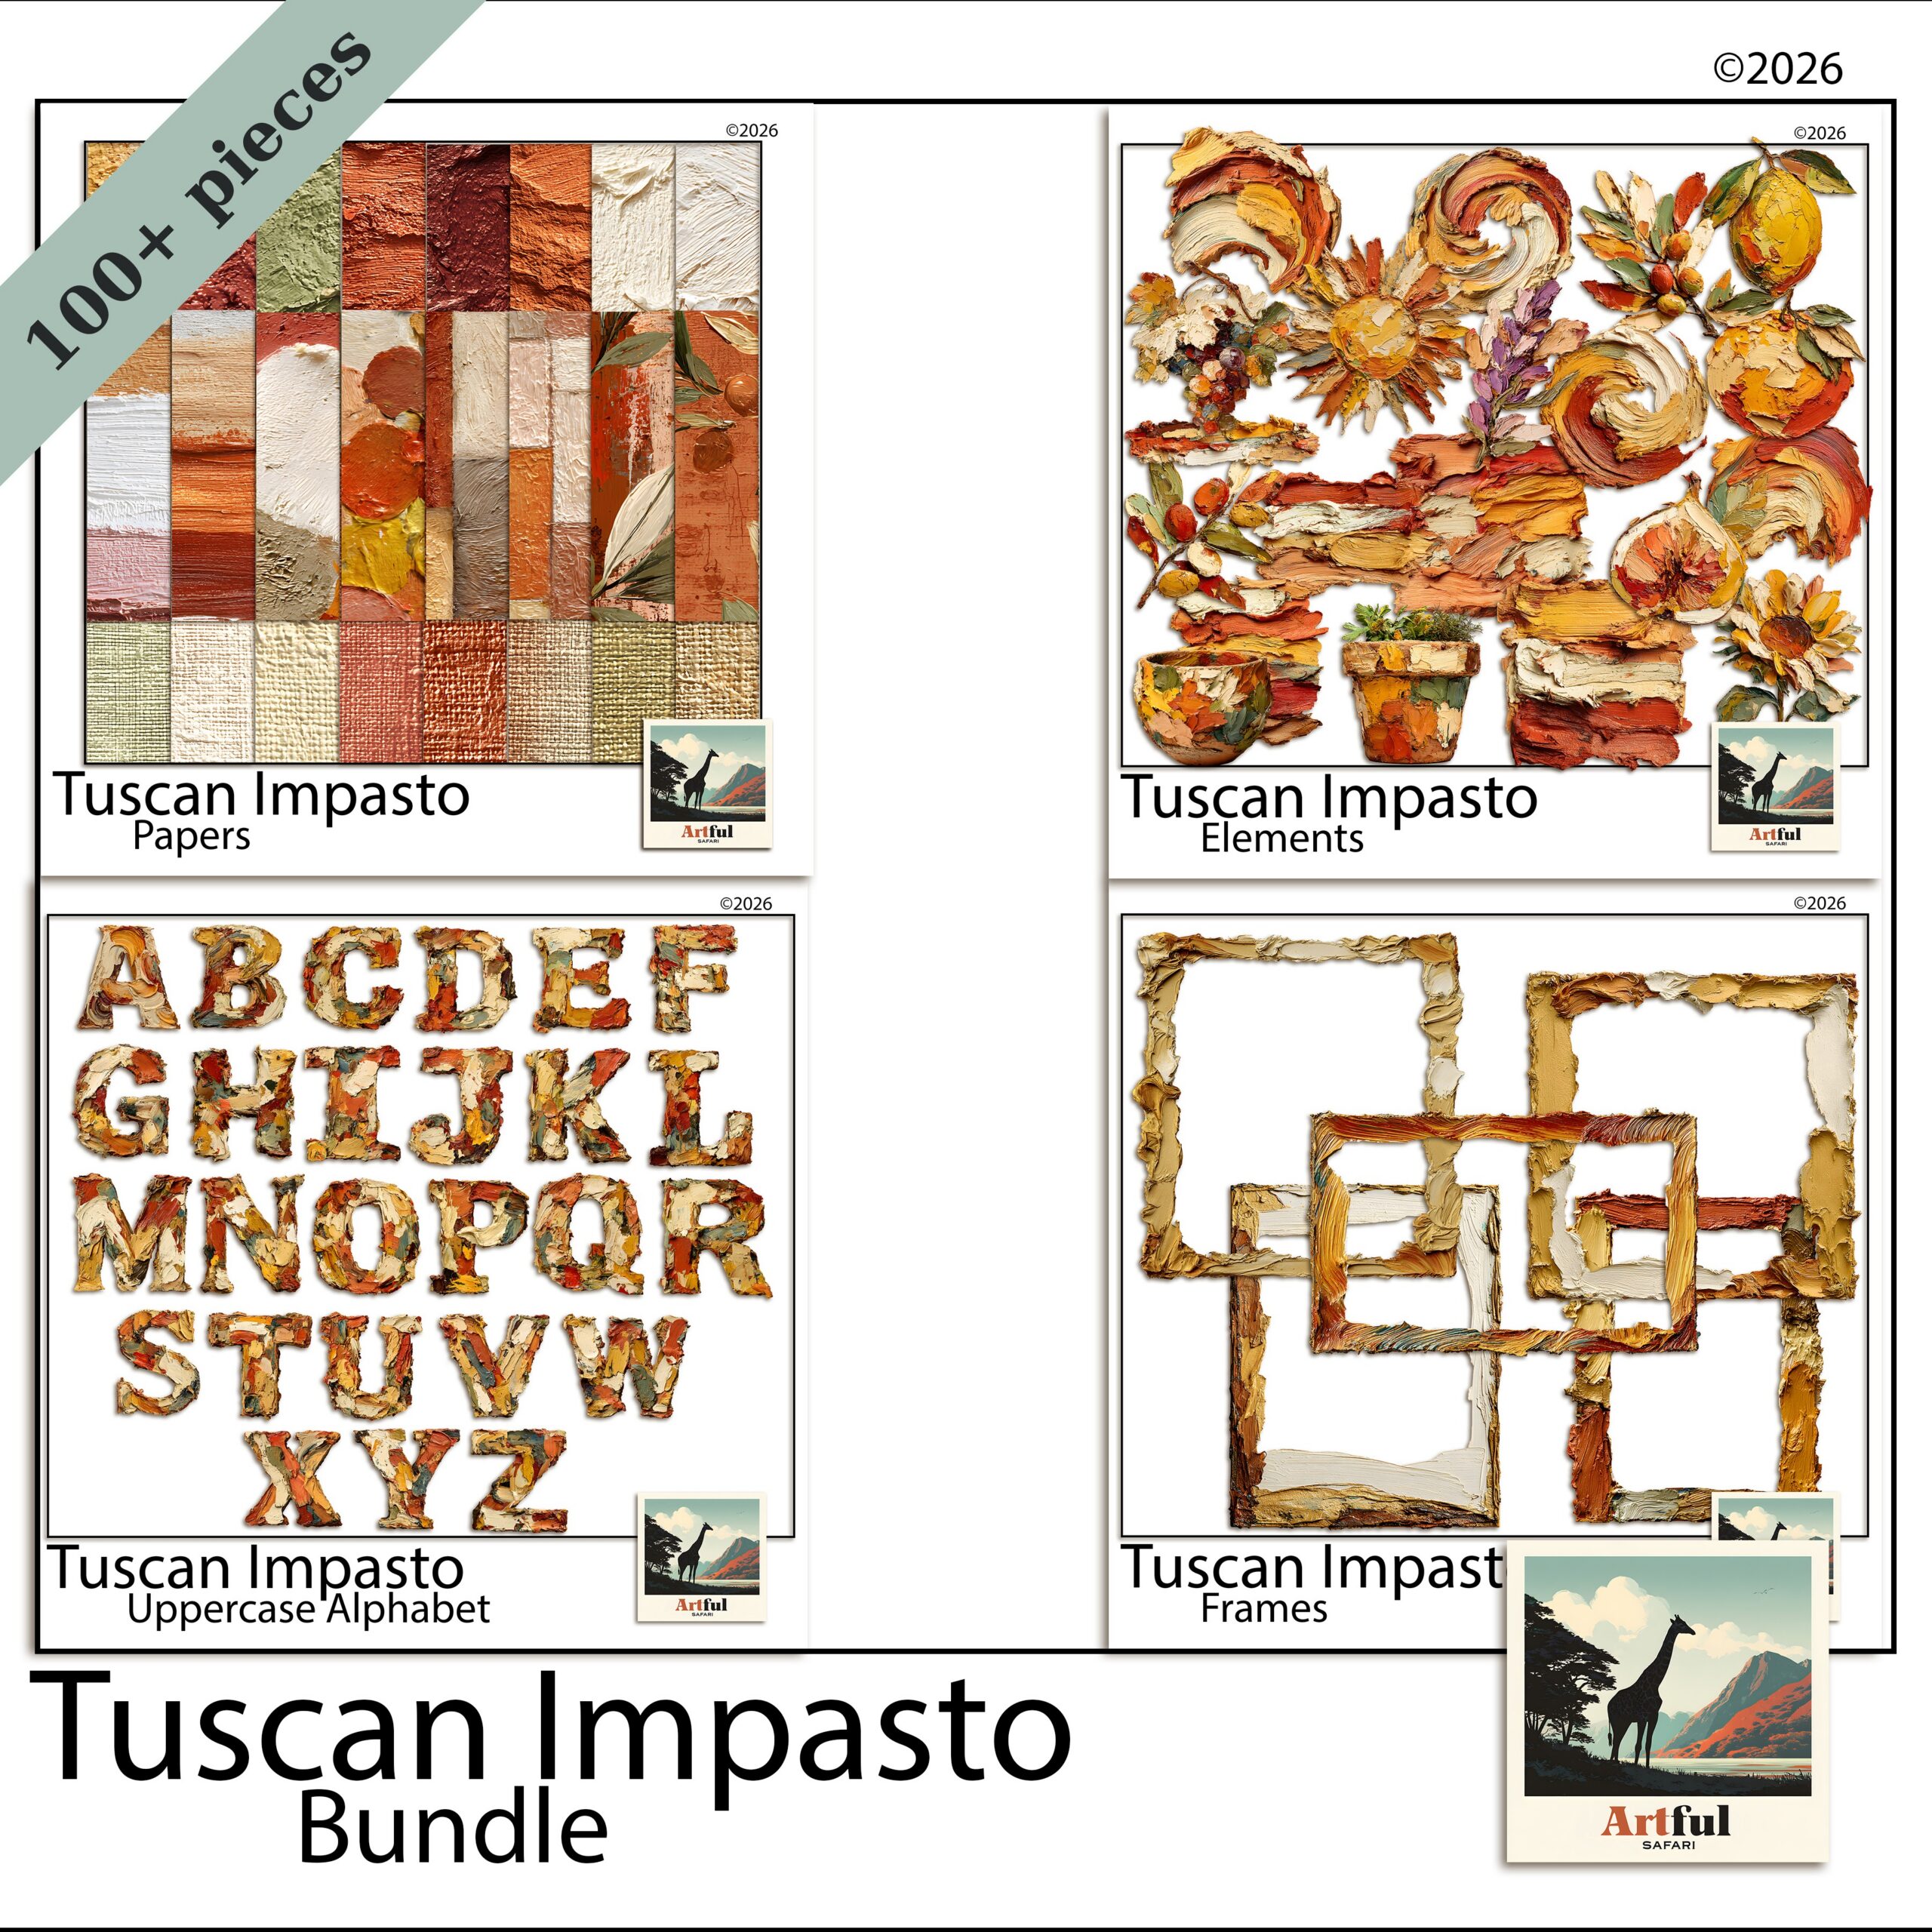
Most kits hand you the four building blocks of a page already made:
- Papers — full-page patterns and textures you use as backgrounds.
- Clipart (elements) — small cut-out images on a transparent background: flowers, leaves, ribbons, little objects.
- Frames — borders you sit a photo inside.
- Alphabets — letters as images, for titles when a plain font feels too flat.
How it differs from the paper version
The big one is that mistakes cost nothing. Trim a paper photo too short and it’s gone; on screen you press undo. You can also use the same kit on twenty pages without buying it twenty times, and your whole album lives in a folder instead of a box under the bed. If you’re still weighing the two approaches, I broke down the trade-offs in Digital vs Paper Scrapbooking.
Scrapbooking for beginners: what do you actually need?
Less than people think. Scrapbooking for beginners comes down to four things, and here’s a sensible first choice for each.
| What | What it’s for | Beginner pick |
|---|---|---|
| A device | Somewhere to build the page | The iPad, phone or laptop you already have |
| A layout app | Lets you stack and move layers | Canva (free) or Procreate on iPad |
| One themed kit | Papers, clipart, frames that already match | A bundle in a colour you like |
| Your photos | The actual memories | 5–10 from one day or trip |
You do not need a drawing tablet, a subscription, or any design training. Buying one matched bundle instead of loose pieces is the shortcut that saves beginners the most grief: the colours are picked to work together, so your first page looks deliberate without you knowing a thing about colour theory.
Which app should a beginner pick?
This depends entirely on what’s in your hands right now. All three below open the PNG and JPG files that come in a kit, and all three work in layers.
If you have an iPad
Use Procreate. It’s a one-off purchase, no subscription, and it handles layers and transparent clipart cleanly (the Procreate handbook covers the canvas setup). Set up a 12 x 12 inch canvas at 300 DPI and you’ve matched the size most kits are built to.
If you’re on a phone or a laptop
Use Canva. The free tier is plenty for a first page. You upload your papers and clipart, drag them onto a square page, and stack them. It runs in a browser, so nothing to install.
If you already own Photoshop
Then use it. Clipping masks and layer groups make it the most powerful of the three, but it’s the steepest to learn, so I wouldn’t buy it just for this.
Pick one and commit for your first few pages. Hopping between apps to find the “best” one is how a fun afternoon turns into a frustrating week.
How do I make my first scrapbook page?
Here’s the shortest path from blank screen to a page you’re proud of. Give it an hour.
- Choose one story. One day, one trip, one person. Five to ten photos, not fifty. A tight set is far easier to lay out than a sprawling one.
- Open a square canvas. 12 x 12 inches at 300 DPI in Procreate or Photoshop; a square page in Canva. Square is the scrapbooking standard and it keeps your pages consistent.
- Drop in a paper. Drag one background paper across the whole canvas. Pick a quieter pattern, not the boldest one. The pattern is a backdrop, not the star.
- Place your photos. Start with one hero photo, larger, slightly off-centre. Add two or three smaller supporting shots. Leave breathing room around the edges.
- Add a frame or two. Sit your main photo inside a frame so it lifts off the busy paper. Don’t frame every photo; one or two is enough.
- Scatter a little clipart. A sprig in one corner, a small element near the title. Three or four pieces, then stop.
- Write a title and a date. A few words and the month and year. This is the part that turns a nice collage into a memory you’ll understand in ten years.
- Export. Save as a high-quality JPG or PNG. Keep the layered file too, so you can tweak it later.
That’s a finished page. The only skill you used was dragging things around and knowing when to stop.
Scrapbooking for beginners: the snags to skip
Almost every first-timer hits the same handful of snags. Here’s what they are so you can sidestep them.
- Cramming the page. Empty space is doing a job. If it feels too plain, it’s probably right. Add one thing, not five.
- Mixing five themes. Florals, then nautical, then geometric, all on one page. Stay in one kit until you’re confident, which is exactly why a matched bundle helps.
- Stretching photos out of shape. Resize from a corner handle to keep the proportions, never by dragging a side.
- Forgetting words. A page with no title or date is a pretty picture you’ll squint at later. Always add the who, where and when.
- Saving low quality. Export at full resolution. A blurry, pixelated page is almost always a too-small or over-compressed file.
Key takeaways
- Scrapbooking for beginners needs three things: a device you own, one app (Canva or Procreate), and one matched kit.
- Work in layers — paper at the back, photos in the middle, clipart and titles on top.
- Keep your first page to one story, a handful of photos, and a few decorations. Restraint reads as polish.
- A matched bundle does the colour work for you, so your page looks intentional from day one.
Frequently asked questions
Is digital scrapbooking for beginners hard to learn?
No. Scrapbooking for beginners is mostly dragging photos around a screen. The hardest part is choosing your photos, not using the app, especially when your kit’s pieces already match.
What is the best app for digital scrapbooking beginners?
Canva if you’re on a phone or laptop and want free, or Procreate if you have an iPad and don’t mind a one-off purchase. Both open kit files and work in layers.
Do I need to print my digital scrapbook pages?
Not at all. Most people keep their albums on screen and share them as image files, or back them up to the cloud. Printing is optional, not the point.
How much does scrapbooking for beginners cost?
You can start free with Canva and a single kit, using the device you already own. There’s no subscription needed and no recurring supply costs the way paper has.
What size should a digital scrapbook page be?
A square 12 x 12 inch page at 300 DPI is the standard most kits are built for. Setting your canvas to that means papers and frames drop in at the right scale.