
A travel scrapbook comes down to five moves: sort and cull your photos by day, pick one digital kit for the whole trip, build a title page, lay out a page per day, then add journaling that tells the part the photos cannot.
Do those in order and a folder of holiday photos turns into a travel scrapbook you will actually reopen. Here is the full workflow I use for every trip.
Table of Contents
What you need before you start a travel scrapbook
The work goes faster when the pieces are in one place. You need three things: your photos, a digital scrapbook kit that matches the trip, and an app you already know your way around.
For photos, pull everything from your phone and camera into one folder and rename them by day. You will not use all of them. Getting them in order first means you build pages instead of hunting for files.
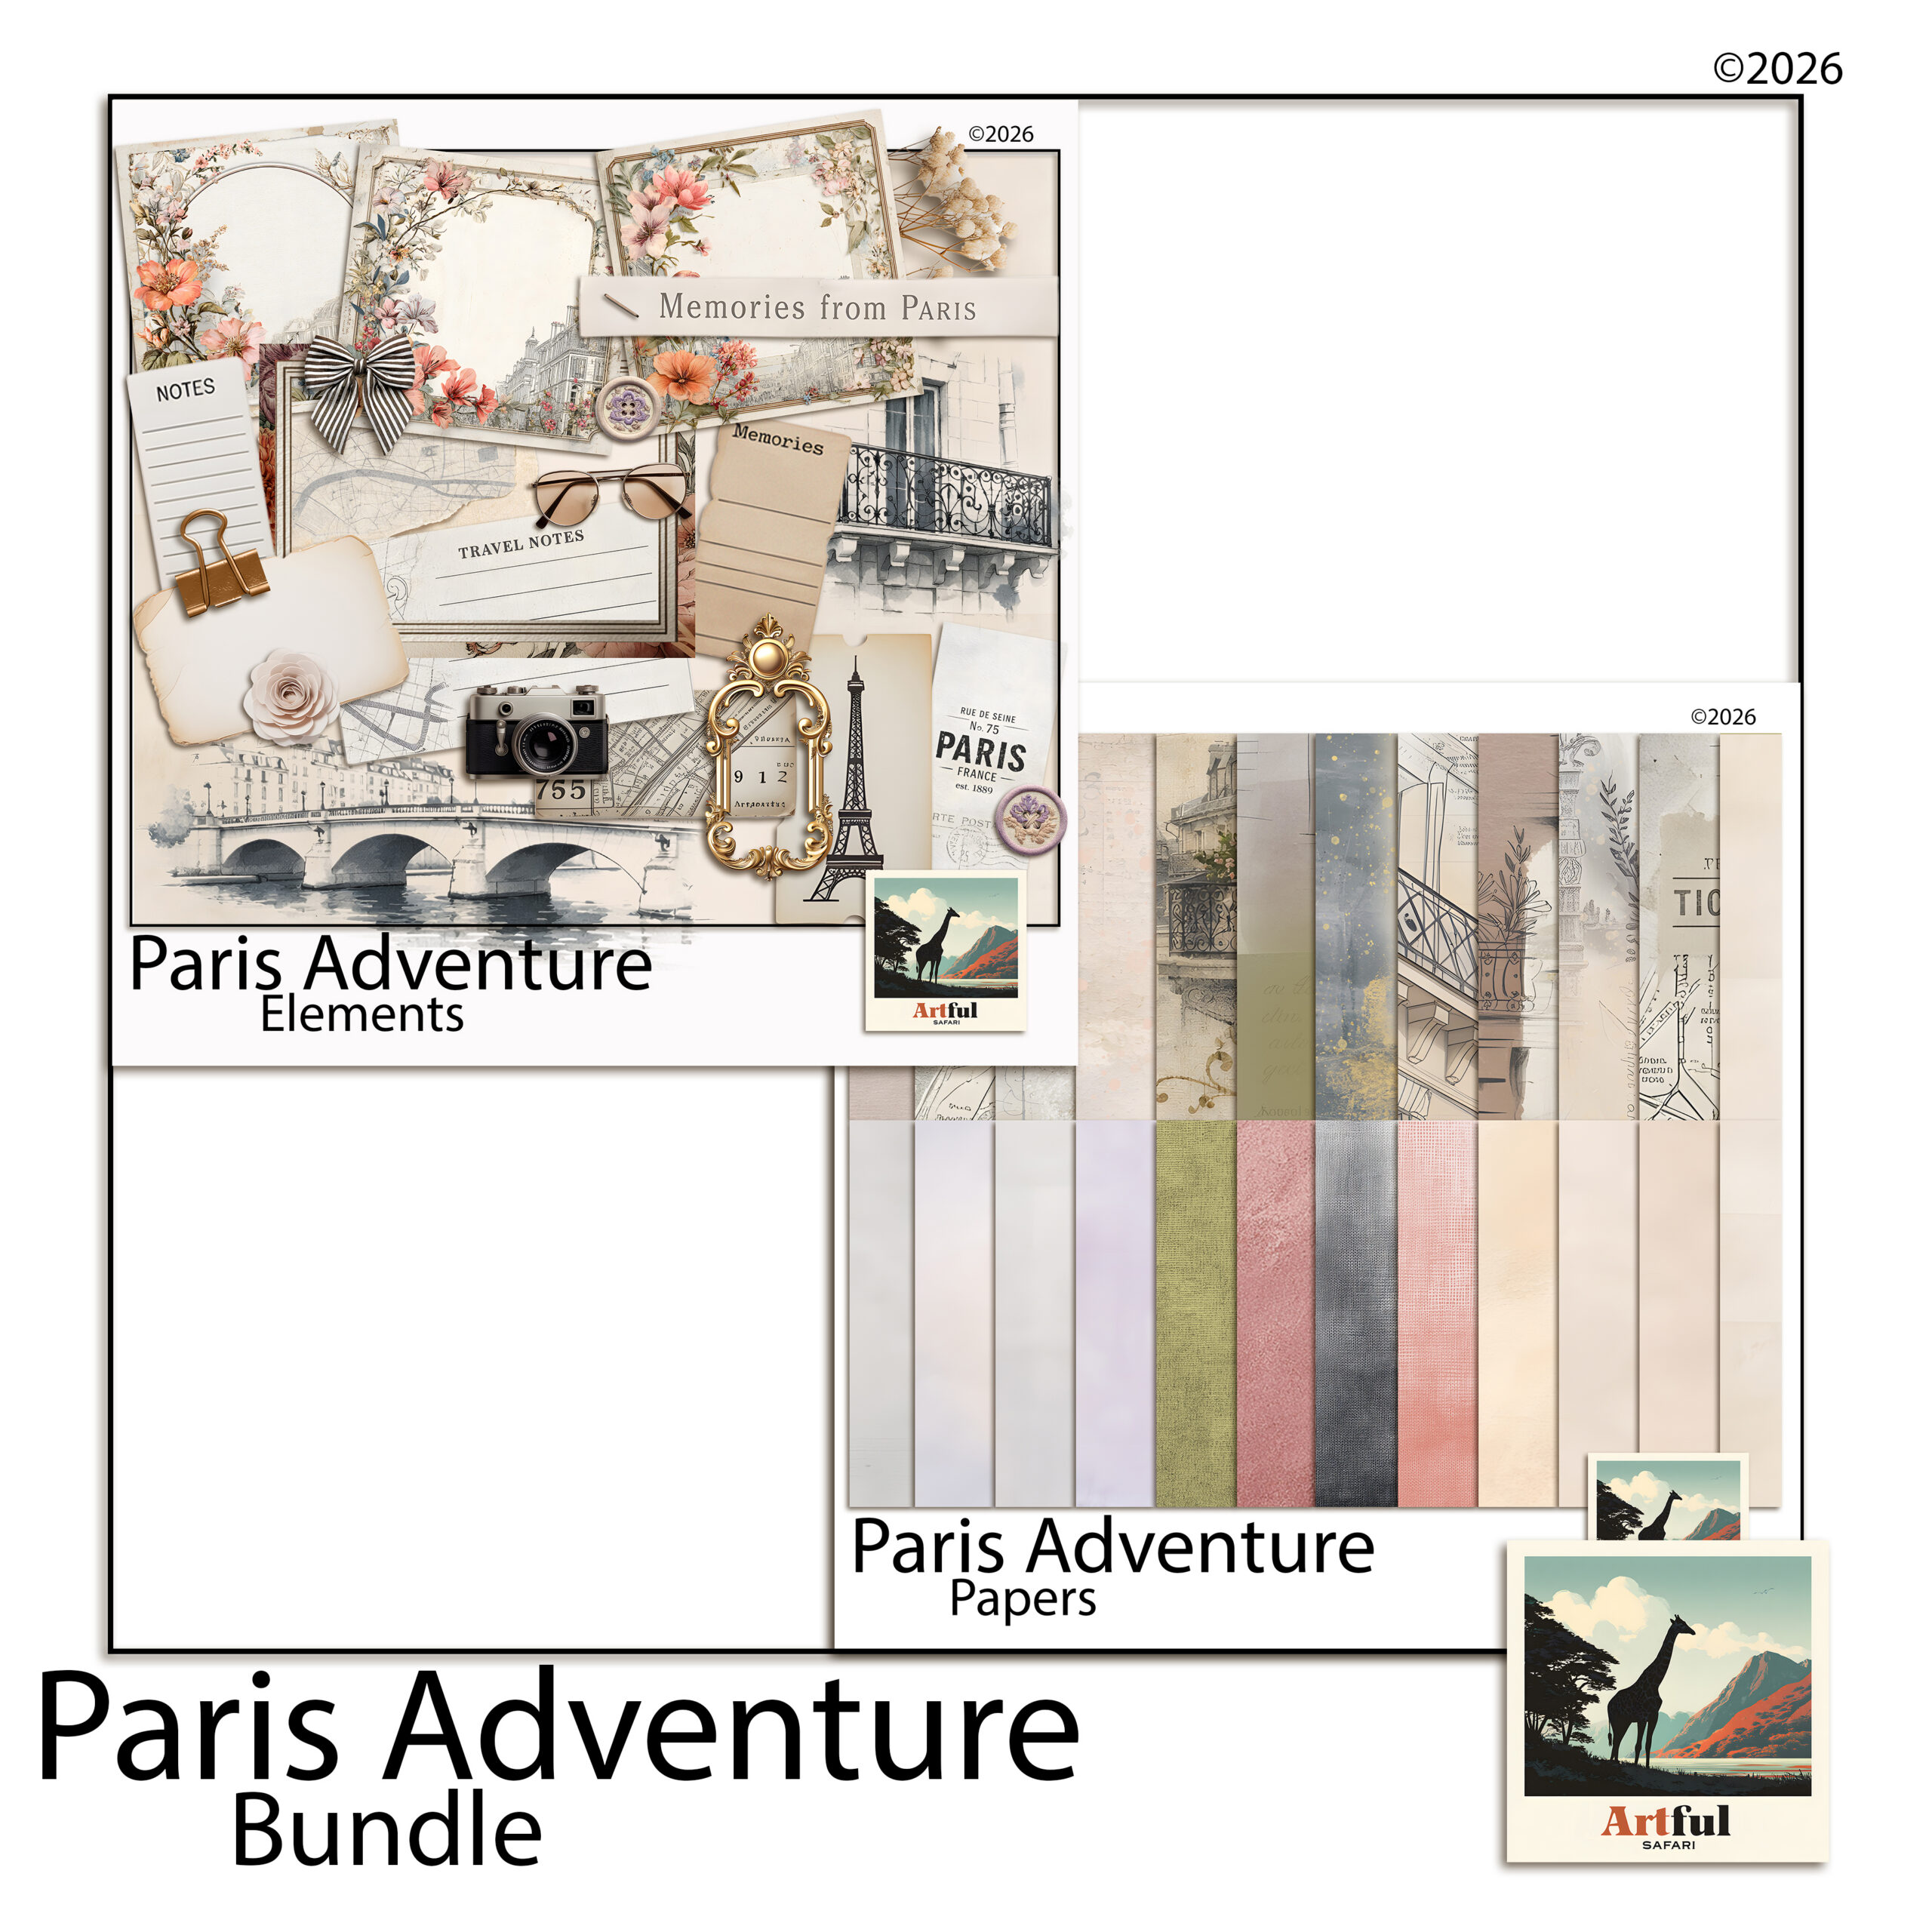
For the kit, pick papers, frames and clipart that carry the place. A Paris trip wants ironwork and soft greys. A safari wants warm golds. When the kit already has the mood, you spend your time arranging, not searching for a sticker that fits.
For the app, Canva, Procreate and Photoshop all work. Use the one you open without thinking. A new tool on top of a new project is how albums stall at page two.
Choosing the right kit for your destination
The kit is the single biggest shortcut. A good one carries the colour, the textures and the small clipart that say “this is the place” before you have placed a photo. The wrong one fights you the whole way.
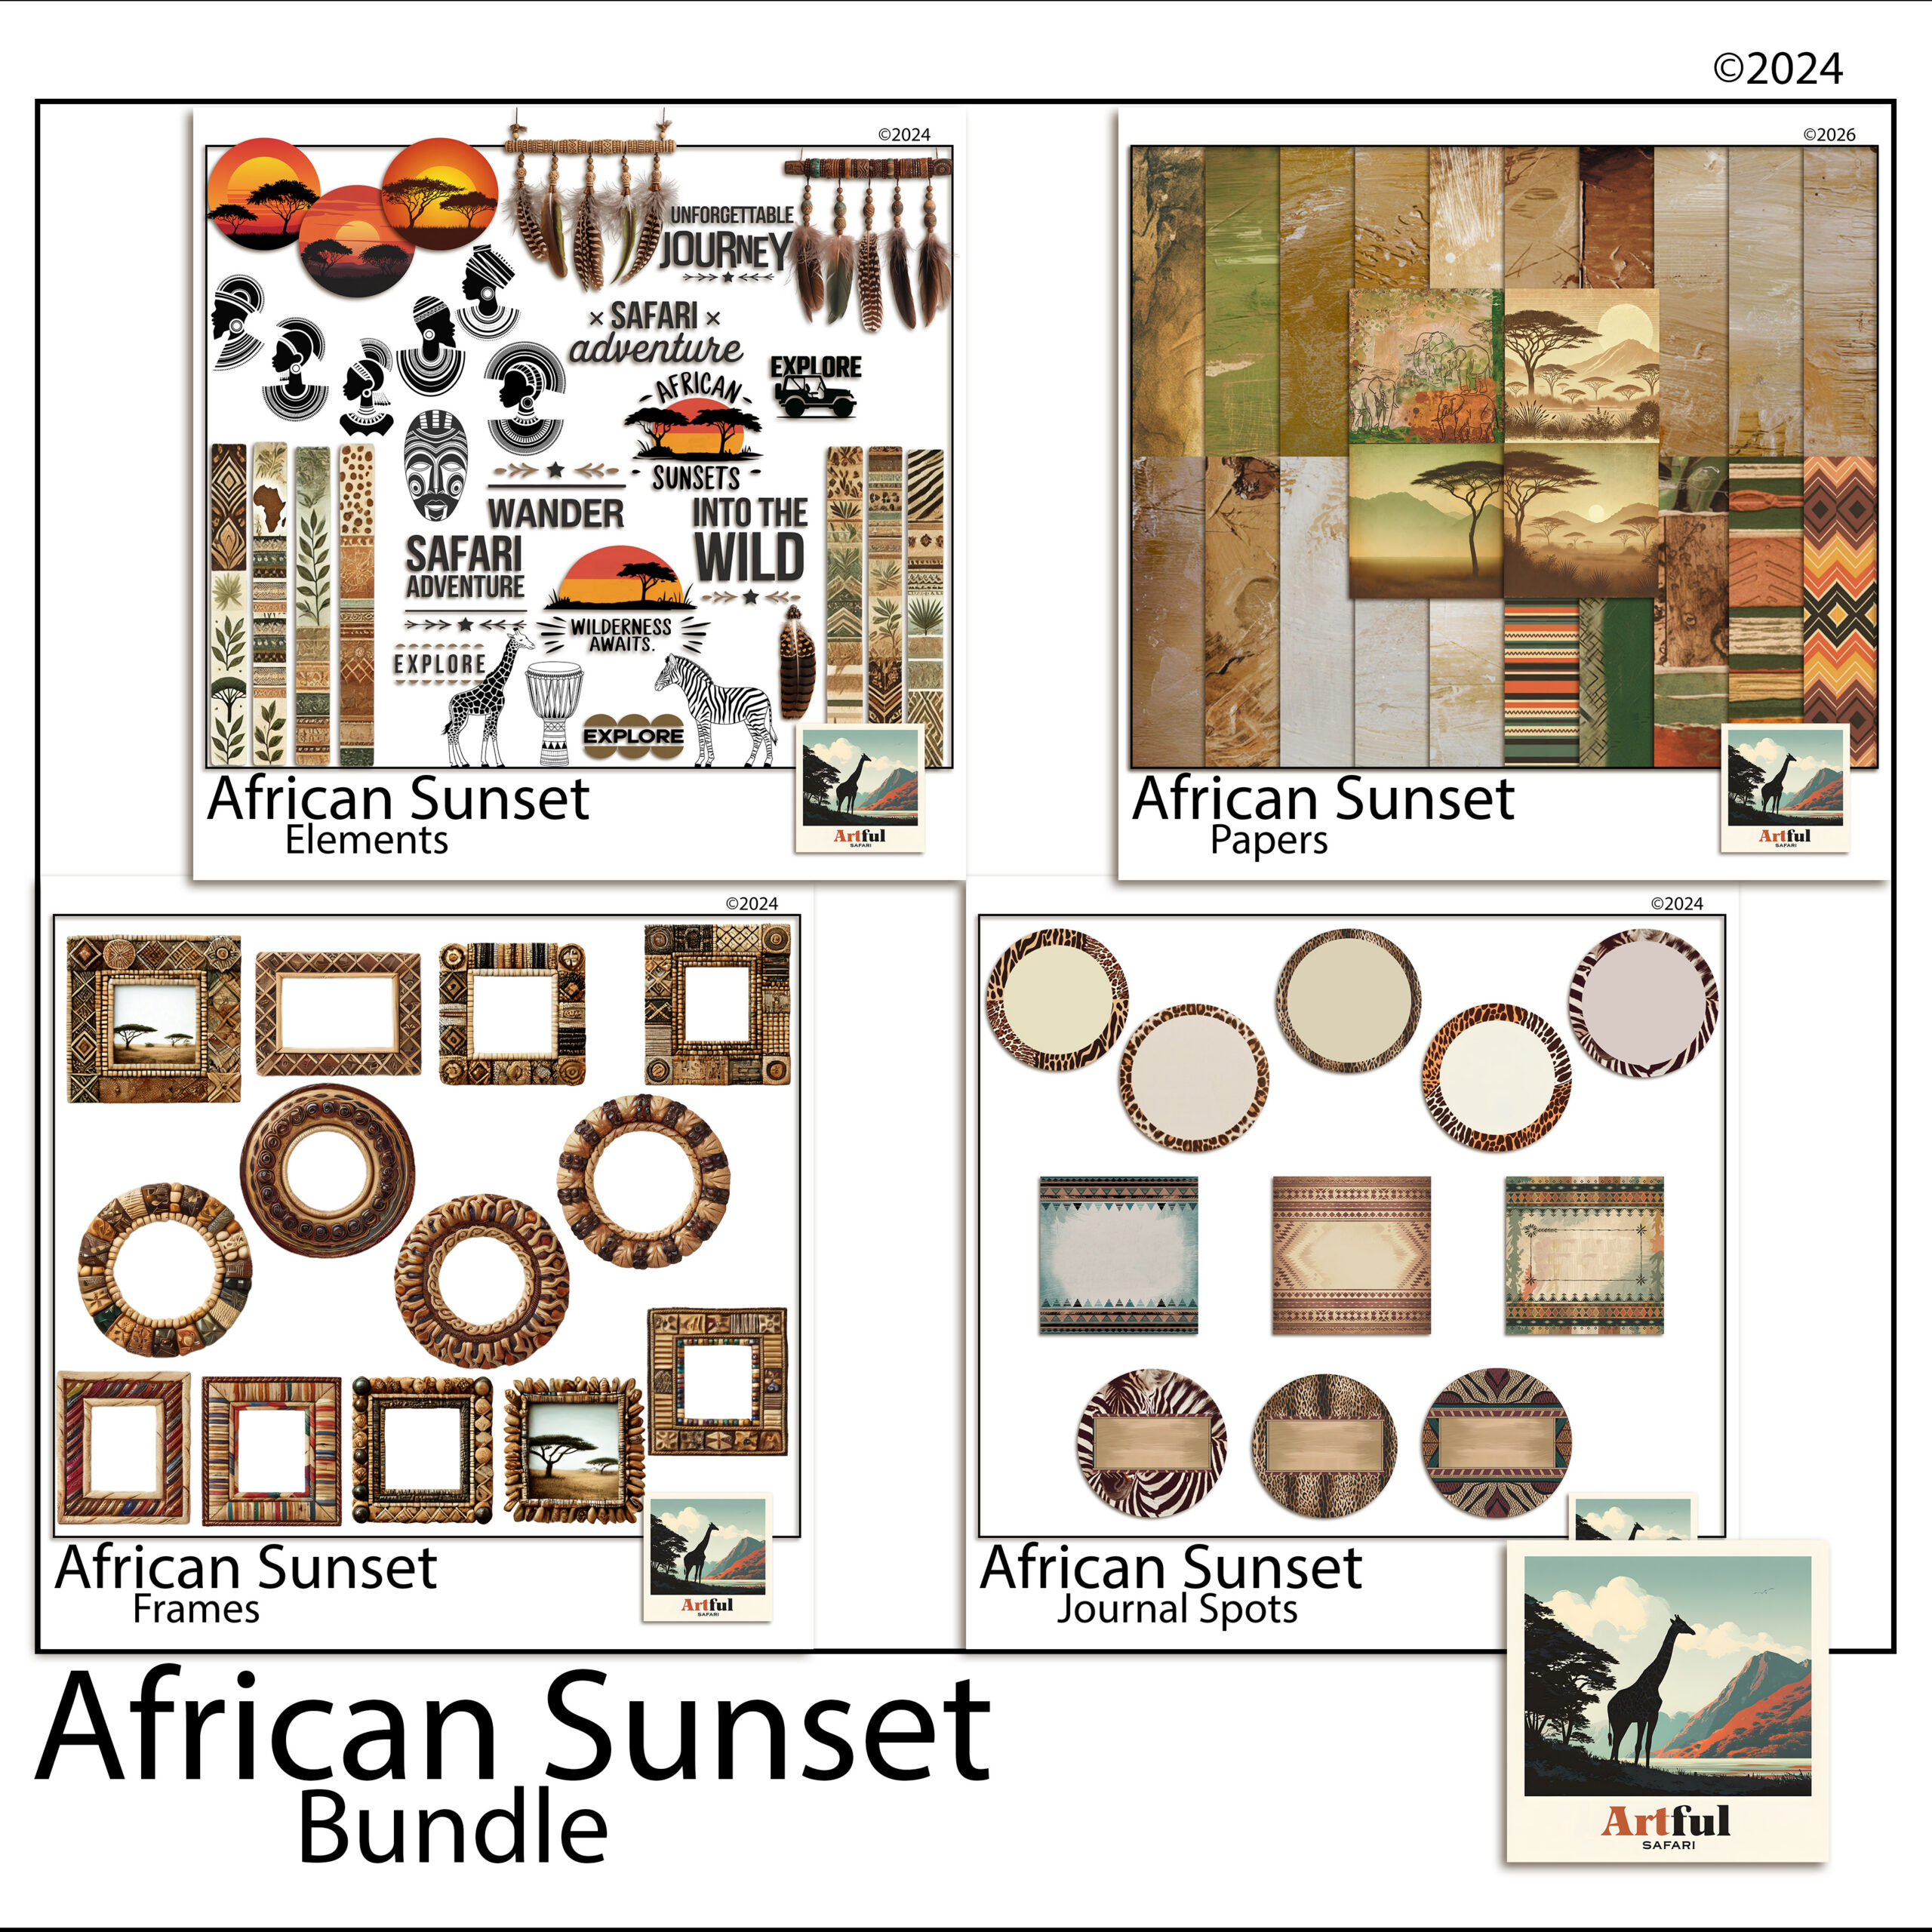
Match the kit to the feeling of the trip, not just the geography. A city break wants clean papers, a few landmark touches and plenty of white space for street photos. A wildlife trip wants warm earthy tones and animal motifs. A beach holiday wants sea blues and soft sand textures. When the mood is already baked into the papers, the album holds together without you doing colour theory at midnight.
One more thing on kits: pick one that has more than papers. The frames, journaling cards and alphabet pieces in a full bundle are what let you finish a page without hopping between five different downloads. A single coordinated set is faster to work in and looks tidier on the page.
How to make a travel scrapbook step by step
This is the order I use for every trip album, short weekend or three-week holiday. Each step hands you something to build on.
- Sort and cull your photos. Group by day, then keep five to eight per day that move the story along. A blurry one with a great memory beats a sharp one of nothing.
- Set your page size. A 12×12 inch square is the standard for digital scrapbook layouts and it gives album printers and online viewers an easy ratio to work with.
- Choose one kit for the whole trip. One palette across every page is what makes a finished album feel like a set rather than a pile of unrelated pages.
- Build the title page first. Trip name, dates, one hero photo. This sets the tone and you will reuse its fonts on the rest.
- Block out a page per day or per place. Drop the day’s photos in rough positions before you fuss over framing. Get the bones down, then refine.
- Add frames, then journaling. A photo frame PNG tidies the edges. A line or two of journaling tells the part the photo cannot.
- Review the whole album, then export. Look at it start to finish for repeated layouts and gaps, fix those, then export each page at full quality.
That is the spine of how to make a travel scrapbook. The steps stay the same whether you have forty photos or four hundred.
Title pages vs map and ticket-stub pages
Not every page does the same job, and mixing the types is what keeps an album from feeling flat.
A title page opens a section. It carries the trip name, the dates and one strong photo, with a lot of breathing room. A map page sets the scene: a route line, pins on the cities, maybe a small photo at each stop. A ticket-stub or ephemera page holds the bits you would have taped into a paper travel scrapbook, the boarding pass, the museum ticket, the cafe receipt. Scan or photograph those, drop them in as their own little collection, and they carry more of the trip than another posed shot would.
A rough rhythm that works: title page, map page, then two or three photo spreads, then an ephemera page to close the section. Repeat per leg of the trip.
How to tell the trip story, not just show photos
A wall of photos is an album anyone can make. The story is what you remember when you reopen it in ten years.
Write journaling in your own voice. Not “Day 3, Louvre” but the queue in the rain, the room you walked past three times, what you actually ate. Short is fine. Specific beats long.
- Caption the unglamorous shots. The train delay and the wrong turn age better than the posed ones.
- Use journaling cards for prompts: best meal, what surprised me, what I would do again.
- Leave one page for the people, not the places. Faces date a trip better than landmarks.
If you want a worked example for a city break, my Paris scrapbook kit ideas for a travel album walks through the same approach with one kit start to finish.
Common mistakes that slow a travel album down
Most stalled albums fail for the same handful of reasons. Knowing them up front saves you the redo.
- Too many photos per page. Six photos crammed into a 12×12 read as a contact sheet. Three or four with room around them read as a memory.
- Mixing kits. Two palettes on facing pages make the album feel borrowed from different books. Commit to one set for the whole trip.
- Skipping journaling until later. Later never comes. Write a line while the trip is fresh, even if it is rough.
- Editing photo by photo before laying out. Build the pages first, then do any colour tweaks in one pass. Otherwise you polish shots that never make the cut.
None of these are hard to avoid. They just tend to creep in when you start arranging before you have a plan, which is why the photo cull and the single-kit choice come first.
A page-type plan for a one-week trip
Here is a plan I would hand someone with a week of photos and no idea where to start. Treat the page counts as a starting point, not a rule.
| Page type | How many | What goes on it |
|---|---|---|
| Title page | 1 | Trip name, dates, one hero photo |
| Map / route page | 1 | Route line, city pins, small stop photos |
| Daily photo spread | 5 to 7 | Five to eight photos per day with short captions |
| Food page | 1 | Every meal worth remembering in a grid |
| People page | 1 | Faces, candids, who you travelled with |
| Ephemera page | 1 to 2 | Tickets, stubs, receipts, scanned and arranged |
| Closing page | 1 | One favourite photo and a few lines on the trip |
That lands a one-week trip at roughly twelve to fifteen pages, which prints into a tidy album and reads in one sitting.
Key takeaways
- Sort and cull photos first, by day, before you open a single page.
- Pick one digital kit for the whole trip so the album reads as a set.
- Build the title page first, then block out a page per day before refining.
- Mix page types: title, map, photo spreads, ephemera, people.
- Journaling in your own voice is what carries the story years later.
Frequently asked questions
How many photos should go in a travel scrapbook?
Keep five to eight photos per day of the trip. For a one-week holiday that lands you around forty photos across twelve to fifteen pages, which reads well and prints into a tidy album.
What size should travel scrapbook pages be?
A 12×12 inch square is the standard for digital scrapbook layouts. It gives album printers and online viewers an easy ratio and keeps every page consistent.
Do I need design experience to make a travel scrapbook?
No. If you can move and resize a photo in Canva, Procreate or Photoshop, you can build the pages. A pre-made kit does the colour and clipart work for you.
What is the best app for a digital travel scrapbook?
The one you already know. Canva is the easiest start, Procreate suits iPad users, and Photoshop gives the most control. Pick the app you open without thinking.